

I finished up my first project pretty for the office this weekend. I knew I had been wanting to put a large picture frame or piece of art on this shelve in the office and after looking at all different kinds of pinspiration this is what I came up with. It cost right around $20 with the piece of wood, stain & paint, and picture frame. You could definitely build it cheaper, especially if you already have a frame on hand. I picked up the black frame at Hobby Lobby. It was 50% off and cost $10.
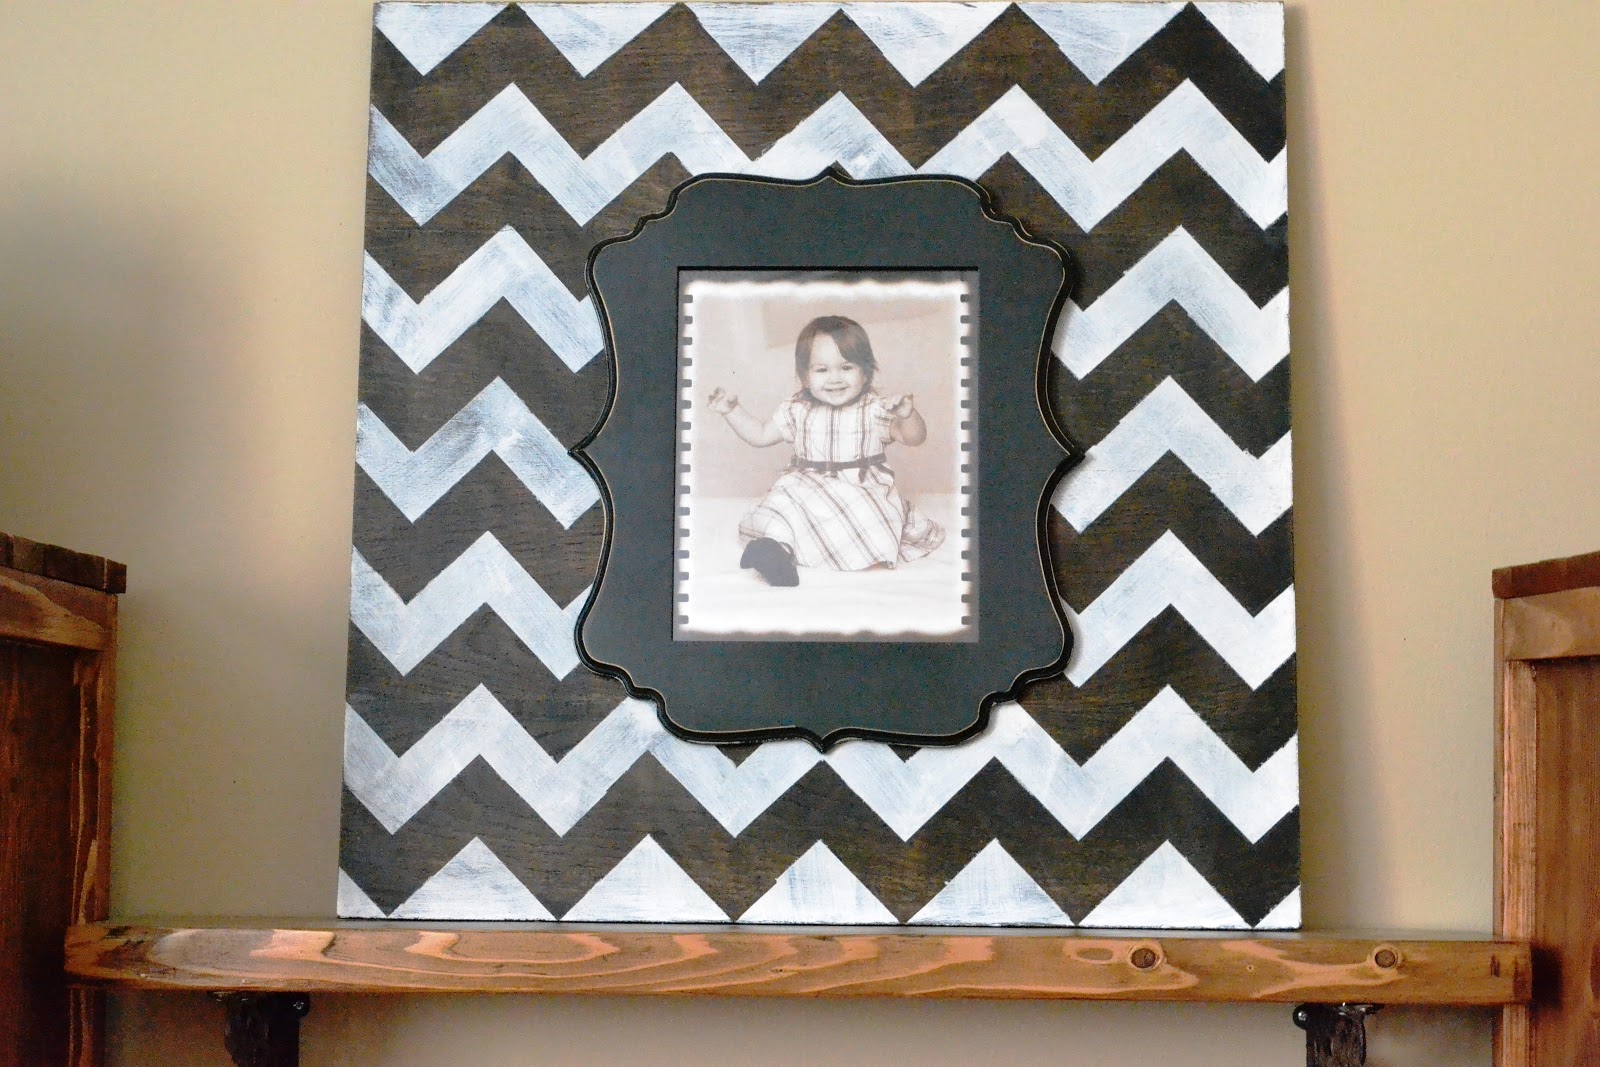
This project didn't require any power tools. I just picked up an already cut 2x2 piece of finished plywood and stained it with ebony minwax stain. I wanted it to be black but I still wanted to see the wood grain.
I taped it off for the chevron pattern and painted several coats of white paint. After it dried I used a sanding block and gave it a distressed look. I'm thinking I want to go back with the power sander and distress it a little more but I can always do that later.

My original plan was to have my hubby cut out where I wanted to attach the frame and turn the whole piece into a permanent frame. However, after thinking about it I figured it would be easier to just hang the picture frame on the wood with a nail. This way I can change out the picture easier because the 8x10 that is in there is temporary until I get the other one made. Also, you could change out the frame if you wanted to for other colors or shapes.

I love how it turned out and I was just thinking if you put different nails or even knobs on a piece like this you could easily turn it into a jewelry holder. How fun would that be?


Jessica H says
Love this! I tried to paint chevron on a pumpkin once- didn't turn out the greatest. I think I would have better luck with something flat like this. Super cute!
Jess
Miranda @ Someday Crafts says
What a cute project. I'm loving the double frame look. Just wanted to let you know that this will be featured on Someday Crafts tomorrow, so be sure to come by and check it out!!
Crystal Ike says
Love this DIY!
xoxo
My Blog, Crystal's Beauty Corner
Lauren Elliott says
Very Cute! Thanks for stopping by my blog 🙂 Now following back! I tried to respond to your comment, but you're a no-reply blogger! (check this out to fix that: http://www.simplyfreeblog.com/2013/01/im-no-reply-blogger-say-what-how-to-fix.html)
Melissa says
Oh no... I thought I had fixed that a while ago. I wonder if switching over to G+ profile effected it. I will look into fixing it now. Thanks so much for letting me know.
xoxo,
Melissa
Lauren says
I love your frame! I've seen those whimsical frames at Hobby Lobby, but they've only had the "crazy" colors when I've been. I like them, but they just don't match my living room. I'm going to have to keep checking back for black.
I'd be thrilled if you'd link up at this week's Off the Hook!
Melissa Coleman says
This one is a wall frame. I didn't see any sitting frames in black either. However, there is nothing a good can of spray paint can't fix. 😉
xoxo,
Melissa
ninadollmakeup says
Love this, its so cute!! x
Lauren says
I love anything with chevron on it. So I love this. I would love it if you would share this on my link party.
http://www.ifitsnotbaroquedesignblog.blogspot.com/2013/03/tuesday-link-party-10.html
Ginny says
This turned out so cute and you made it look so easy too! Must add it to my DIY list 🙂
Ginny
mynewfavoriteoutfit.blogspot.com
Melissa says
It is super easy.
xoxo,
Melissa
Tiffany Cutcliff says
That is so cute! I love it! I am following back :). Happy we connected via the Aloha hop. I love your blog!
Inge Lakawa says
its cute! <3
visit my blog ^^
http://www.luchluchcraft.blogspot.com
Buttons Apart says
Cute project!
Sita xx
http://buttonsapart.blogspot.co.uk/