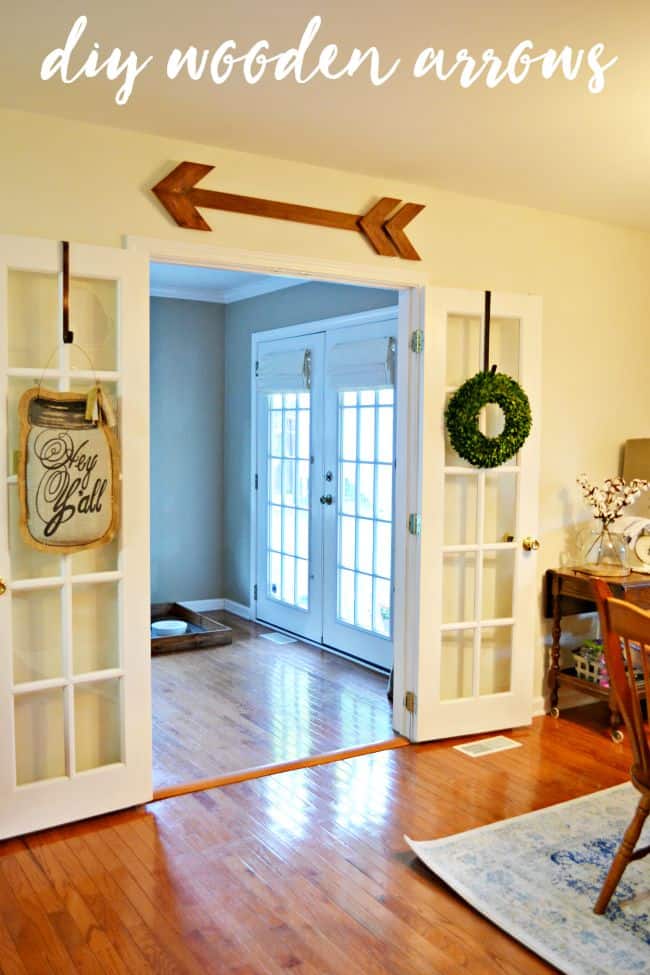
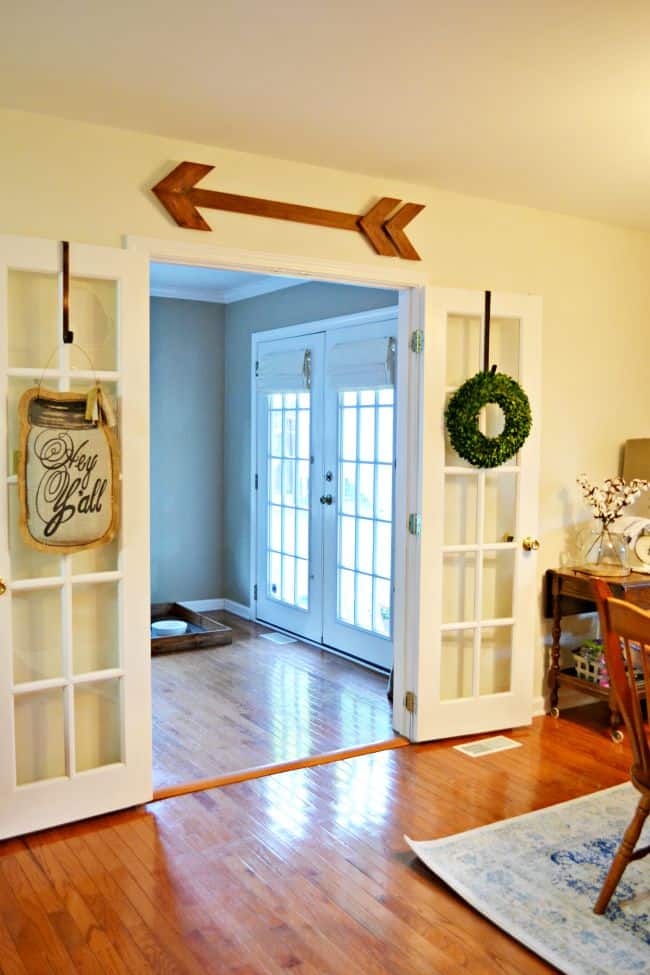
Over the weekend I made me a wooden arrow to hang above the double doors that lead into the office. I used scrap materials so this project costed me a total of free. However, if you are wanting to make one of your own diy wooden arrows all you need is approximately 1 - 1 x 3 x 8 board. I say approximately 1 because it really depends on how long you want to make it but a 8 foot piece should be plenty.
Like I said above all you need in materials is 1 - 1 x 3 x 8 inch board or scraps if you have them and then some stain. I used my always loved homemade wood stain. It is crazy how just a little bit of apple cider vinegar and steel wool turns wood into a gorgeous color. Oh.....you will also need wood glue and nails. I used a brad nailer but regular hammer and nails works too.
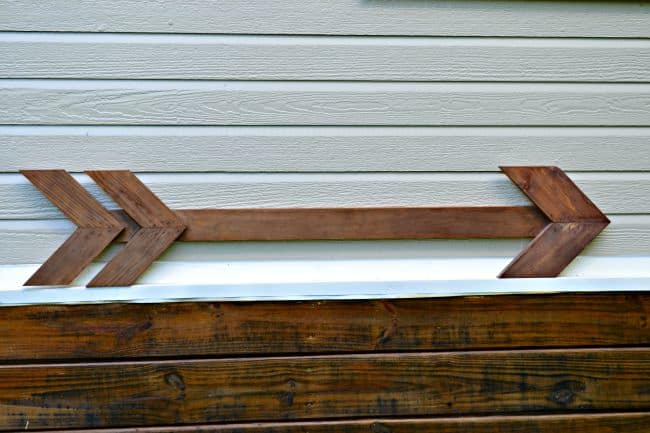
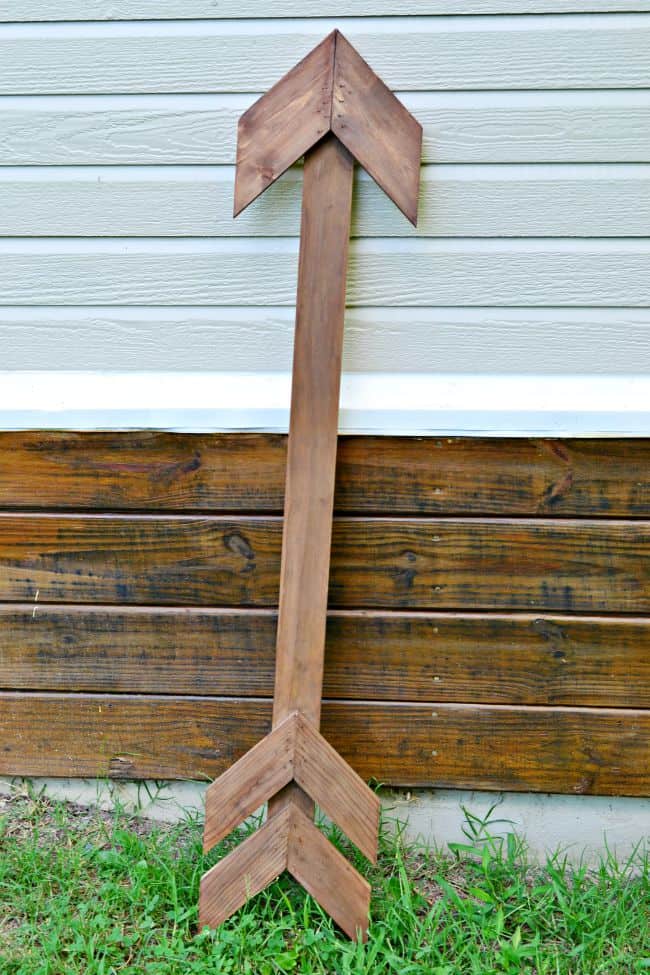
To make the actual arrow, cut down the size of your main length. I made mine to fit length wise with the top of our double doors. Then to cut the smaller pieces you will want to cut them at 45 degree angles, cut 6 of these. Once you cut one then you can use it as a template to keep all your pieces the same length. Use a little glue and nails to attach and you're all done.
Also, I recommending using what you have it you have scrap wood that will work. If you look closely my front pieces are actually 1x4 inch boards. I didn't have enough 1x3 inch to create the arrowhead so I just went with the bigger size and it looks just as good. I bet if I didn't mention it no one would have even noticed. 😉
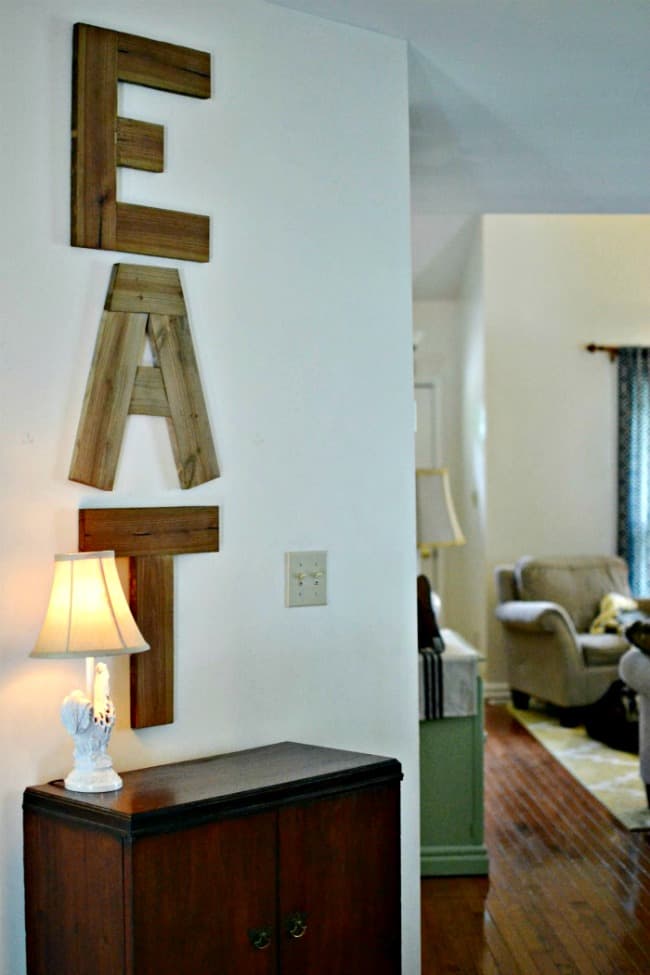
You might also like these other DIY signs I have made for my home.





Leave a Reply