Supplies:
- 1x6x8 wood board (or any size you prefer)
- stain (optional, you could just leave it raw)
- Paint Marker
- ruler
- [easyazon_link identifier="B00002X2HQ" locale="US" tag="thgisli03-20"]square[/easyazon_link] (optional)
- pencil
sand paper (optional)
I picked up my 1x6x8 at Lowe's but you can find them at all home improvement stores or local lumber stores. Prices of wood changes so the cost could vary but a 1x6x8 will usually run you around $4 for a straight pine board. Of course the prices will run you more depending on the quality of wood as well. I think picking out a nice pine board piece will do this job nicely.
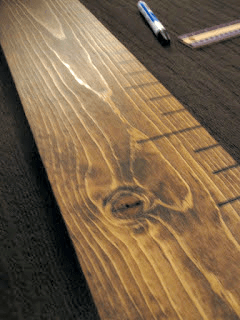
After you have all your supplies you will want to sand and stain your board, assuming you want to do this step but if not just skip ahead to the other steps. If you do plan to stain then you will want to do that prior and let it dry. It will be dry within 4-5 hours but I'd recommend waiting a whole day to begin the other steps.
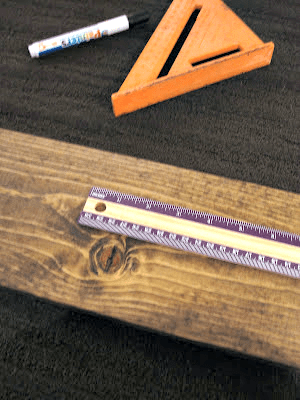
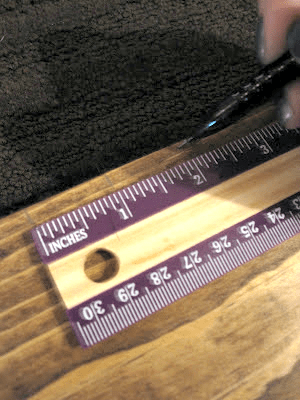
Once your board is ready to go then you can start marking the ruler portion. I took a real ruler and went down the whole board marking all of my spots with a pencil. This step made the job quicker when it came to painting my lines.
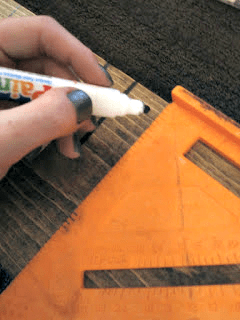
When I finally got all the marks set I went back and started painting all my lines. I used a paint marker but a sharpie would work just as well if you have one of those handy. I also used a square to keep my lines straight but if you feel like your freehand is steady go for it.
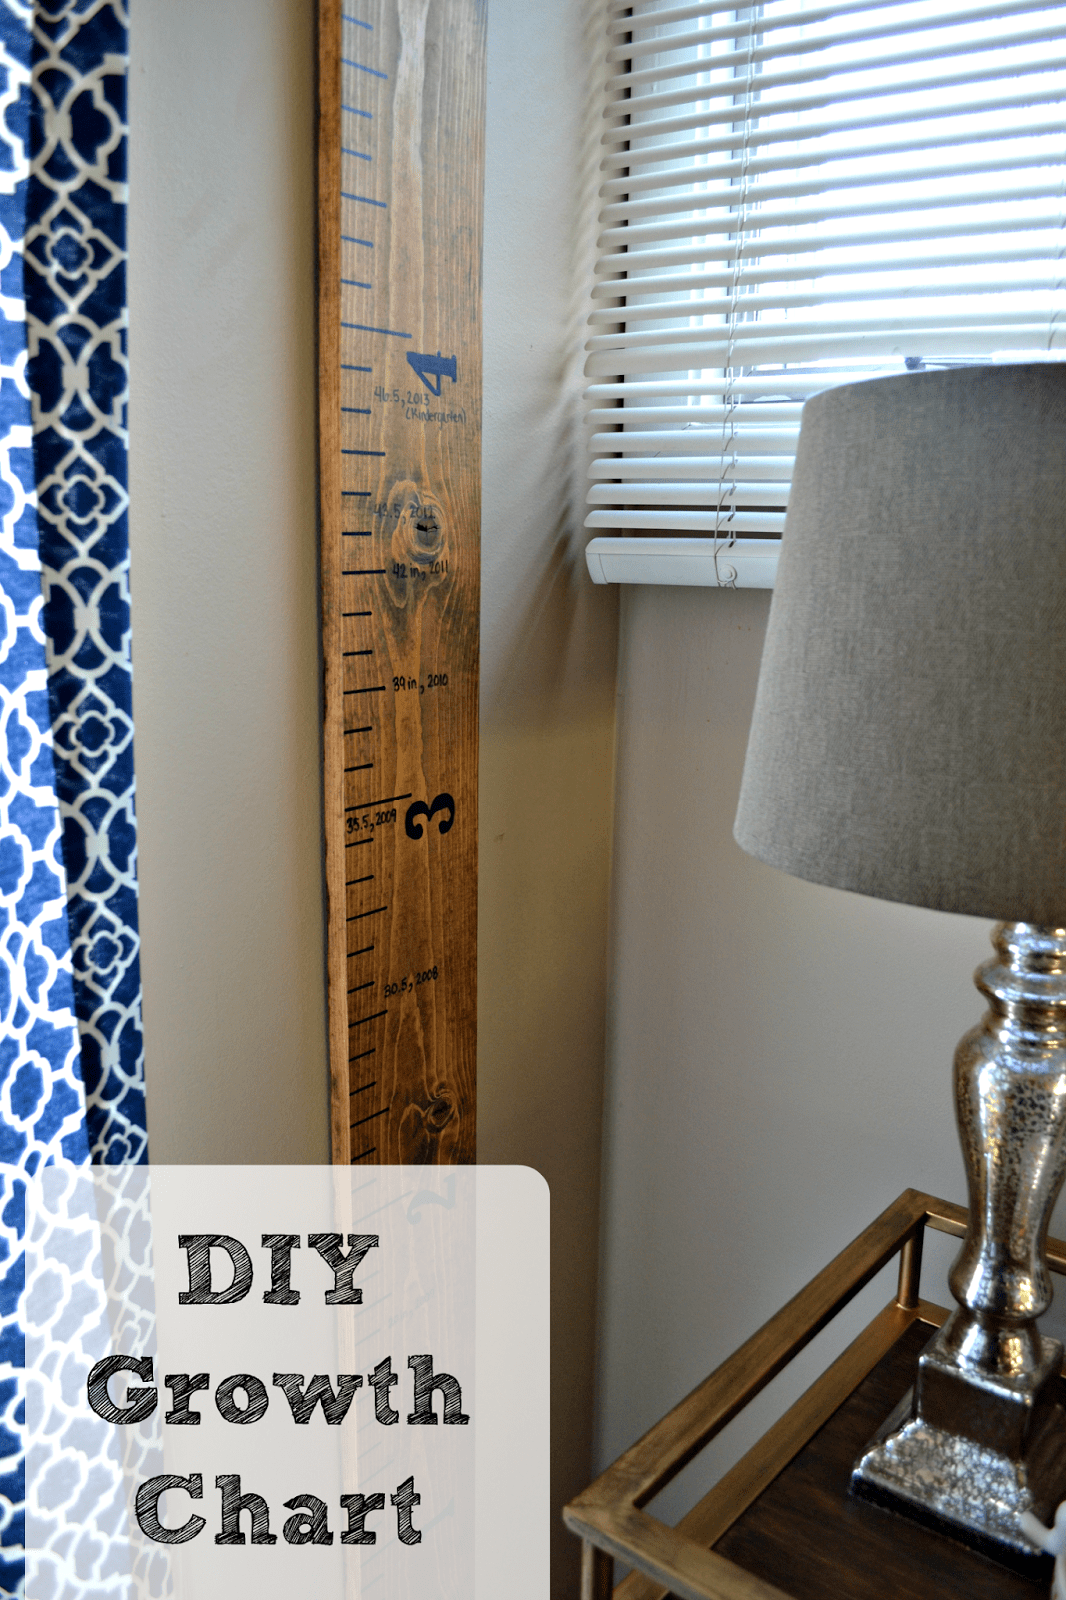
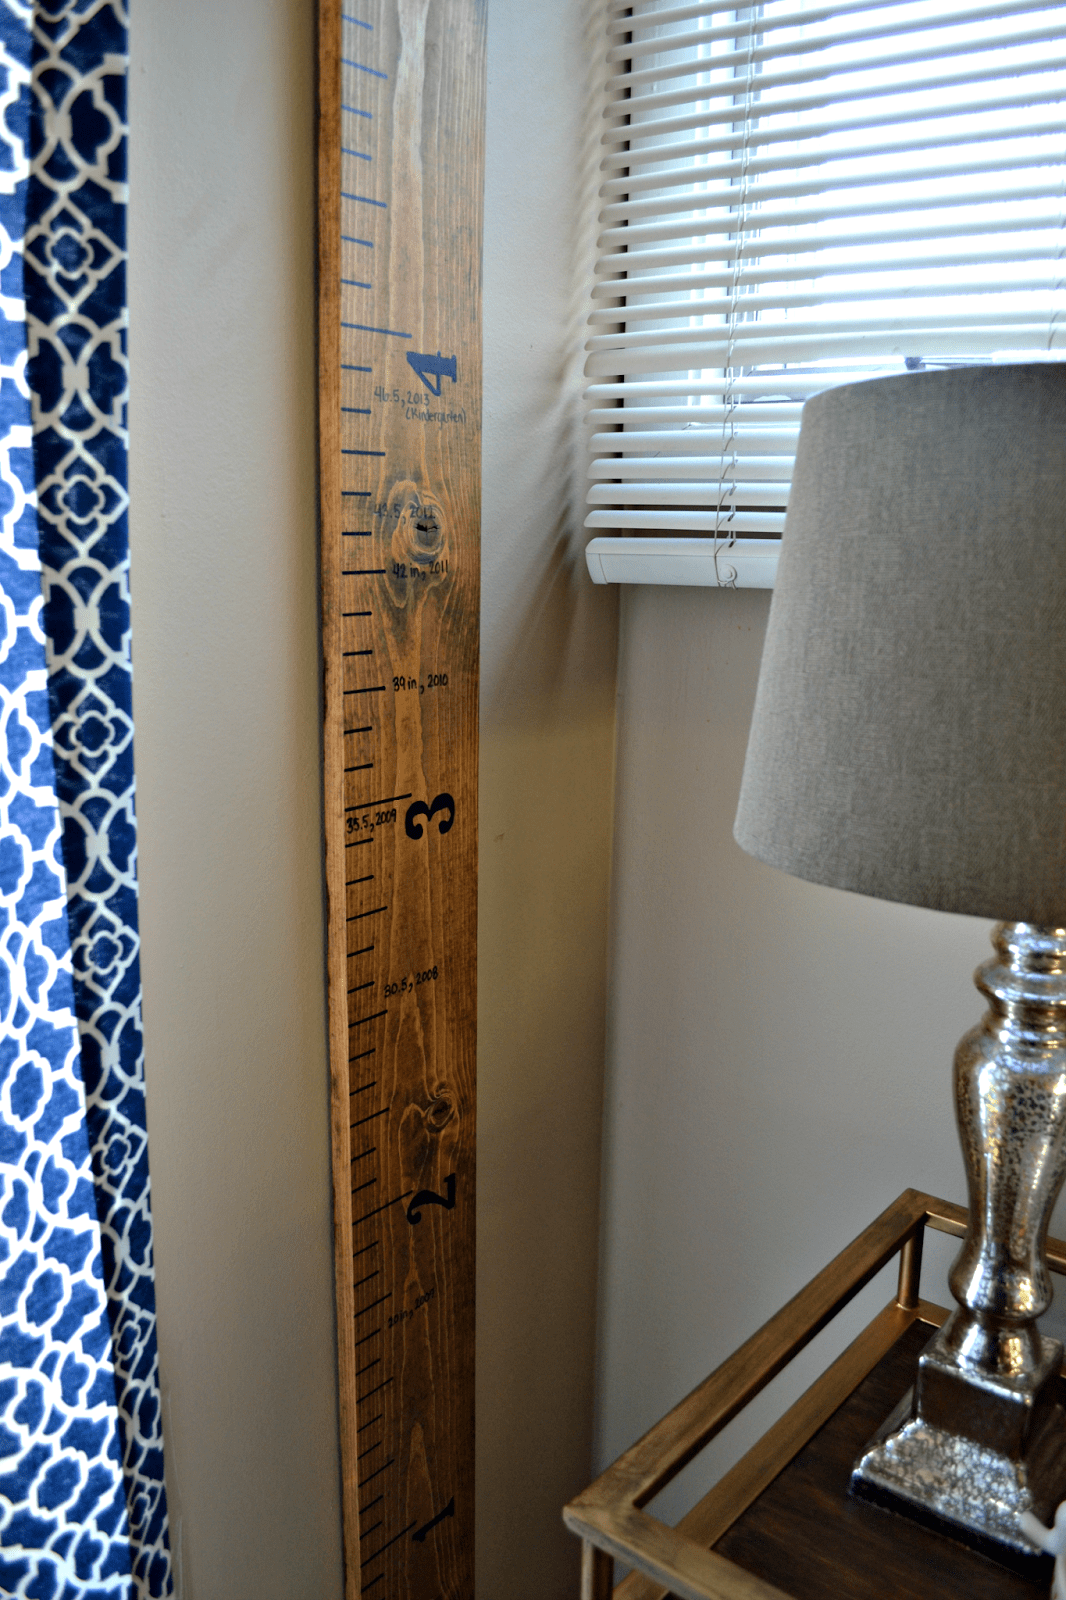
After I finished those steps I used a pencil to freehand the numbers and then traced and filled them in with my paint marker. When my ruler was completely done and dry I went back and filled in my daughter's growth stats by year. If you don't have children this would still be cute as a fun and cheap art piece.
How much did it cost?
I had everything on hand except for the wood so I spent around 4 dollars on this project, super cheap and really cute. However, if you need to purchase the wood, sharpie, stain, etc you should still be able to do it for under $10.


Cheryl says
Im going to try this but I am the farthest thing from creative and artistically inclined! Can you tell me how long you made your lines and how large you made your numbers? I am very "to the tee" with instructions and this would make me feel much more confident going into the project.
Melissa Coleman says
No problem, there are 3 different line lengths and the largest is 2 1/2 inches, then 1 1/2 inches and the smaller ones are 1 inch. The numbers are 2 inches.
Cynthia says
I just did this to use as a prop for a back to school session. Thanks for posting!! I also really love your idea as using it as a shower gift, so I might make another for my cousin's baby due in September. Thanks, again! 🙂
Melissa Coleman says
Great idea to use it as a back to school session. 🙂
Tara @ Tales of a Trophy Wife says
So fun! I made one for my sister for Christmas, but have been wanting to make one for myself eversince.
Melissa says
I love it. It would be a great (& unique) shower gift, I think. 🙂