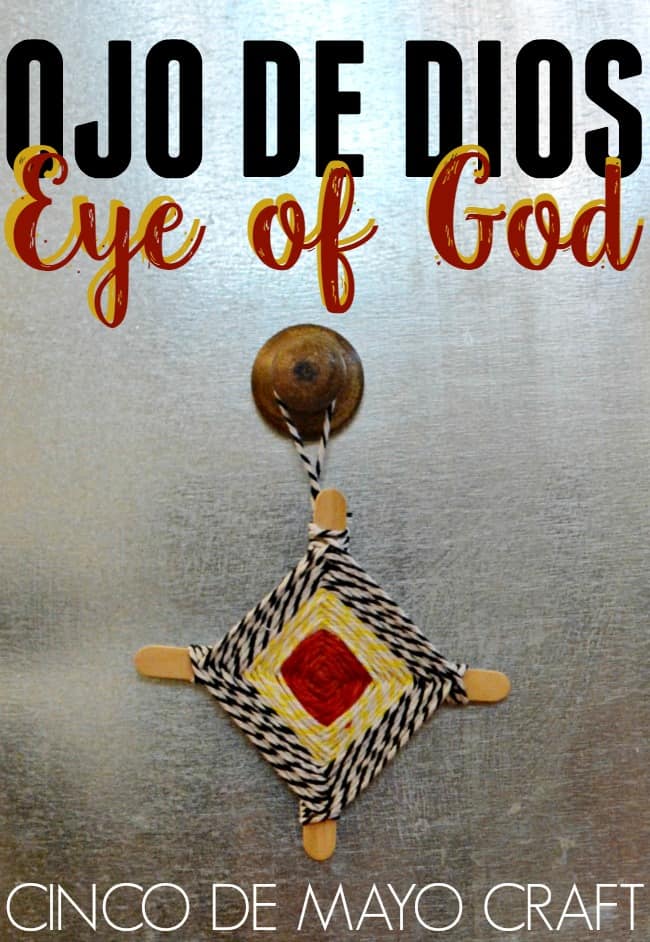
Easy and simple step-by-step instructions on how to make Ojo De Dios.
This makes a great yarn gift and decoration idea for Cinco de Mayo. Great for homeschool, art activities, and DIY classroom projects as well.
(This post contains affiliate links)
I figured we might as well kick May off right with a fun Crafting with Kids! craft.
Have you ever made one of these?
This craft is Mexican-inspired, and although we aren't of Mexican descent, we like to learn about all cultures around here.
What does El Ojo de Dios symbolize?
Ojo de Dios stands for Eye of God and the meaning behind this craft is that God's eye is watching over you.
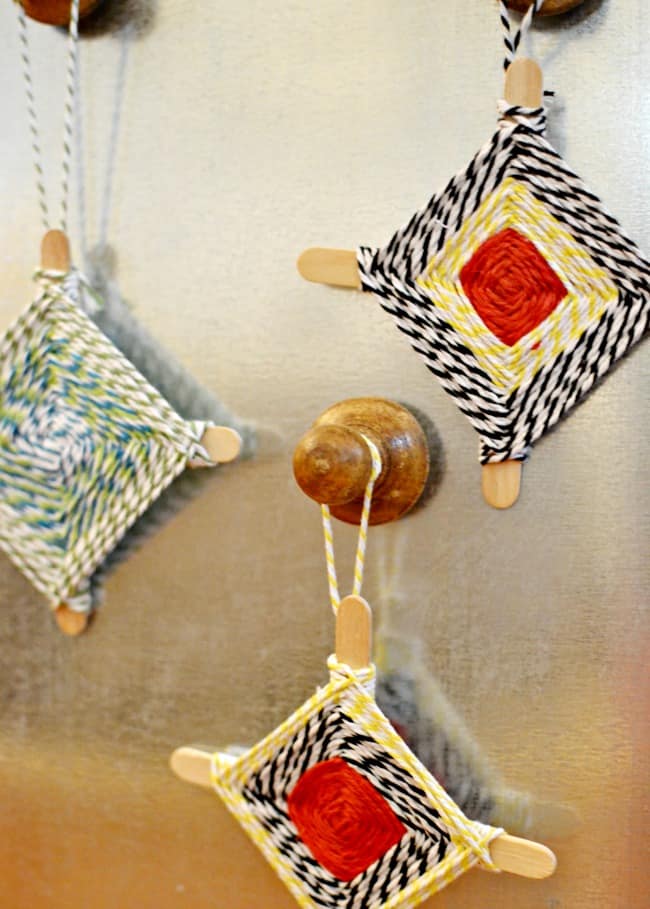
Although this craft is traditionally made with yarn I didn't have any yarn available but had tons of twine.
I think they are pretty with the twine, but I do recommend using pretty colorful yarn and use that term in my instructions.
Supplies you will need!
- Yarn (various colors)
- Craft Sticks (2 per each craft)
- Scissors
- Hot Glue Gun / Hot Glue (optional but recommended)
How to weave an Ojo De Dios Craft
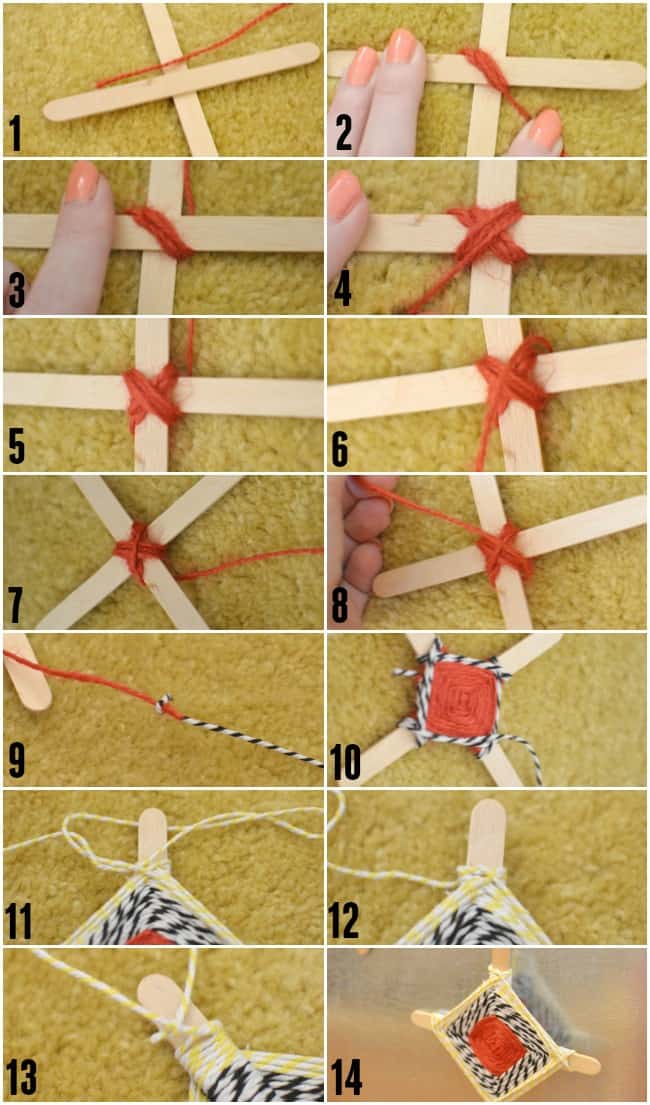
Step 1: Hold two craft sticks together and start out your craft with your first color. Holding the sticks can be tricky so for kids I recommend gluing the sticks together. You can just use regular craft glue for this.
Step 2: Wrap the yarn around one side diagonally approximately 5-6 times. Looping over the initial start so it will stay tight.
Step 3: Loop under the craft stick so that you can go in the opposite direction.
Step 4: Going the opposite direction, wrap the yarn around the other side 5-6 times. You should have a X at this point.
Step 5: Next, wrap the yarn under the craft stick again.
Step 6: Bring across the top diagonally. You should be going in the direction you started off the craft with.
Step 7: Wrap under the craft stick and across diagonally (the opposite direction) again.
Step 8: Continue to wrap the yarn over each side and across diagonally until you reach your desired number of rows.
Step 9: To change colors tie the two pieces of yarn together. Cut off any excess so you can easily hide the knot.
Step 10: Continue wrapping the same as before. To change colors again just use the same tie off method.
Step 11 & 12: Once you have reached your desired color combo and length tie it off leaving extra yarn to create a hanger.
Step 13 & 14: Tie off the back in a knot so that you can hang your craft. I also recommend adding a dot of hot glue to secure the yarn and hanger.
Your Ojo de Dios craft is all done!
Although I am not sure of the truth in these facts, I thought it was very neat and interesting.
Apparently, in Mexico, the center eye was made when a child was born, and each year a bit of yarn was added until the child turned five at which point the Ojo was complete.
How cool right?
Even more crafts for kids you don't want to miss!
- Cinco De Mayo Recipes and Crafts
- Popsicle Stick Sugar Skull: Day of the Dead Craft / Disney Coco Craft
- Summer Break Countdown
- Summer Crafts for Kids
- 4th of July Crafts for Kids
- Cinco De Mayo Cardboard Guitar Craft
Want to print or save the instructions on how to make Ojo De Dios?




Leave a Reply