Learn how to make a driftwood wreath!
But first.... Hi! My name is Heather and I blog over at New House New Home. Before we dive into today's project, allow me to introduce myself......
About three years ago, my husband changed jobs which required us to move from the big city to a small town in SW Ontario - about 2 hours east of Detroit on the Canadian side. As a result of this move, I was able to retire early. It was the best thing that ever happened. Not only did I get to quit a stressful job, I now have time to pursue all those interests I never had time for before: DIY, crafts, gardening, cooking, decorating. So I spend my days renovating our 1935 house, rejuvenating an old garden, cooking up a storm and sharing all with my readers. I'm domestically obsessed and blogging about it!
One of the things I like to do is create wreaths for my front door. And not surprisingly, a lot of my readers do too. So I've started a monthly series showing you how to make a new wreath. I thought I would share with you the most popular wreath I've created to date...
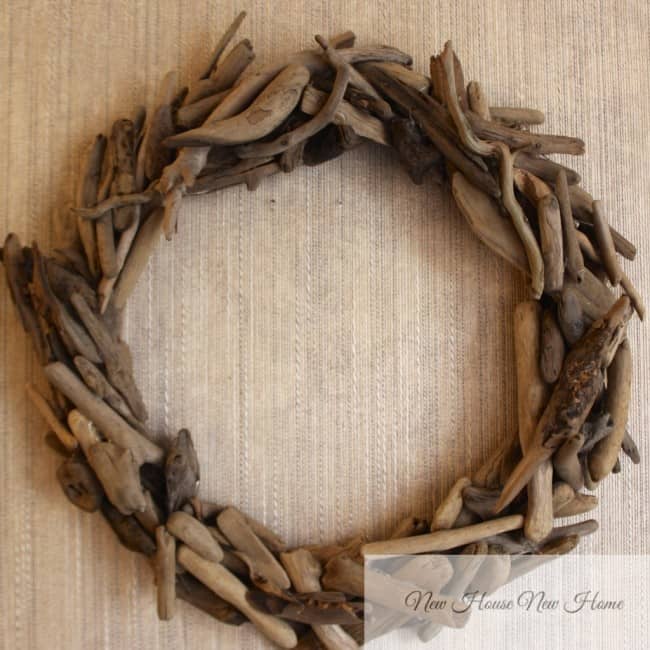
How to make a driftwood wreath: Restoration Hardware Inspired!
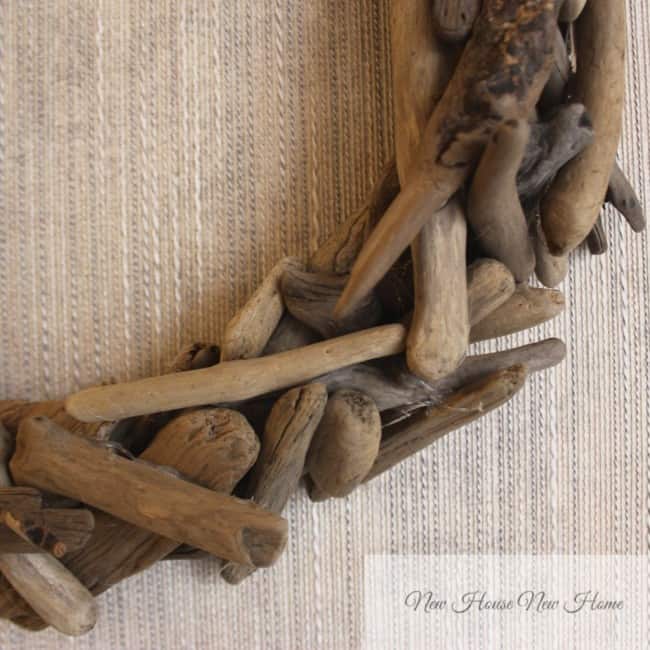
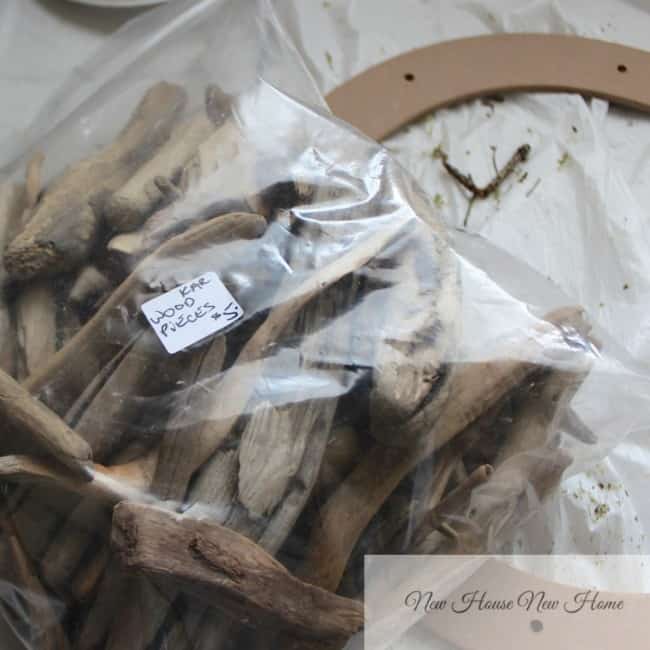
After seeing the Restoration Hardware wreath, I was smitten. But the hefty price tag stopped me from buying this beauty. So I thought why not make my own? After a quick trip to the craft store for supplies, I had my own version for a fraction of the price.
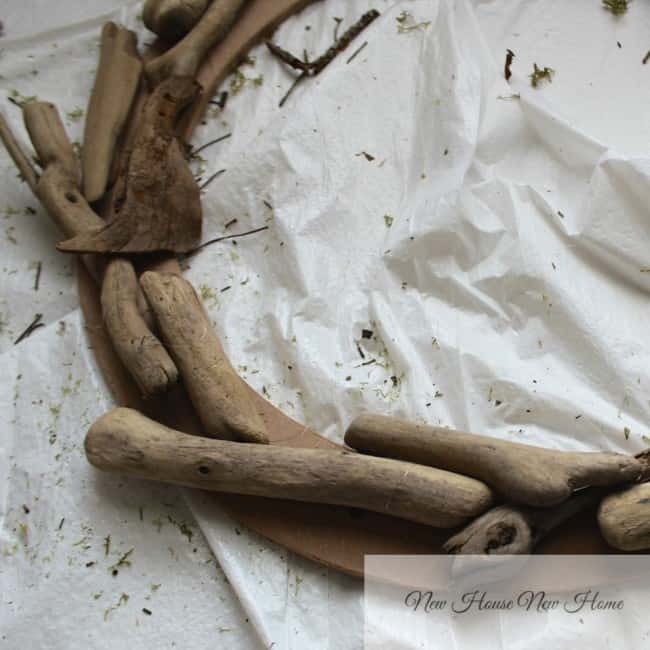
It's simply of matter of layering the pieces one by one and securing them with hot glue.
Start with bigger pieces and lay them out in the same direction. Then build up your wreath so that it has a nice rounded look. Fill in any "holes" with smaller pieces.
A perfect wreath for your beach house, to hang outside on the patio or enjoy all year round like we do as it's hung in our back entryway. For complete instructions.







Thea says
I can see why this is one of your more popular wreaths! I love it. It is so simple but that is what makes it look so great. I love the look of the small pieces of driftwood. Lovely!