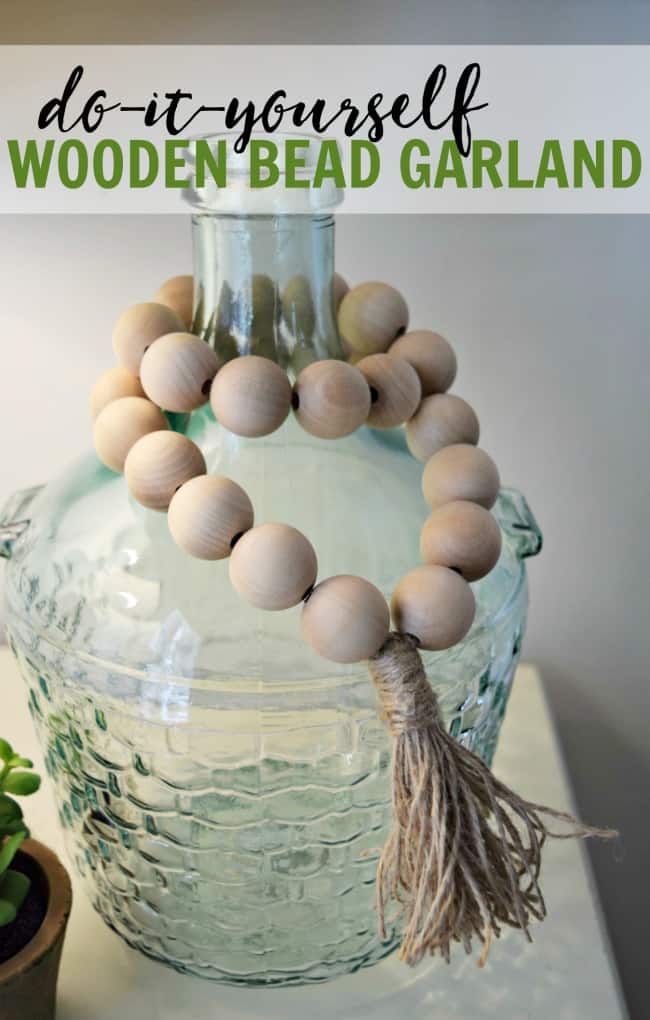
How to create your own wooden bead garlands for less than $10.
Super cute and simple home decor project that only requires a couple of materials.

This post contains affiliate links.
If you follow the home decor community then you already know that these wooden bead garlands have become a thing.
Naturally, I am a DIYer so I created my own for less than $10 and of course, I have the super simple tutorial for you today.
Materials Needed:
- 25 mm wooden beads
- Jute
- Hot Glue and Glue Gun
- Scissors
- Tape (optional)
Directions for making wooden bead garlands!
First of all, you will need to gather your materials. If you are a crafter then you likely have everything already needed except maybe the wooden beads.
Once you are ready to start your garland you will need to decide if you want to make it closed (like a necklace and how it's pictured) or like a garland with tassels on both ends, which are great for Christmas trees.
The instructions below will explain how to create a closed garland.
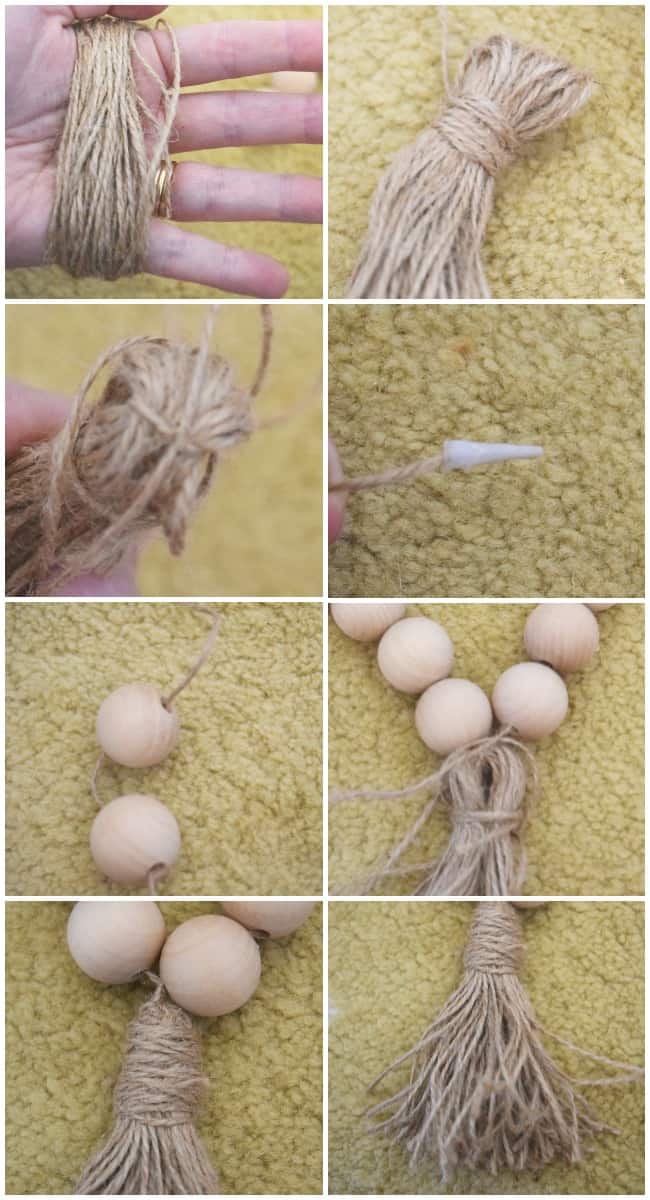
- Wrap your jute around your hand 50 times to create the tassel portion. Note: If you want to create a tassel on both ends you will just do the tassel part twice.
- Tie off the top part of the jute so it doesn't unravel (this is just temporary).
- String the jute through the top portion of the tassel and knot securely.
- Now you will want to unroll enough jute to string on your wooden beads. Don't worry if you unroll too much you can trim it and use the leftovers.
Note: I stated in the materials needed that tape was optional. I used the tape to wrap a small portion around the end of the jute string so that stringing the beads would be much easier as jute occasionally tends to unravel. - String on your wooden beads. If you are going to create the closed necklace style garland then you will bring the jute around (trim off excess if needed) and back through the tassel to tie it off. For the necklace style, I used 25 wooden beads.
If you want to create a wooden bead garland that has a tassel at both ends you will string the other end of the jute through the second tassel and tie it off like the first one. A number of wooden beads needed for this will just depend on how long you want your garland. - Now to finish off your tassel take either your excess trimmed jute or another small amount and wrap it around the top portion of the tassel that you had temporarily head with a small tied portion. Wrap until you like how it looks and using a hot glue gun attach the string.
- The final step is to use your scissors to cut the tassel end (or ends if you made two).

That is all there is to this super simple but cute home decor craft.
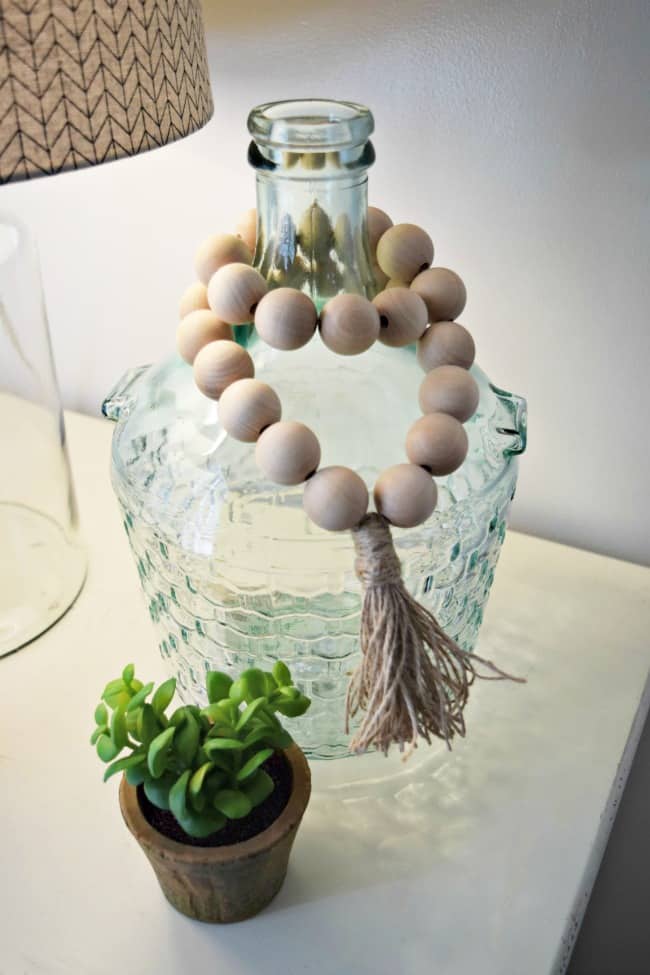
I am loving it and it looks great wrapped around the demijohn bottles. You can find similar bottles at Hobby Lobby but be sure to wait for that 50% off glass sale.

If you love DIYing your home decor be sure to check out these other awesome projects as well.


Ellen Blalock says
Just learning how to make the beads haven’t got the tassel down yet it seems as though there might be a softer jute that I can’t find mine is real stiff & just don’t like the tassels I see in pictures where could I find maybe something that would end looking like a tassel
Melissa says
Ellen,
There are definitely different types of jute, some rougher than others. You could also use any type of string, yarn, etc. You would just have to adjust how you tie them.
Tariere says
Hi,my name is Tari and I absolutely love those wooden beads. I have been looking for these sizes of beads and bigger but can't find them. Was wondering if you could help me out. Expecting a response...thanks.
Melissa says
https://amzn.to/2T8mr9X
Lola says
What ply of jute do you recommend?
Melissa says
I just buy whatever I can find, not sure on the actual ply. Any would work as long as it will fit through the wooden bead holes.