
Make this easy and basic DIY Shop Stool using only 3 - 2x4x8 boards.
The cost is less than $10 to make. It would also make a great side table or plant stand.
Updated Note: Probably closer to $15 to make now with the price of wood, but still a great deal.

Note: The cost of wood has increased since the first posting of this DIY stool. It is still an incredibly inexpensive project, but it may cost more than $10.
It has been a minute since we have been able to get outside and start a new wood project.
We have a few new plans in the works but first I needed to fix a problem that I have been dealing with every time we build in the garage.
A place to sit! So today's build is a super simple DIY shop stool.
When I say super simple I totally mean super-duper simple.
This stool is built out of 3 - 2x4s and a handful of screws.
Total cost under $10. Wow!
I'm pretty sure I couldn't have even bought an average-priced one at the local dollar store for under $10.
What is even cooler about this build is that it could easily be used as a side table for your patio or house too.
It would even work equally great as a plant stand.
Today though, it is a DIY stool. Keep reading for all the tutorial details.
How do you make a simple DIY shop stool?
Shopping List:
- 3 -- 2x4x8 boards
- 2" pocket hole screws
- 2" flathead screws (or 2" flathead nails)
- wood glue
- sandpaper
- finishing supplies (if you want to stain your stool)
Tools you will need to build this simple DIY shop stool.
- Tape Measure
- Speed Square
- Pencil
- Safety Glasses
- Ear Protection
- Drill / Drill Bits
- Miter Saw
- Sander
- Kreg Jig
Cut List:
- 4 - 22 ½" (legs)
- 4 - 10 ½" (front/back support boards)
- 4 - 13" (side support boards)
- 5 - 16" (seat boards)
Directions:
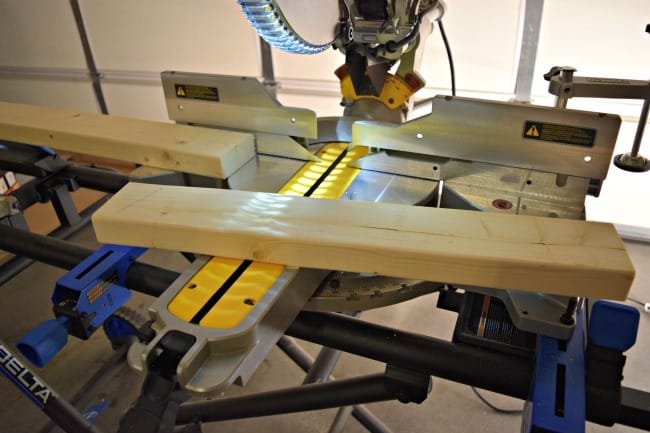
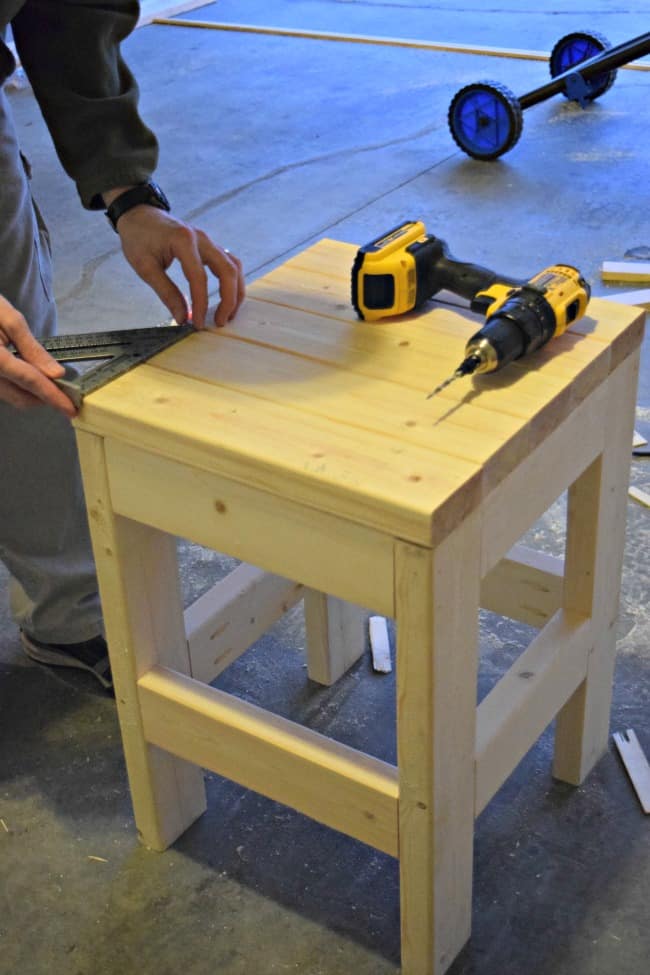
Step 1: Use a miter saw to cut the lumber for your stool.
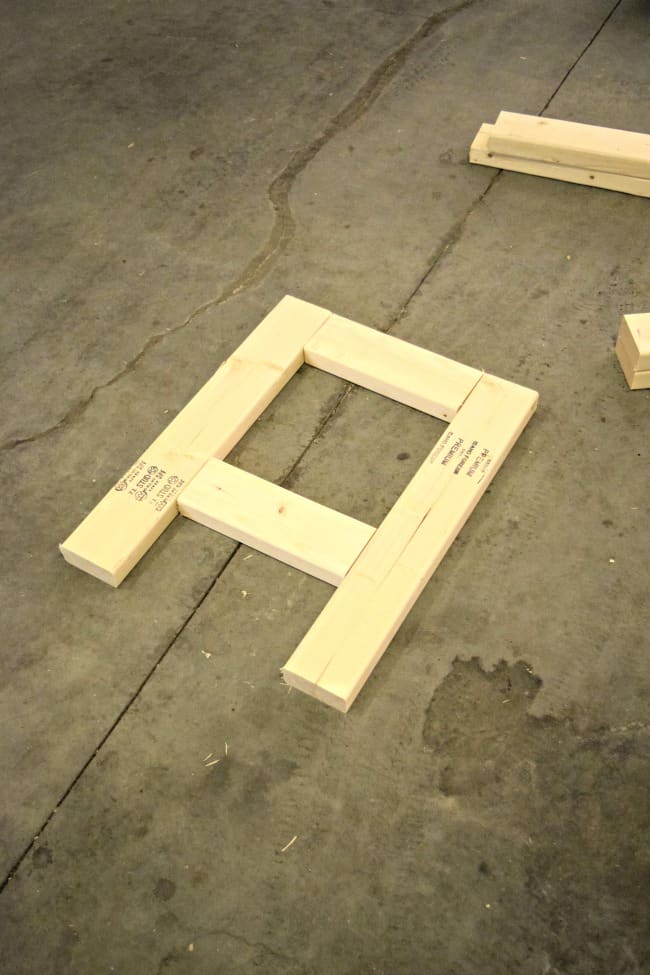
Step 2: Using two front/back supports and two leg boards make one front panel.
We used a Kreg Jig to attach these with 2" pocket hole screws and wood glue.
The first support should be flush with the top of the leg board and then the other should be attached with 8 ½ inches in between the two.
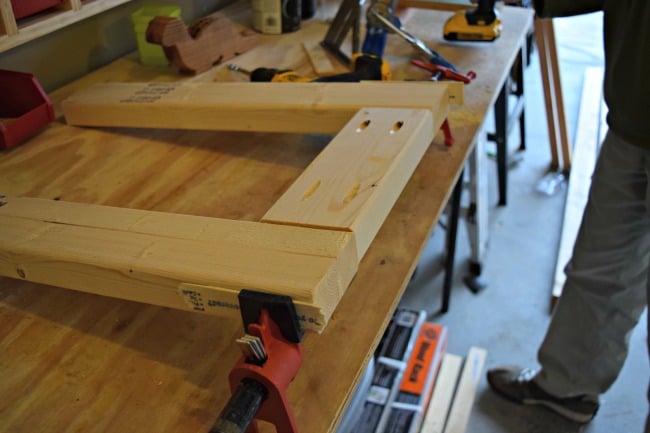
Step 3: Using the other two front/back supports and two leg boards make your other back panel. Attaching the support pieces at the same points.
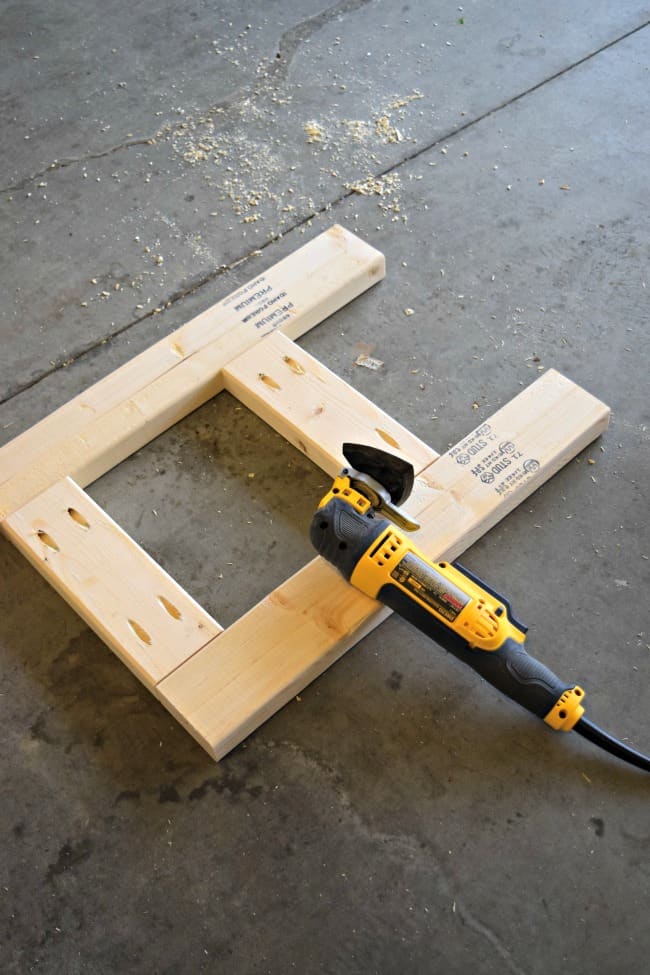
Step 4: Sand all of your pieces before assembling the rest of the stool.
Step 5: Attach the front and back panels using the side support boards.
Two boards on each side. These will also be attached at the same points.
The top board is flush with the legs and the others with 8 ½ inches in between.

Step 6: Attach the 5 top seat boards using Flathead screws or just regular 2" nails.
Step 7: Stain or Paint...
We just decided to let ours naturally darken like the rest of the projects in our garage, but if we were going to use it for the house, we would probably use this homemade wood stain. I love it!

Estimated Cost: Less than $10, though this depends on the current cost of wood.
Skill Level: Beginner
I hope you found this tutorial helpful and would love to hear if you built one and what you are using it for.
If you enjoyed this DIY Shop Stool project you might also like these other easy woodworking projects we have done.

Home Depot Worker says
2x4x8s at HD are about 5 dollars a pop. Still a fairly cheap project.
Melissa says
Yeah, that is why I mentioned that the price is probably different as the cost of lumber has significantly gone up since the post was originally created.
Arun says
I've made this twice before. One for inside the house (being used as a cage to protect subwoofer from curious toddlers!) and one for outside with some waterproofing being used as a stand for small fountain. Both of those times, cost was close to $10. This time around, thanks to jacked up lumber prices, it came close to $30 just for the wood. Lol, even then, I love to build it and is such a good value. Building it again this time around per a family member's request for them to use as night stand!
Melissa says
Yes, still a good deal at $30 but definitely the price of wood has brought the cost up. We have made several of them because they make such good stools/stands for a variety of purposes.
Vince Naokwegijig says
I've made two of these and am making another one as I'm writing this, such a sturdy, easy to make stool! Definitely one of my favourite things to make now. Thanks so much for the plan!
Melissa says
Awesome! They are handy for so many different things, shop stools, inside stools, plant stands, side table, etc.
Jeanette Main says
I've made three of these for gifts. It is so easy and they look so awesome! They are super sturdy!
Melissa says
That is awesome, yes they are super easy to make and even better inexpensive as well.
Grace says
Curious why you say to cut lumber with miter saw when they're straight cuts? Adding this to my list of projects to make! Thinking it might be perfect size to hold my printer.
Melissa says
A miter saw makes straight cuts as well as angled cuts.
Michelle Champagne says
How would you make this into a swivel stool with a back?
Melissa says
That's a good question, Michelle. I have never tried to turn it into a swivel stool or put a back on it. I would have to think about how that would work. In the meantime, if you come up with anything let me know and I will pass on the word.
Lori Munden says
Made this to use as a night stand for my son's room at our cabin. It fit in with his pine bunk beds. Gets used for extra seating when we need it. Thanks for the plans! I will be using it again and again I"m sure.
Melissa says
That is an awesome use for it Lori! I love how everyone is finding so many different ways to use this stool. 🙂
Chuck Adamcryk says
Great stool looks easy enough I’m going to make one for my shop bench tomorrow.
Jay Y. says
I just had to make one, and sat my mini fridge on it. Thanks for the inspiration one Sunday afternoon.
Melissa says
Nice! Love the use of a mini fridge stand. So many great ways to use this little inexpensive build.
Randy Daughdrill says
Great job! Gonna build one for my workbench.
Funky Junk Interiors says
Now that is one awesome build! Looks as sturdy as a rock! I can think of a hundred uses for your cool creation!
Melissa Coleman says
Thanks Donna... It is super sturdy. 🙂
Sara says
Great stool, you made it look so easy!!!
Melissa Coleman says
Thanks Sara... It definitely is super easy to make and budget friendly too. 🙂