Discover a fun and creative popsicle stick fireworks craft for kids!
Engage their imagination with this easy DIY project that uses popsicle sticks to create vibrant and colorful 4th of July rockets.
Let their creativity soar as they design unique patterns and shapes, making this craft perfect for parties, holidays, or rainy day activities.
As parents, we're always on the lookout for fun and creative activities to keep our kids engaged and entertained.
What if I told you there's a craft that combines the excitement of fireworks with the joy of crafting?
Get ready to ignite your children's creativity with popsicle stick fireworks crafts!
In this blog post, we'll explore the steps, materials, and endless possibilities of this vibrant DIY project that will leave your little ones bursting with excitement.
Why you'll love this craft!
- Sparking Creativity:
This craft encourages your children to unleash their imagination and explore their creativity. From designing unique firework patterns to experimenting with different color combinations, they can let their artistic abilities shine. - Fine Motor Skills Development:
As your kids handle the popsicle sticks, paintbrushes, and glue, they enhance their fine motor skills. This craft involves precision and control, allowing them to improve their hand-eye coordination and dexterity. - Sensory Exploration:
Painting the popsicle sticks and adding glitter or sequins provides a multisensory experience for your children. They can explore different textures, observe how colors mix and blend, and engage their senses as they create their own dazzling fireworks display. - Pride in Accomplishment:
Completing a craft project instills a sense of accomplishment in children. Seeing their finished popsicle stick fireworks come to life will boost their self-confidence and provide a tangible representation of their creativity. - Educational Opportunities:
This craft offers an opportunity to discuss the science and physics behind fireworks. You can talk about concepts such as combustion, energy, and light while sparking their curiosity and expanding their knowledge. - Versatility and Decorative Potential:
Once the popsicle stick fireworks are crafted, they can be used in various ways. Hang them on walls, display them as table centerpieces, or even turn them into ornaments for special occasions. The versatility of this craft allows for both creative expression and practical use. - Quality Time Together:
Engaging in crafts with your kids fosters quality family time. It's a chance to bond, laugh, and create lasting memories. Encourage conversation, share ideas, and enjoy the process of crafting together.
Materials to make a Popsicle Stick Fireworks Craft!
- Craft Sticks, Jumbo
- Craft Foam, Red, White, Blue
- Balloon Weight, Red, White, and Blue (you can purchase these from Dollar Tree)
- Glitter Glue, Silver
- Wooden Stars
- Glue Gun and Glue Sticks
- Acrylic Craft Paint – Red, White, Blue
- Paintbrush
- Scissors
- Pencil
- Rocket Pattern Printable
How to make a popsicle stick fireworks craft for kids to make!
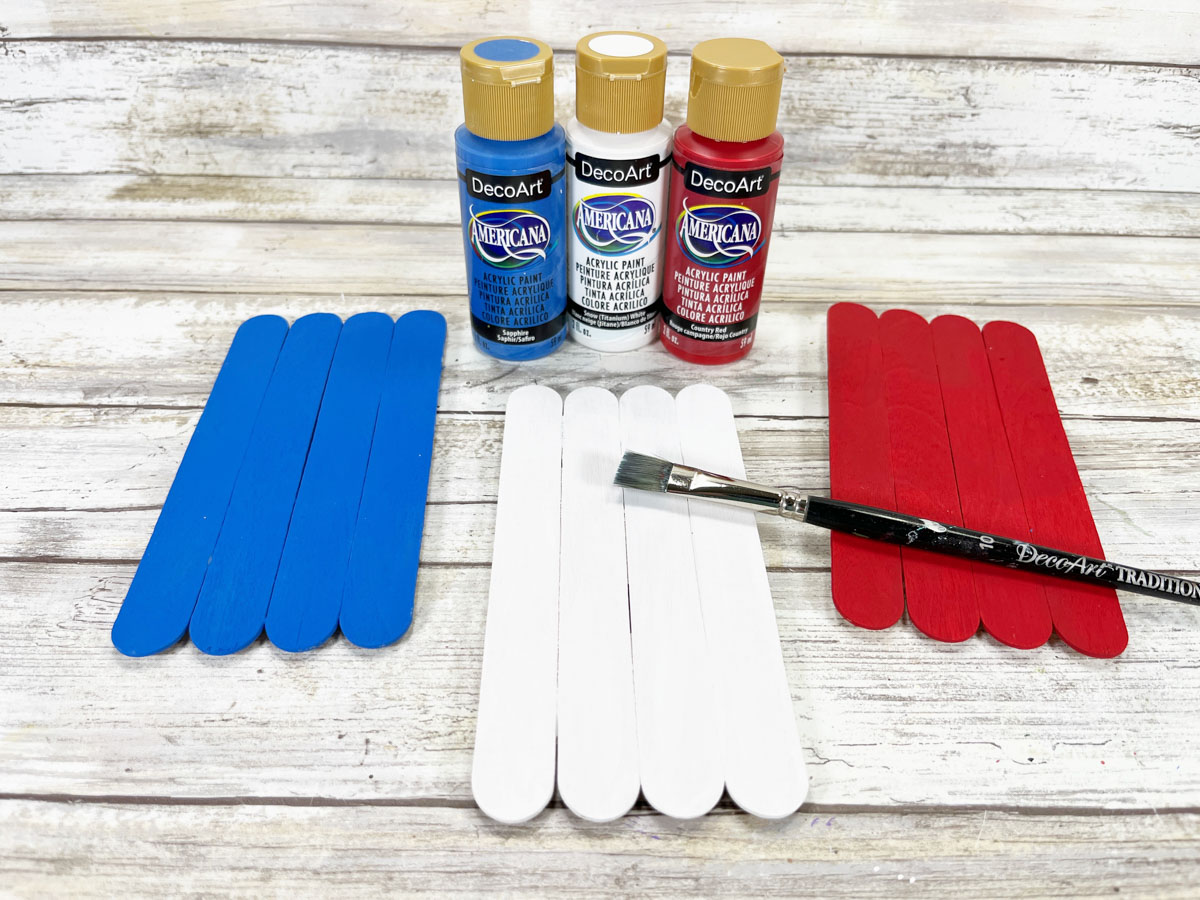
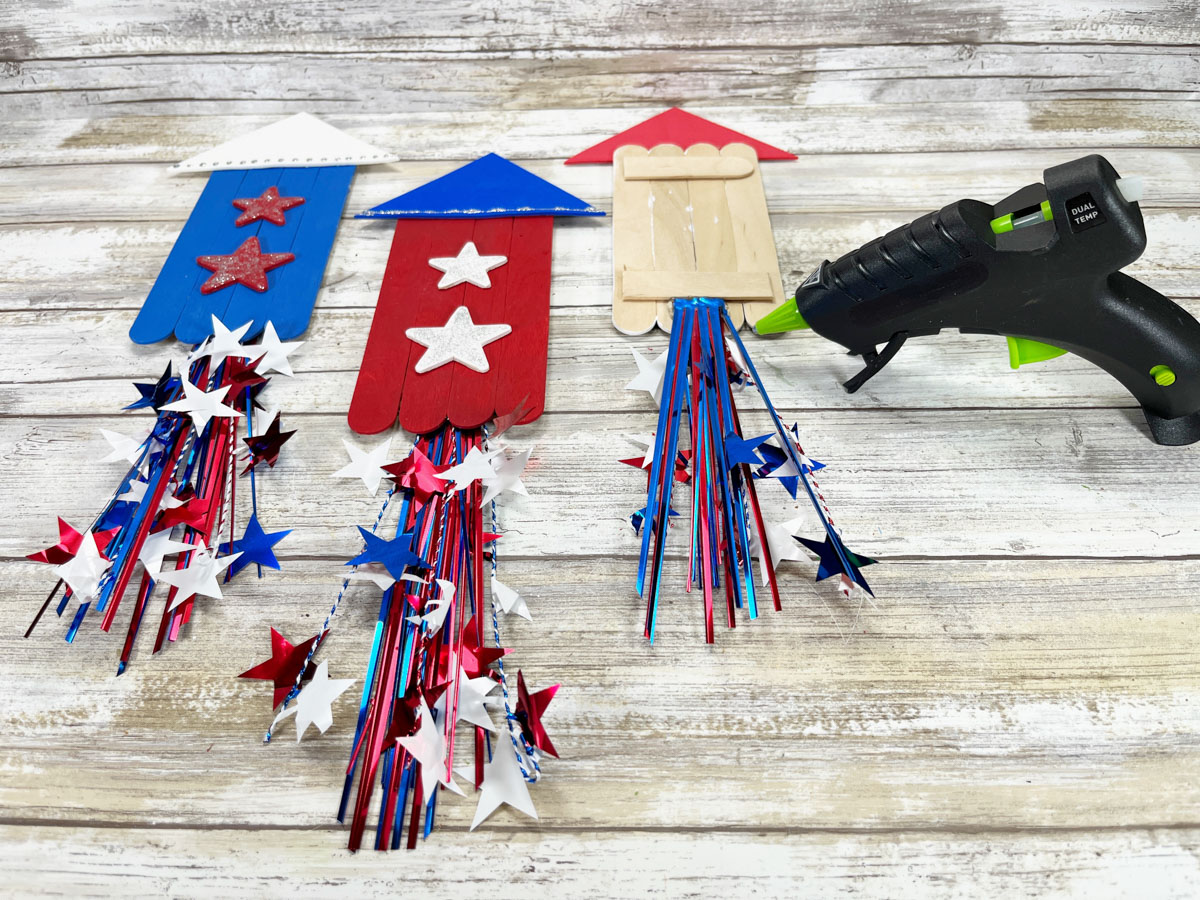
Gather all supplies. To create each rocket base, line up four jumbo craft sticks on your work surface.
Using scissors, trim additional jumbo craft sticks to the width of the rocket and attach with a glue gun and glue sticks. Repeat two more times to make three rockets.
TIP: You can use liquid craft glue for this project, but you will have to wait for it to dry.
Basecoat the front and sides of the first rocket with white acrylic craft paint and the second with blue acrylic craft paint, and the third with red acrylic craft paint. Let dry, and apply a second coat, if necessary.
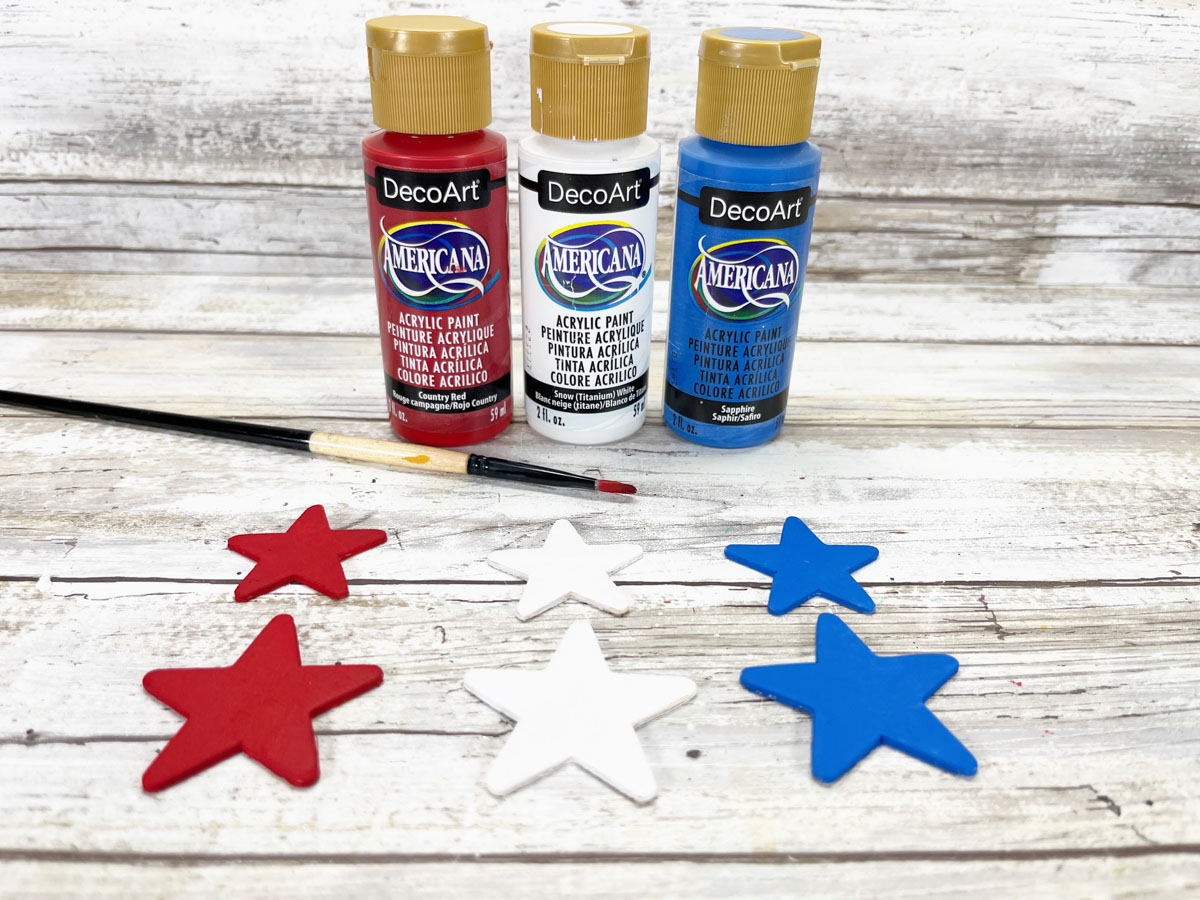
Basecoat the front and sides of two wooden stars with white acrylic craft paint, two with blue acrylic craft paint, and two with red acrylic craft paint. Let dry, and apply a second coat, if necessary. Or use the star patterns provided.
Download and print the rocket pattern, and cut out the pattern with scissors. Using a pencil, trace the rocket top onto red, white, and blue craft foam once. Cut out all patterns with scissors.
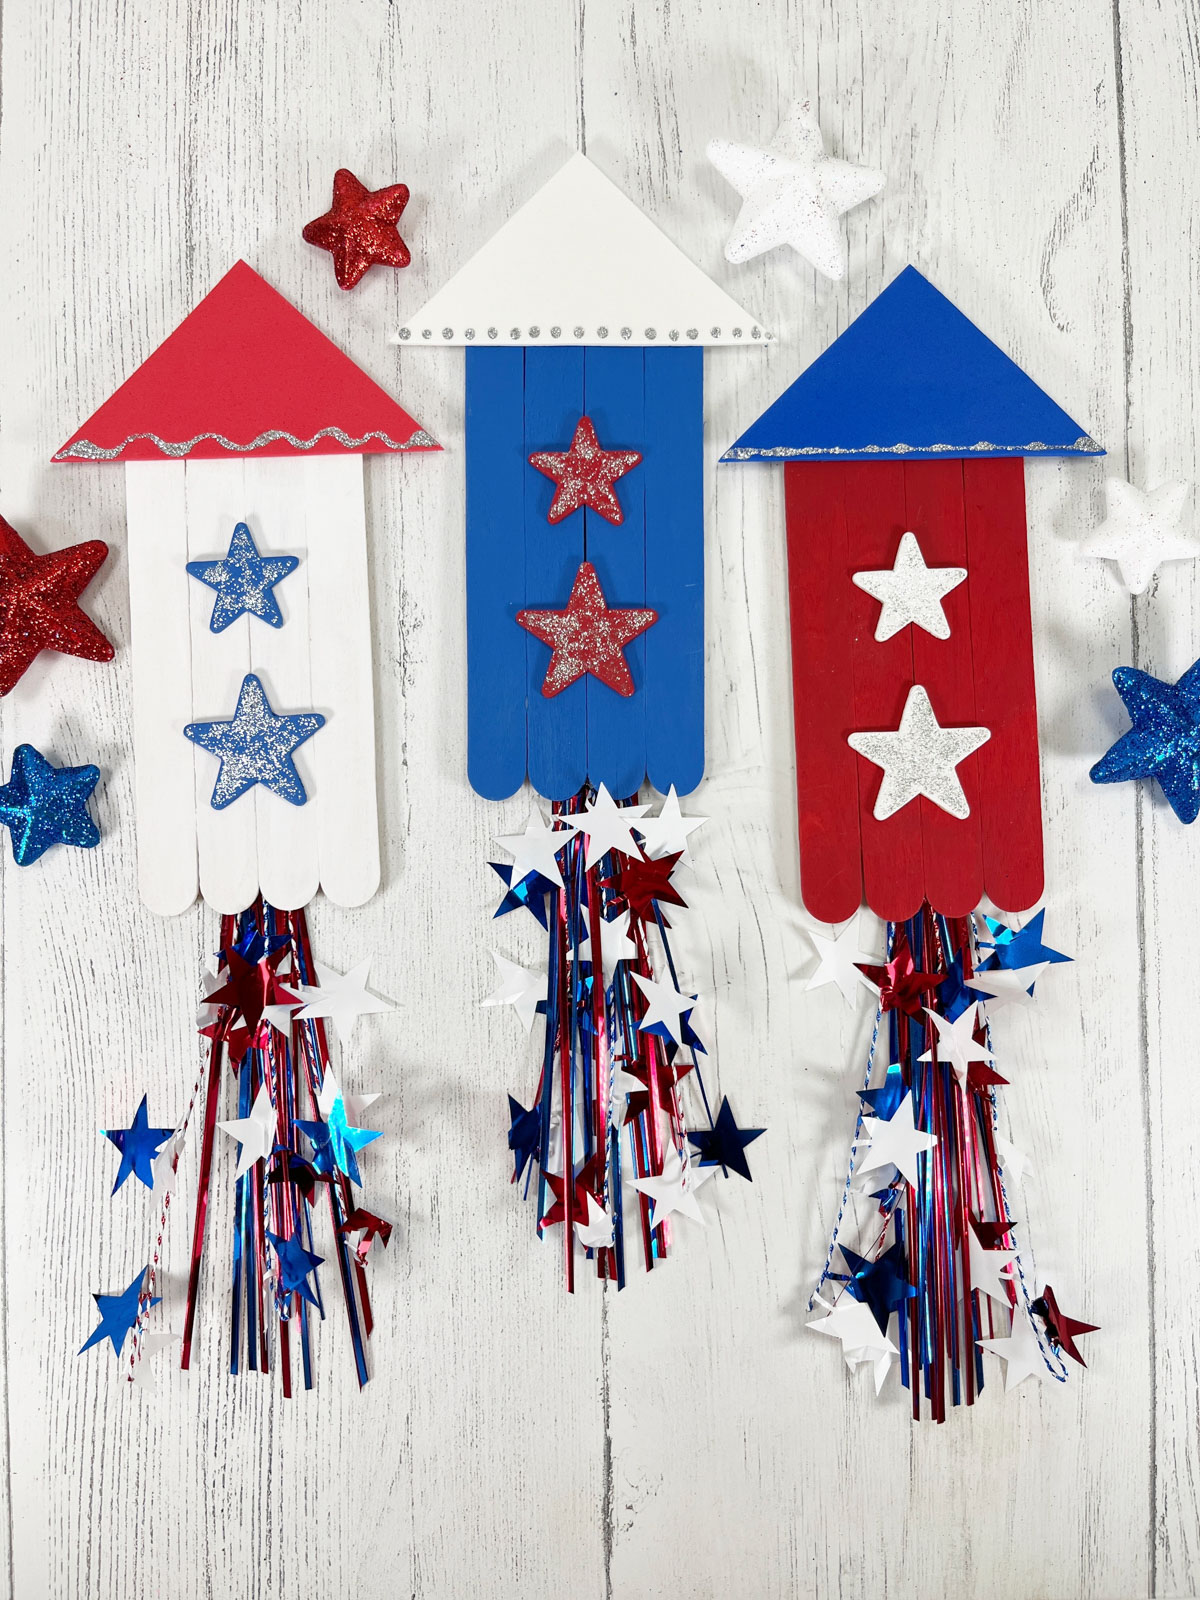
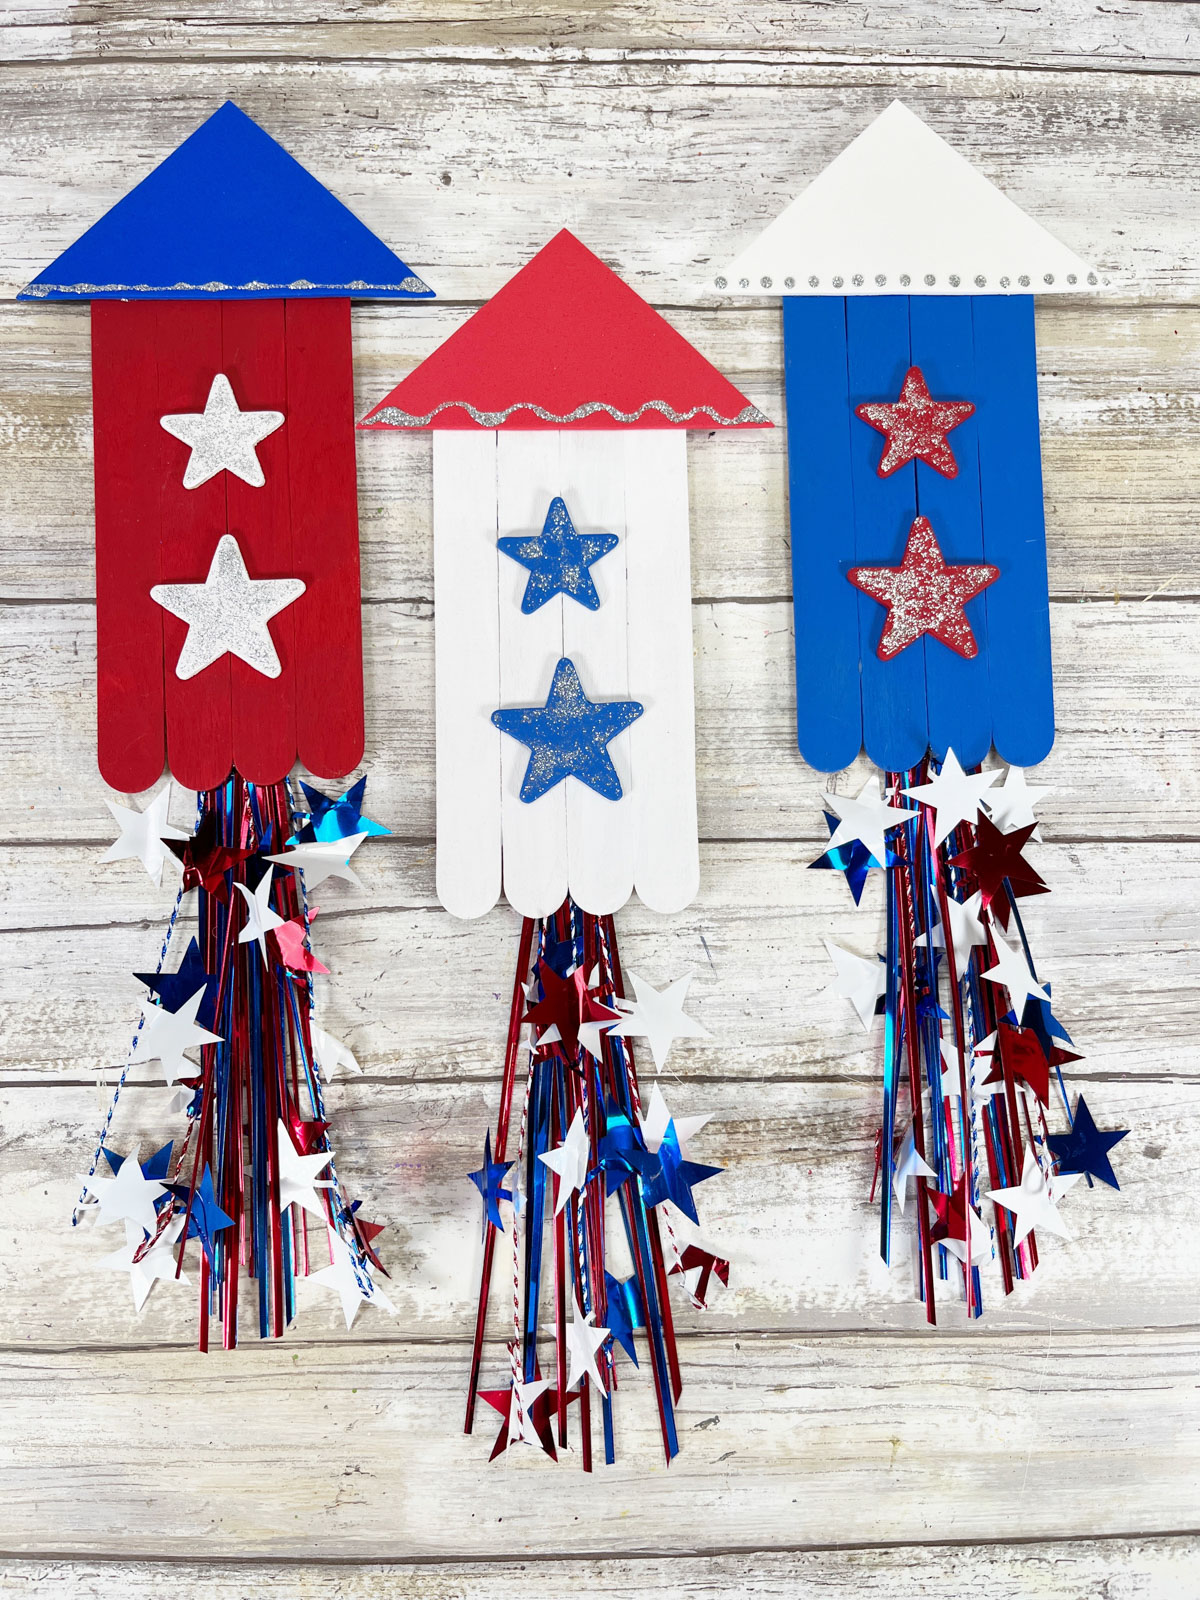
Attach the blue top and the white stars to the red rocket with a glue gun and glue sticks. Glue the red top and blue stars to the red rocket. Glue the white top and the red stars to the blue rocket.
You can also use construction paper, colored cardstock, or craft felt for this project.
Apply a layer of silver glitter glue to the six stars on the three rockets. Accent the top of the rocket with silver glitter glue patterns, such as polka dots, wavy lines, and straight lines. Set aside to let glitter glue dry.
Separate the wired stars and the tinsel from a red, white, and blue balloon weight.
Cut the tinsel into three sections that are approximately 2” long each.
Cut the wired stars into nine sections, approximately 5” to 6” long each. This will become the rocket flames.
Measure and cut the 12” lengths of tinsel into two sets that are 6” long each.
Attach the loose tinsel pieces to the tinsel base with a glue gun and glue sticks.
Then glue the three lengths of wired stars to the top of the tinsel base.
Bend the wire ends over so no sharp edges are exposed. Repeat with the other two rocket flames.
To finish, attach the rocket flames to the bottom back center of each rocket with a glue gun and glue sticks.
Want to print or save this popsicle stick fireworks craft for kids?








Leave a Reply