
Hey guys! I hope y'all had a fantastic Easter. I know we had a great weekend and this week is Spring Break so we are excited about having some more time off too. Today though I am joining some more of my favorite bloggers again for another woodworking project. This one out of wood pallets. If you missed the last one, I created a diy shop stool out of only 2 x 4's. Today's project is a diy mail organizer.
(This post contains affiliate links.)
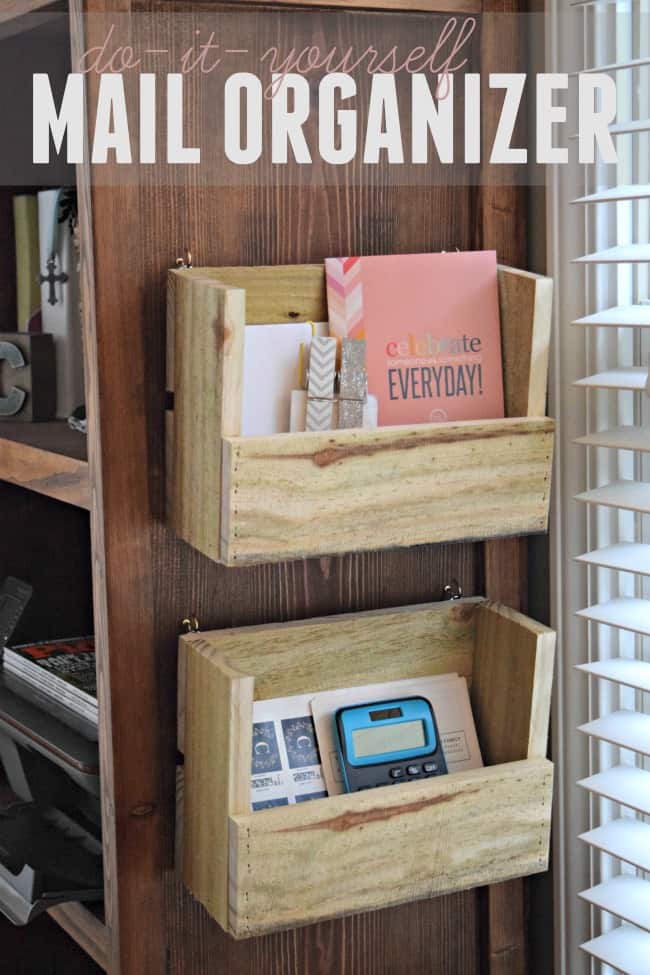
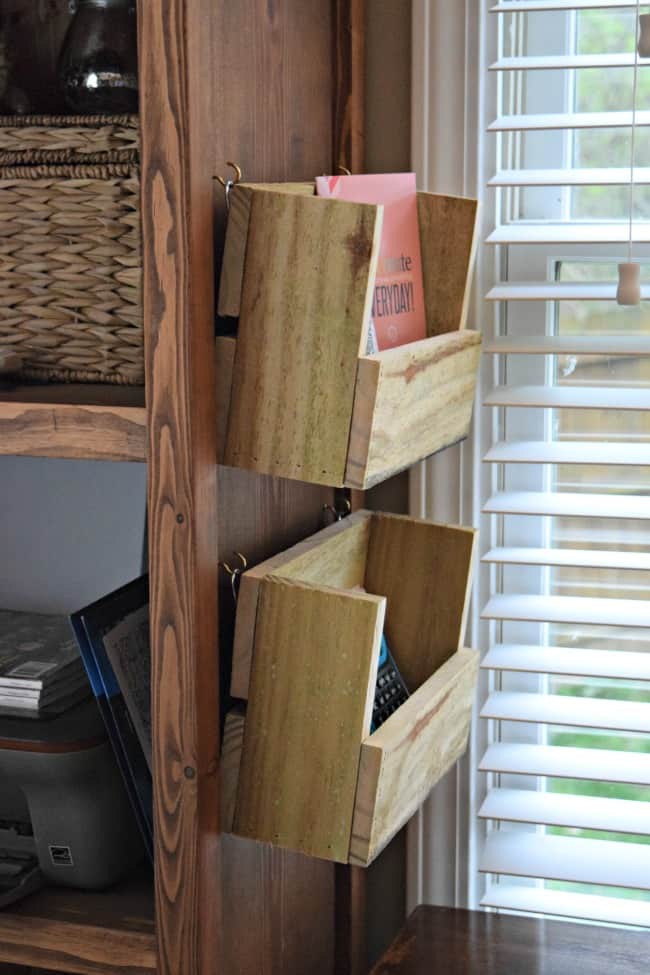
DIY MAIL ORGANIZER
This project was incredibly easy and only took about 30 minutes to complete two.
SHOPPING LIST:
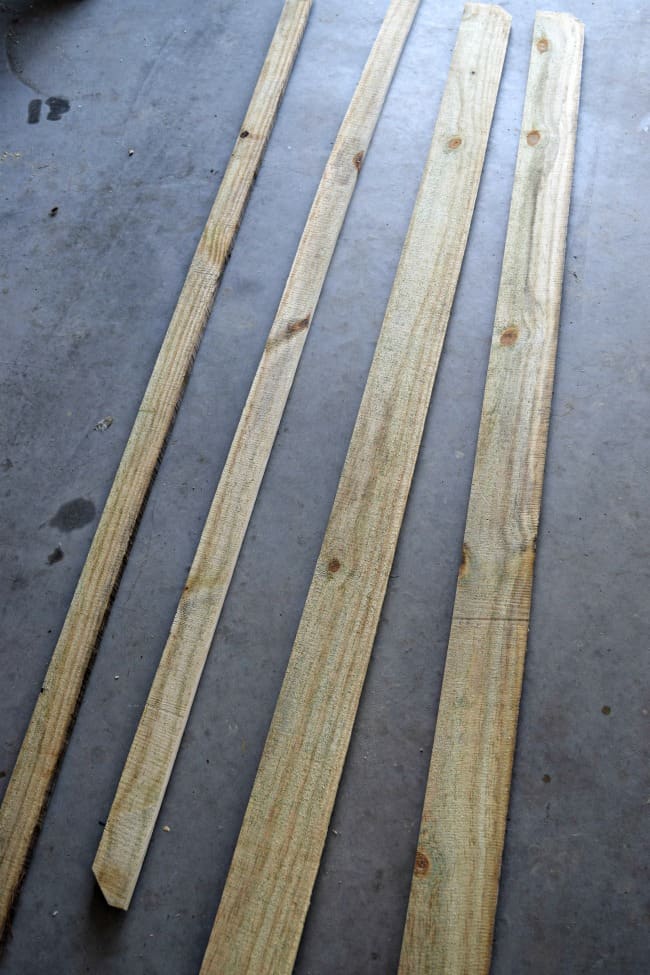
- Wood Pallet (or 2 picket fence boards)
- 1 inch [easyazon_link identifier="B000J2DI2Q" locale="US" tag="thgisli03-20"]Brad Nails[/easyazon_link]
TOOLS:
- [easyazon_link identifier="B00S4OQ9A4" locale="US" tag="thgisli03-20"]Miter Saw[/easyazon_link]
- Table Saw (If you are using the picket boards)
- [easyazon_link identifier="B00AK4CY7S" locale="US" tag="thgisli03-20"]Brad Nailer[/easyazon_link]
- Tape Measure
- Pencil
- Safety Glasses
- Ear Protection
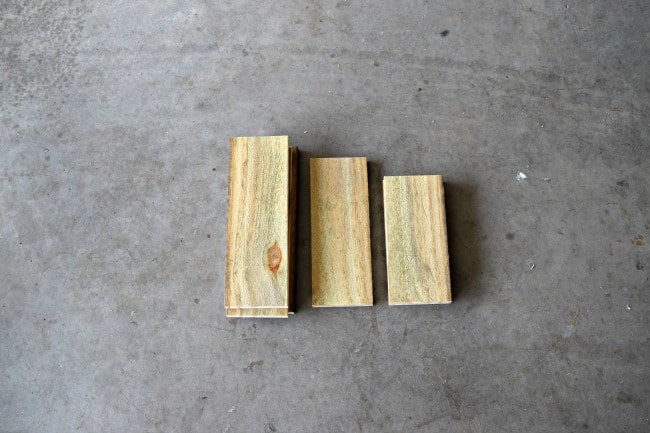
CUT LIST:
3 - 10 ¼ inch boards
2 - 7 ½ inch boards
1 - 9 inch board
[easyazon_link identifier="B00S4OQ9A4" locale="US" tag="thgisli03-20"]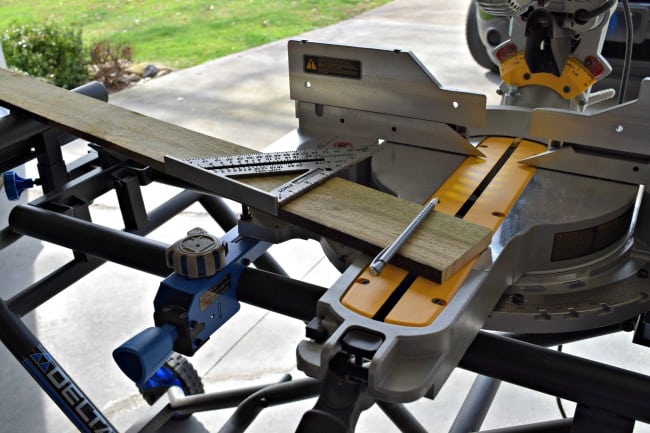 [/easyazon_link]
DIRECTIONS:
First off I want to say that I didn't hunt down a free pallet because I just didn't have the time. However, this project is perfect for a pallet project. If you don't have one on hand or can't find one then the next best solution is 2 picket fence boards. They are extremely inexpensive. I purchased both of mine for $2.50ish total. I made two mail organizers out of that. So $1.25 an organizer, not to shabby.
Because I used a picket board I had to rip them down into 3 ½ inch boards using the table saw. This isn't included in the cut list above. If you have a pallet the boards will already come in the standard 1 x 4 boards. If you don't want to make this extra cut you could always purchase 1 x 4 boards. However, this will up the price of the organizers by several dollars. The reason I went with the picket board was to keep the cost wise, which was nearly free (and rustic feel) of the pallet wood.
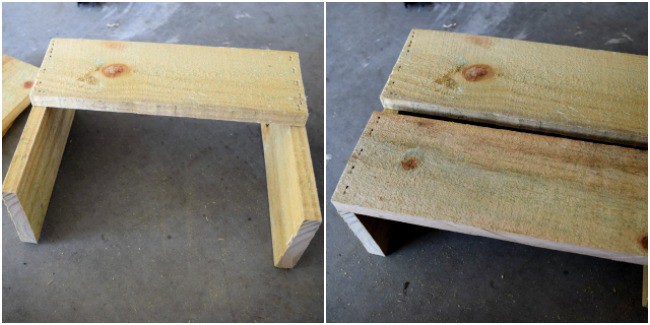
Once you have the boards cut from the cut list above you can begin to assemble the diy mail organizer.
Attach 2 of the 10 ¼ inch pieces (the backs) to the 2 sides (the 7 ½ inch pieces).
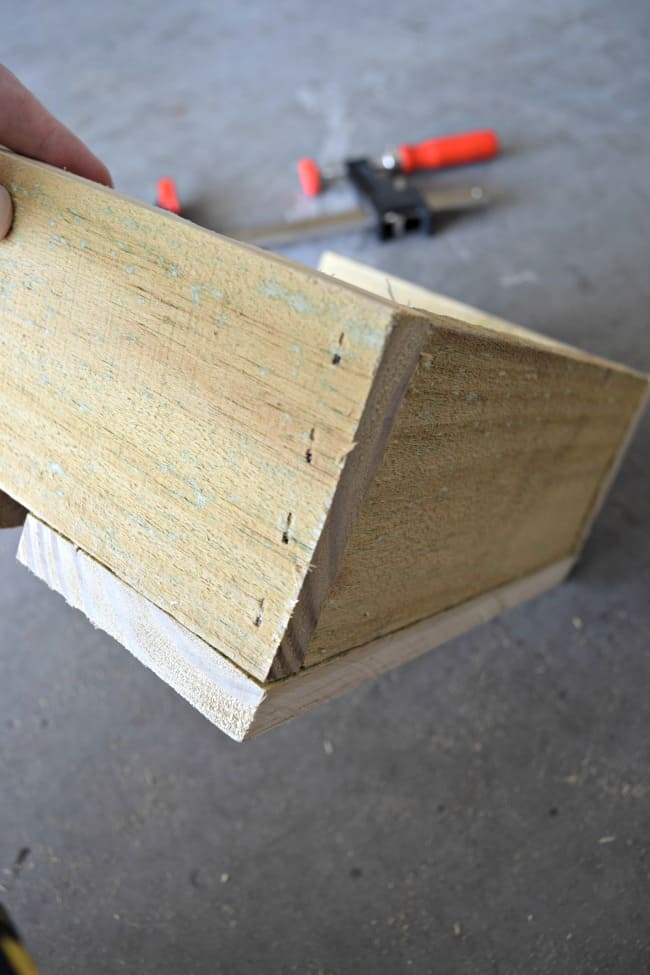
Attach the 9 inch board to the bottom, nailing in from the sides.
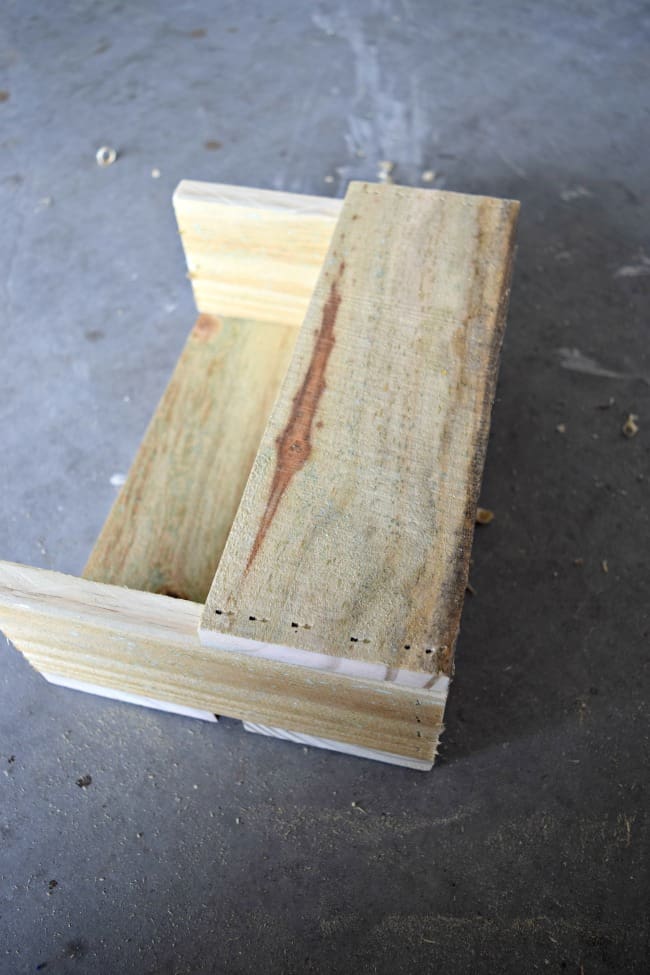
The final step is to attach the other 10 ¼ inch board to the front.
That is all there is to creating these diy mail organizers. Just a few supplies and about 30 minutes to completion
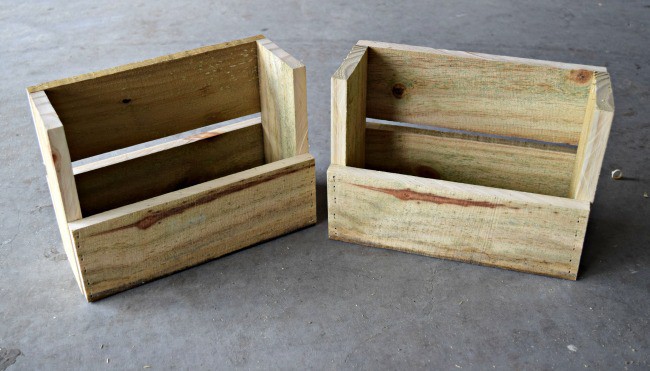
Estimated Cost: Free - Less than $5
Skill Level: Beginner
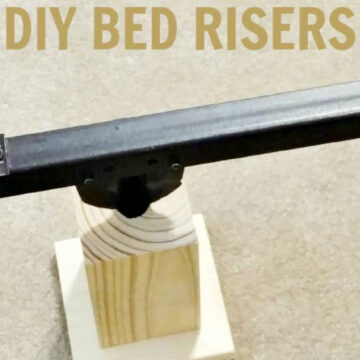
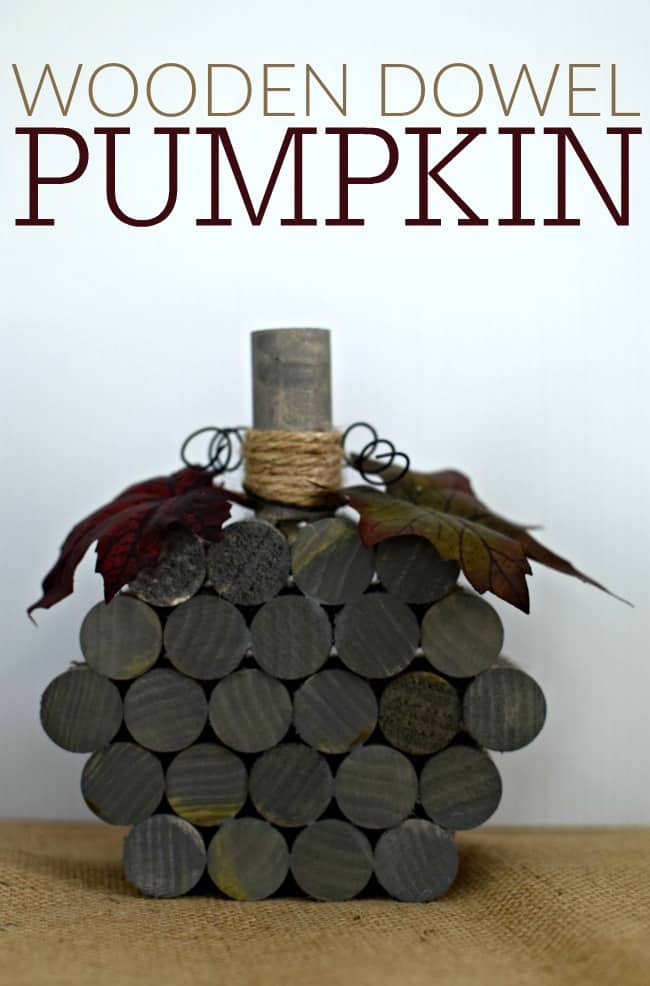
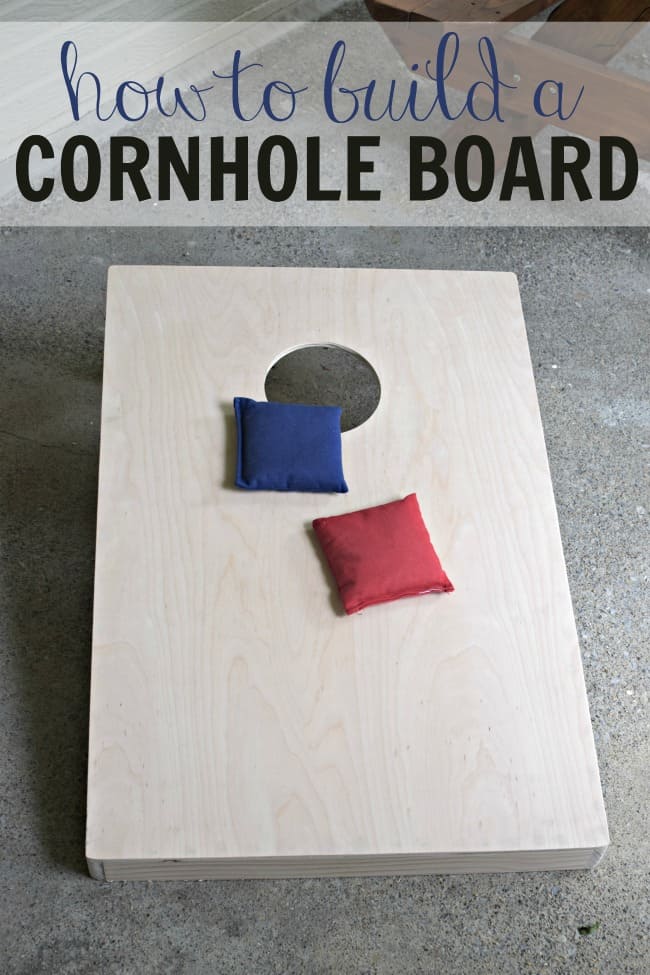
Again, I am joining up with some other awesome bloggers for this pallet challenge. If you want even more great projects built out of only pallets (or the picket fence boards) check out these linked up below.
gail says
your mail organizers are really cute and handy. I love using fence board for projects like these.
gail
Melissa Coleman says
Thanks Gail... Yes the fence board is so inexpensive, great for lots of small projects. 🙂
Erin Sipes says
I'm such a sucker for a practical project. This one is clever, love it!
Melissa Coleman says
Thanks Erin 🙂
Lindsay Eidahl says
I love this project! It can be used for so many things!