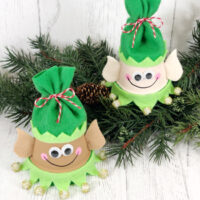
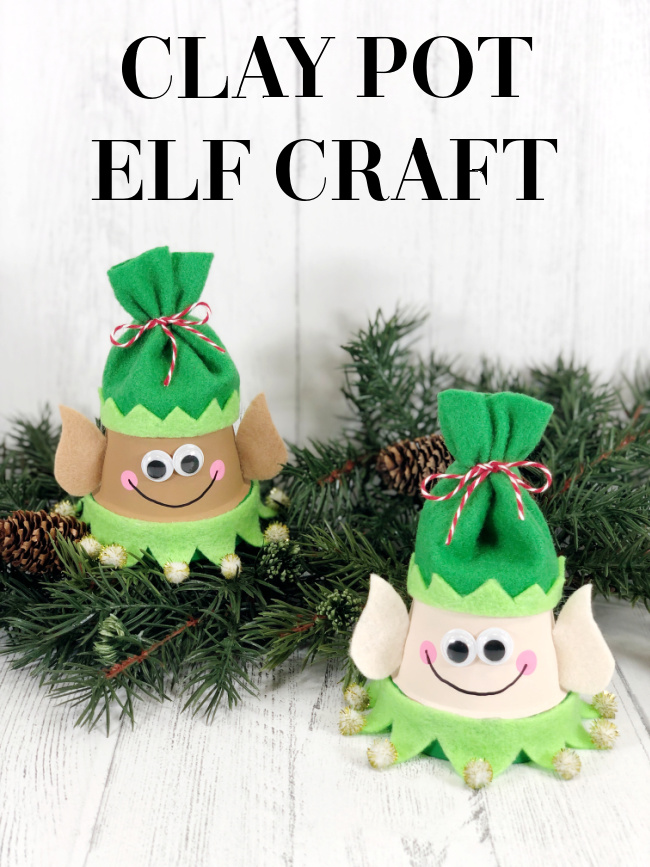
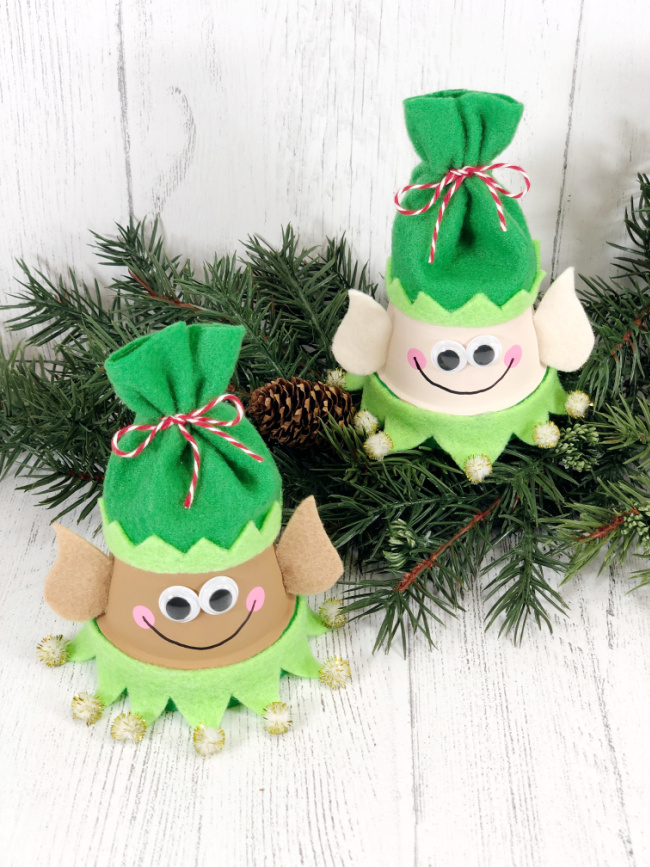
Simple mini clay pots from the Dollar Store along with paint, wiggle eyes, felt and pom-poms transform into a pair of Clay Pot Elf ornaments just in time for the holidays.
This Santa's little helper is a quick and easy craft project to make that your kids are going to love.
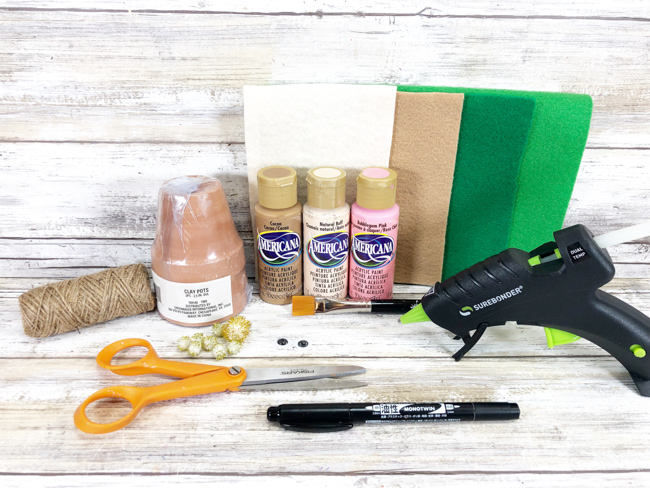
Materials you are going to need:
- Clay Pots – 2.5” in diameter
- Acrylic Craft Paint – Flesh Tone Colors of Choice, Kelly Green, Pink
- Craft Felt – Bright Green, Kelly Green, Flesh Tone Colors to Match Paint
- Natural Jute Twine
- Wiggle Eyes, Four
- Pom Poms, Gold Tinsel
- Baker’s Twine – Red and White
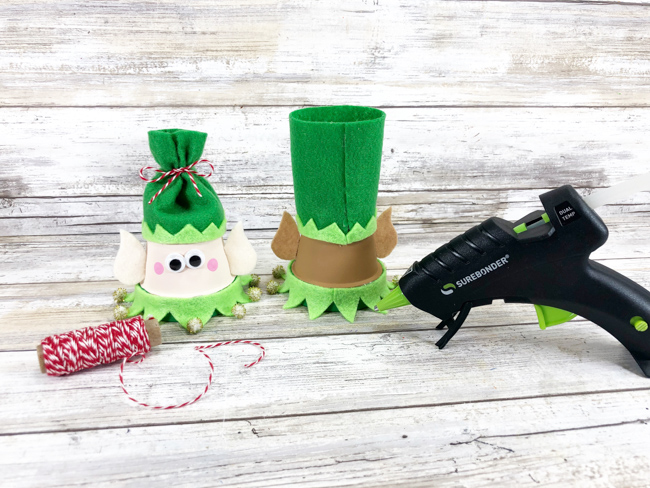
- Glue Gun and Glue Sticks
- Scissors
- Paintbrush
- Pencil with New Eraser
- CLAY POT ELF PATTERNS
How to Make a Clay Pot Elf!
STEP ONE:
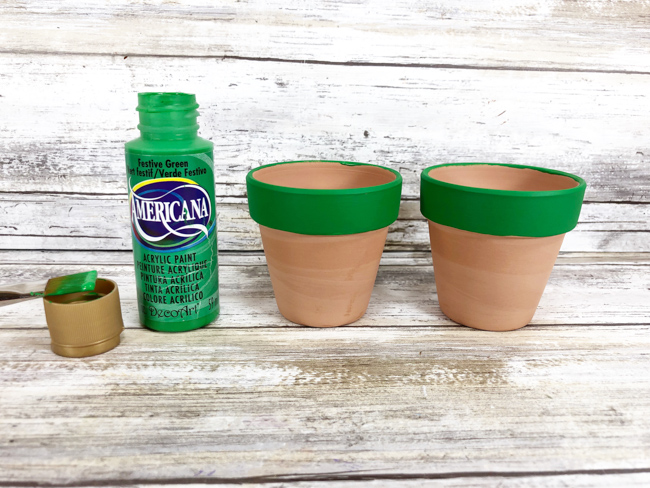
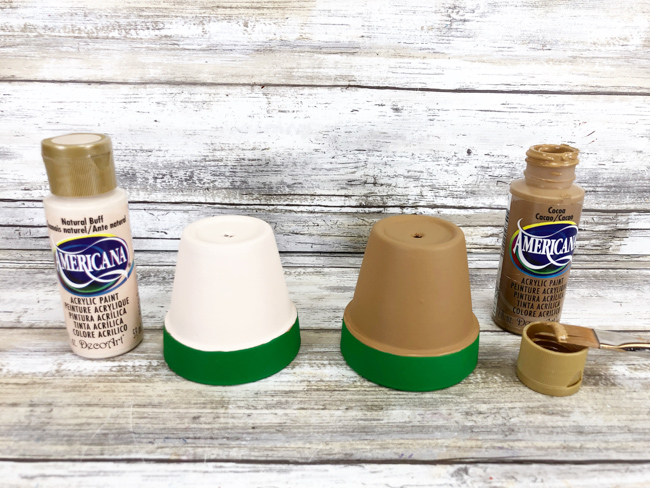
Gather all materials and then remove the packaging and labels. Basecoat the rim of the 2.5” clay pot with kelly green acrylic craft paint. Let the paint dry and then apply a second coat, if necessary.
STEP TWO:
Basecoat the top section of the clay pot with flesh tone acrylic craft paint in your colors of choice. Set aside to dry. Apply a second coat, if necessary.
STEP THREE:
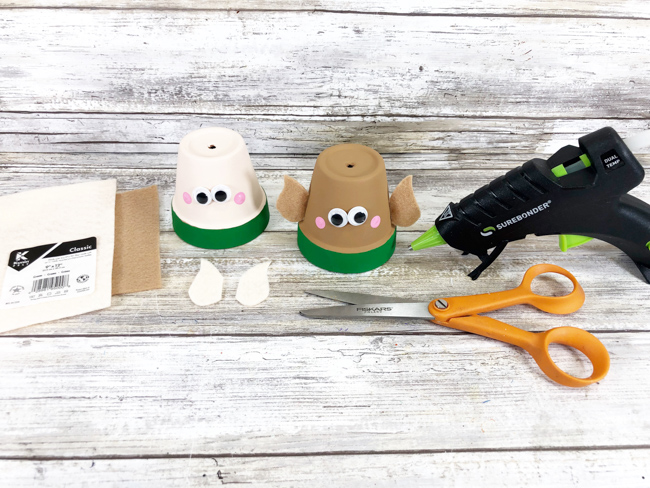
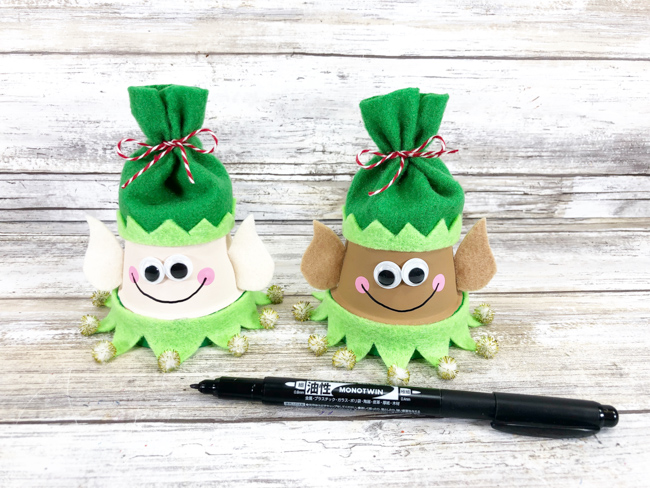
Attach two wiggle eyes to each elf with a glue gun and glue sticks. Add polka dot cheeks by dipping a new pencil eraser into pink acrylic craft paint. Set aside to dry.
TIP: You can use liquid craft glue for this project, especially if you are wanting it super kid-friendly, but you would have to wait for it to dry.
STEP FOUR:
Download, print and cut out Clay Pot Elf Ornament Patterns. Trace and cut out pointy ear shapes from flesh tone felt that matches your paint colors of choice. Attach to the right and left of the elf clay pot with a glue gun and glue sticks.
STEP FIVE:
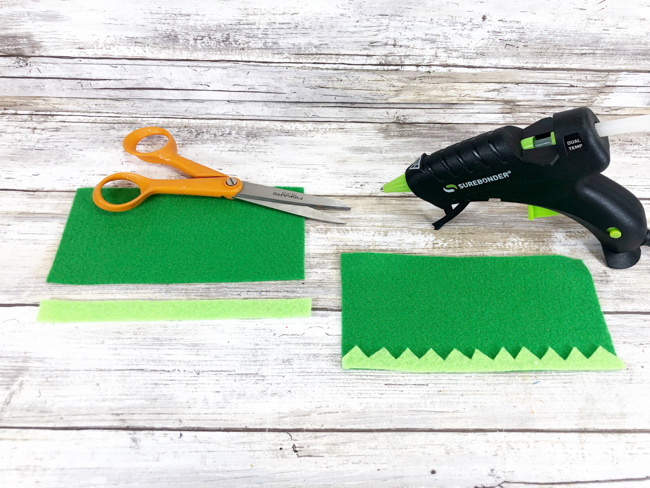
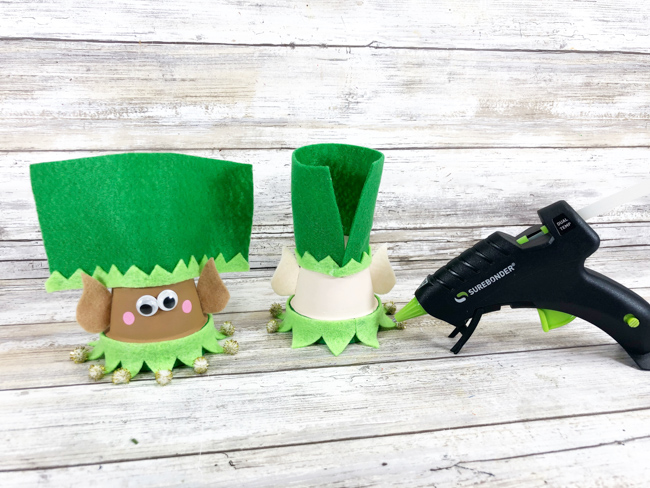
Trace and cut-out elf collar from bright green craft felt. Create a pattern by cutting out triangles along the long edge of the rectangle. Attach gold tinsel pom poms to each point with a glue gun and glue sticks. Glue the collar onto the rim of the clay pot.
STEP SIX:
Trace and cut out elf hat from kelly green craft felt and the elf hat trim from bright green craft felt. Create a pattern by cutting out triangles along the long edge of the hat trim rectangle. Attach the trim to the hat with a glue gun and glue sticks.
STEP SEVEN:
Secure the hat around the elf just above the ears using a glue gun and glue sticks. Glue the seam at the back of the hat to create a cylinder shape.
STEP EIGHT:
Cut a 12” length of natural jute twine, tie it in a loop with a knot, and attach to the top of the clay pot with a glue gun and glue sticks. Cut a 10” length of red and white baker’s twine, tie securely around the felt to create the elf hat, and finish with a bow.
STEP NINE:
Draw a smile from cheek to cheek with a permanent black marker.
This adorable clay pot elf makes a perfect place card for Christmas dinner, fun tag for a holiday present, or ornament to hang on the tree!
Don't forget to check out these other clay pot crafts and Christmas crafts too.
- Scrabble Tile Christmas Ornaments
- Cinnamon Stick and Scrap Fabric Christmas Tree Ornament Craft
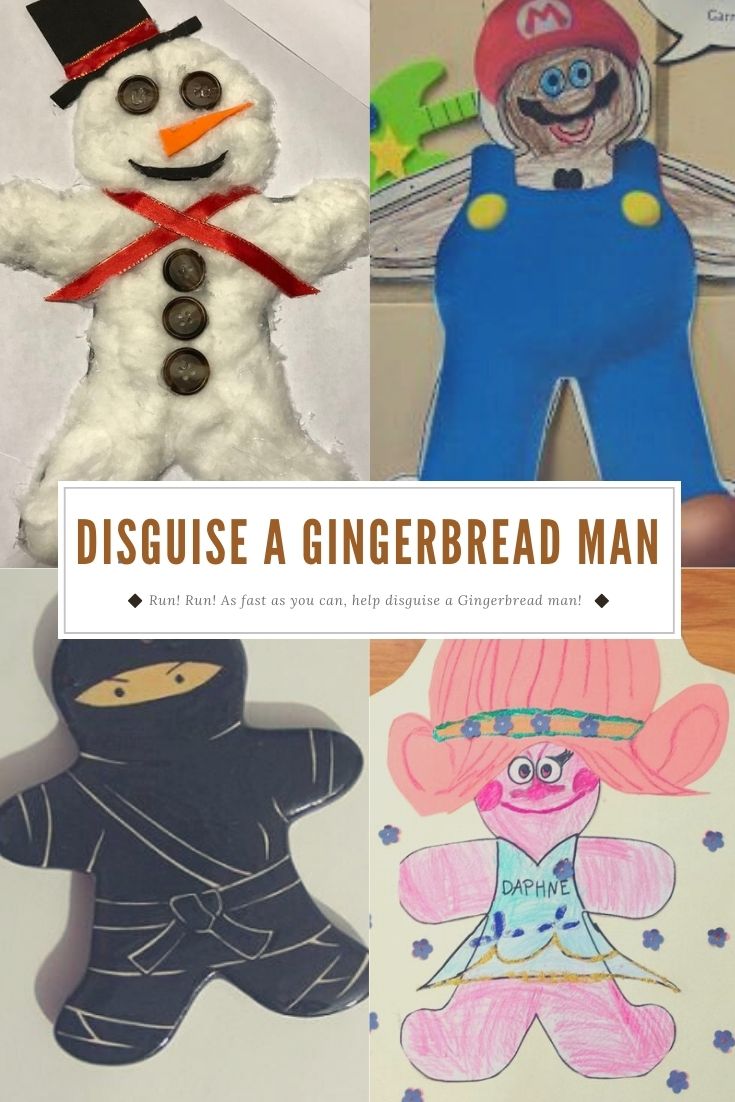
- Paper Plate Gingerbread Man Craft for Kids
- Clothespin Poinsettia Ornament Craft
- Clay Pot Uncle Sam Craft
- DIY: Tiered Planter
- Christmas Tree Clay Pot Craft
Want to print or save the instructions for this clay pot elf craft?






Leave a Reply