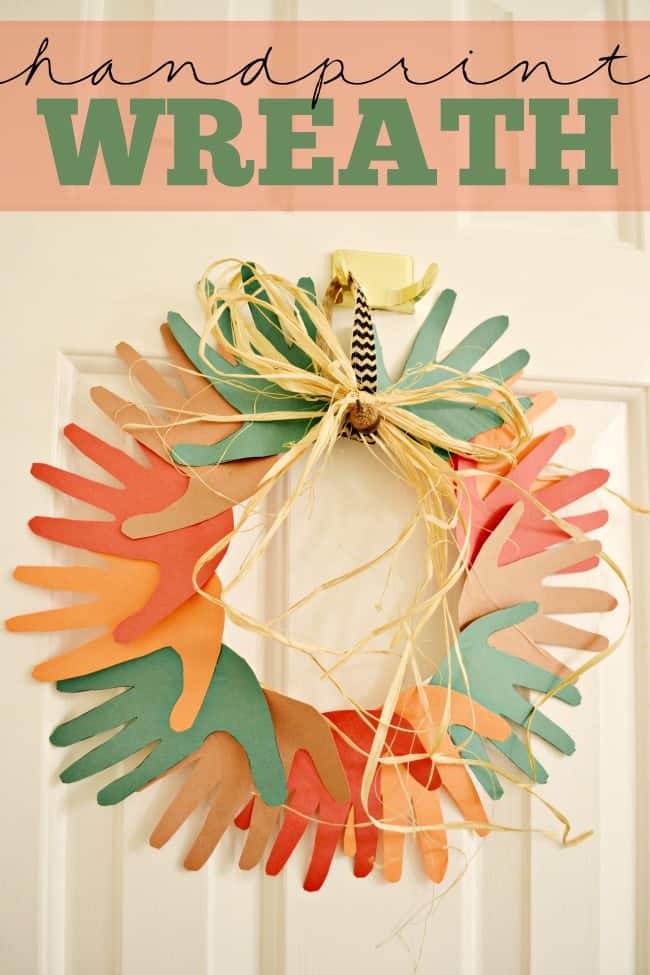
Back again today with another Crafting with Kids! project. Today's craft is a handprint wreath.
Looks super cute as is or you can add some embellishments for even more fun.
Supplies you will need for a fall handprint wreath
- Construction Paper (Orange, Brown, Red, Green)
- Paper Plate
- Ribbon
- Raffia & Acorn (optional)
How to make a fall hand print wreath!
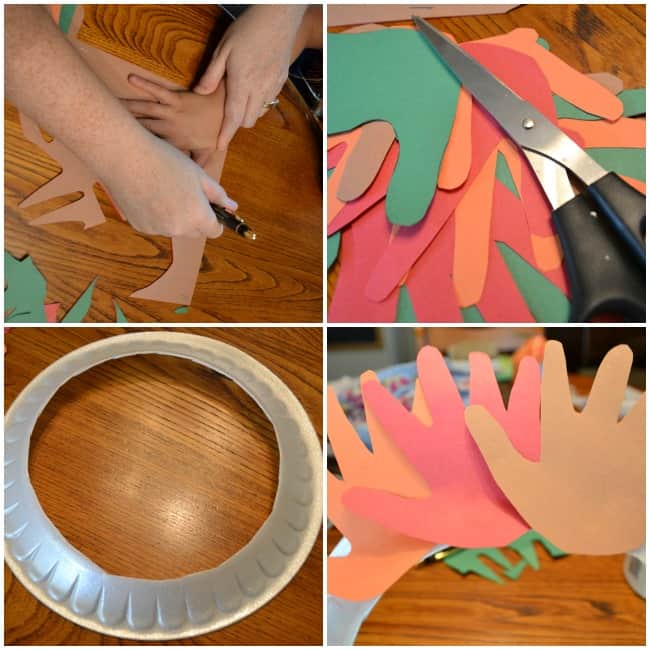
1. Trace your kids' handprints. If you have more than one child that you want to do this craft with you can either make separate wreaths or you can mix and match handprints.
2. Cut out the handprints.
3. Cut out the inside of the paper plate.
4. Glue the handprints overlapping around the bottom of the paper plate.
After you have finished gluing all the handprints on allow them to dry.
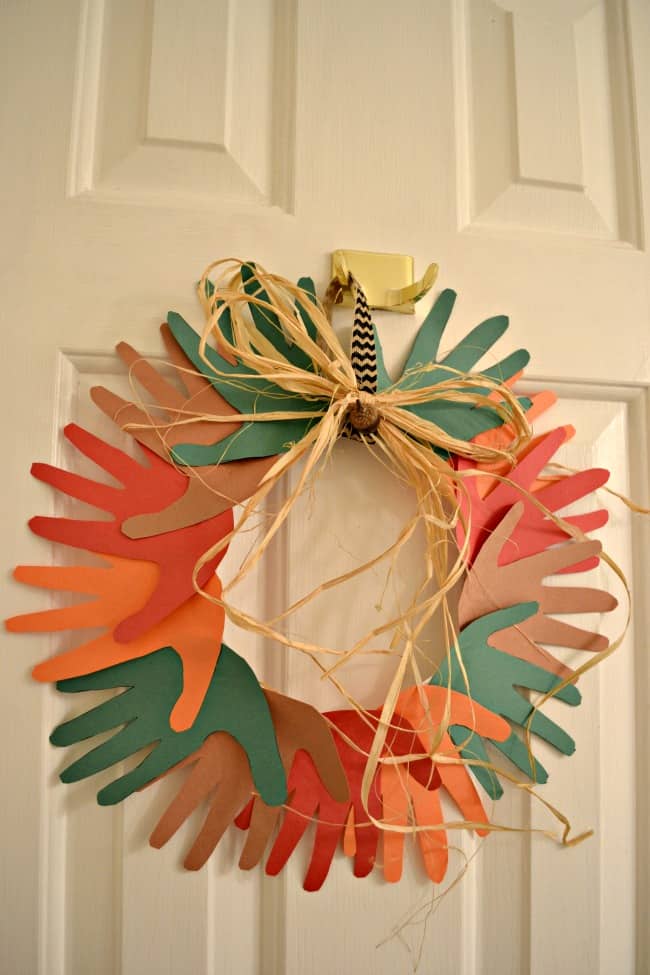
Once they have dried you can attach your ribbon for hanging. The raffia bow is optional but I think it gives the wreath a little more texture.
We just took a few strands of raffia and tied them into a bow then hot glued it onto the ribbon. Then we took an acorn from the yard and glued it onto the raffia bow.
NOTE: If you are going to be hot gluing on raffia make sure you glue it to the ribbon. Hot glue will melt the styrofoam.
If you enjoyed this fun and festive fall handprint wreath then you also might enjoy these other Thanksgiving crafts.
Want to print or save these instructions?





Leave a Reply