Smooth, rich, creamy and flavorful, this homemade vanilla bean ice cream hits the spot.
Made only with four simple ingredients, you will be winning the mom of the year award this summer.
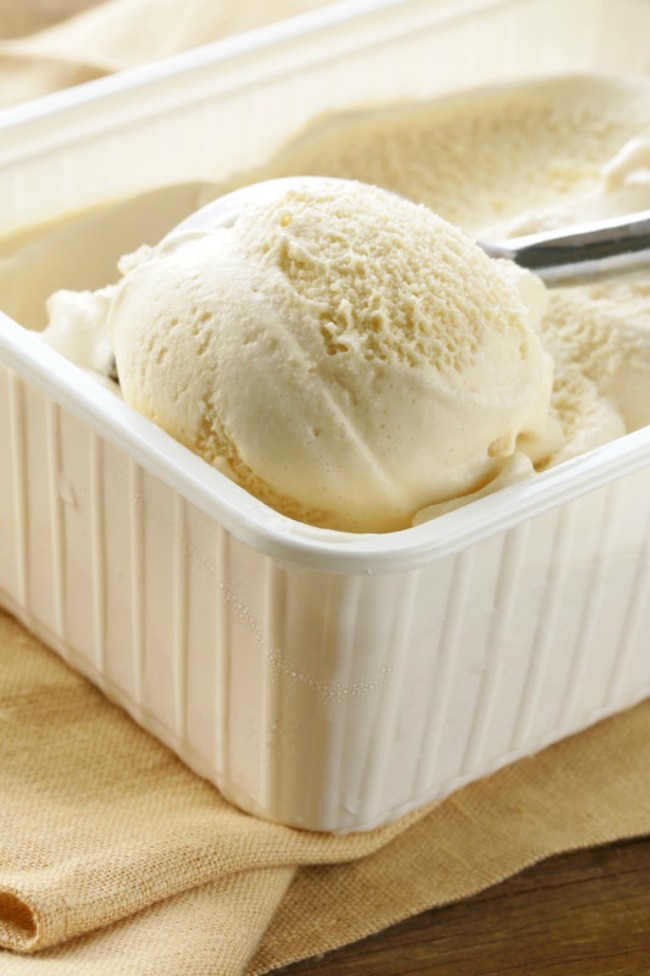
Homemade ice cream is certainly a welcome treat any time of the year, but of course, there is nothing more delicious on a hot summers day.
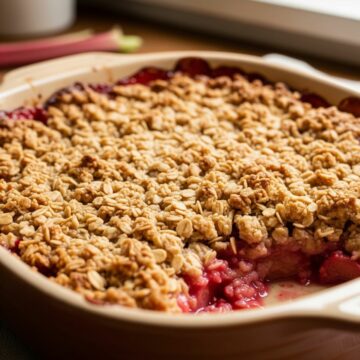
Plus, it's my absolute favorite topping on any fruit cobbler or everyone's favorite chocolate cake.
Ingredients you will need:
- 3 cups Heavy Cream
- 2 cups Half-n-Half
- 1 ½ cups Sugar
- 1 teaspoon Vanilla Extract (or 1 Vanilla Bean halved and scraped, highly recommended)
Directions for Homemade Vanilla Bean Ice Cream
- First, you will want to start off by combining your heavy cream, half-n-half, and sugar in a medium saucepan.
- Cook over medium-low heat, stirring often as you don't want it to stick.
- Cook until the sugar is completely dissolved. This should only take about 2 or 3 minutes.
- Remove from heat and add in your vanilla. I highly recommend using a vanilla bean as it just adds that extra POW to the flavoring but they can be pricy and if you already have extract on hand then that is definitely okay too.
- Allow chilling in the fridge for approximately 30 minutes.
- When the ice cream has been cooled, pour into an ice cream machine and allow to churn until the ice cream has become thickened. This will take around 25 to 40 minutes but you will want to start checking the ice cream after 20 minutes.
- The ice cream should be thick but too soft to scoop.
- At this point, you will transfer to an airtight container and allow your ice cream to harden in the freezer for at least 2-4 hours.
I am a huge fan of straight homemade vanilla bean ice cream but if you want to mix it up you can certainly add in your favorite toppings to the mix before churning.
A few good ideas are strawberries, raspberries, chocolate chips, crushed Oreos, mini m&ms. The list goes on!
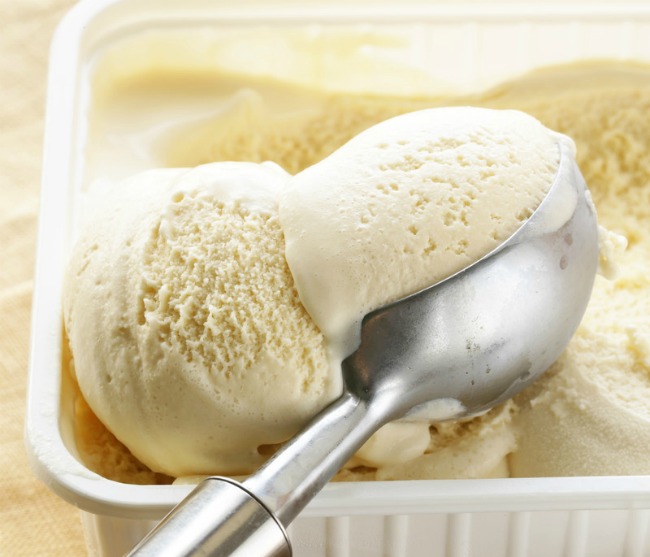
Common mistakes to avoid when making homemade vanilla bean ice cream.
Not letting the ice cream maker bowl get cold enough!
If the ice cream maker bowl isn’t cold enough your ice cream is never going to thicken.
The bowl needs to be ice cold. Plan to place the bowl in the freezer at least a day prior.
If you make homemade ice cream a lot you can just keep it stored in the freezer.
Using dairy with low-fat content.
Homemade ice cream is very much reliant on dairy with solid fat content, like heavy cream.
This gives the ice cream its rich flavor and creamy texture.
Substitutes like low-fat or skim milk don’t freeze at all.
Pouring warm ice cream mix into the machine.
Much like the bowl needing to be cold, the ice cream base needs to be sufficiently chilled as well.
A warm or even room-temperature ice cream base won’t freeze.
Overfilling the machine.
The ice cream needs to aerate as it churns. If the machine is overfilled it doesn't have the room to do this. It will only end up spilling over the sides.
The bowl should be filled no more than ¾ of the way full.
Some more questions you may have...
How long does it take to make homemade ice cream?
Usually, around 25-40 minutes, depending on the recipe and ice cream maker used. You will then need to firm it up in the freezer for 2-4 hours unless of course, you like super soft ice cream. From prep time to eating, I would say a good 3 hours.
Can you over churn ice cream?
Ice cream makers are not made to make rock solid ice cream. This is why you have to transfer to the freezer and allow it to sit for a few hours. Do not allow it to keep churning thinking it will keep getting thicker and thicker, it won't. What will happen, is the ice cream will develop an icy texture not suitable to enjoy.
How long does homemade ice cream last in the freezer?
Generally speaking, you can expect to store homemade ice cream for up to 2 months maximum. The quality of taste, texture, and color usually deteriorates the longer you allow it to sit in the freezer. Let's be real though, who wants to leave yummy homemade ice cream to sit for over 2 months.
Tools I use for this recipe:
Want to print this recipe?

Homemade Vanilla Bean Ice Cream
Ingredients
- 3 cups Heavy Cream
- 2 cups Half-n-Half
- 1 ½ cups Sugar
- 1 teaspoon Vanilla Extract or 1 Vanilla Bean halved and scraped, highly recommended
Instructions
- First, you will want to start off by combining your heavy cream, half-n-half, and sugar in a medium saucepan.
- Cook over medium-low heat, stirring often as you don't want it to stick.
- Cook until the sugar is completely dissolved. This should only take about 2 or 3 minutes.
- Remove from heat and add in your vanilla. I highly recommend using a vanilla bean as it just adds that extra POW to the flavoring but they can be pricy and if you already have extract on hand then that is definitely okay too.
- Allow chilling in the fridge for approximately 30 minutes.
- When the ice cream has been cooled, pour into an ice cream machine and allow to churn until the ice cream has become thickened. This will take around 25 to 40 minutes but you will want to start checking the ice cream after 20 minutes.
- The ice cream should be thick but too soft to scoop.
- At this point, you will transfer to an airtight container and allow your ice cream to harden in the freezer for at least 2-4 hours.
Notes
Nutrition
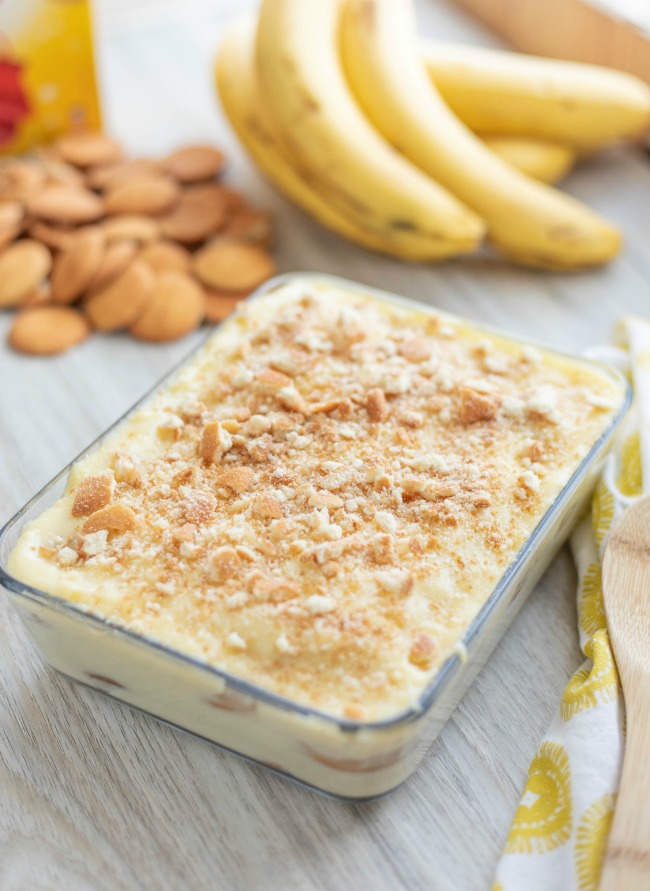
If ice cream is your go-to simple dessert recipe then before you leave check out these two delicious treats as well.




Leave a Reply