I love Thanksgiving, but outside of a few pumpkins and scarecrows, I don't have much in the way of decorations.
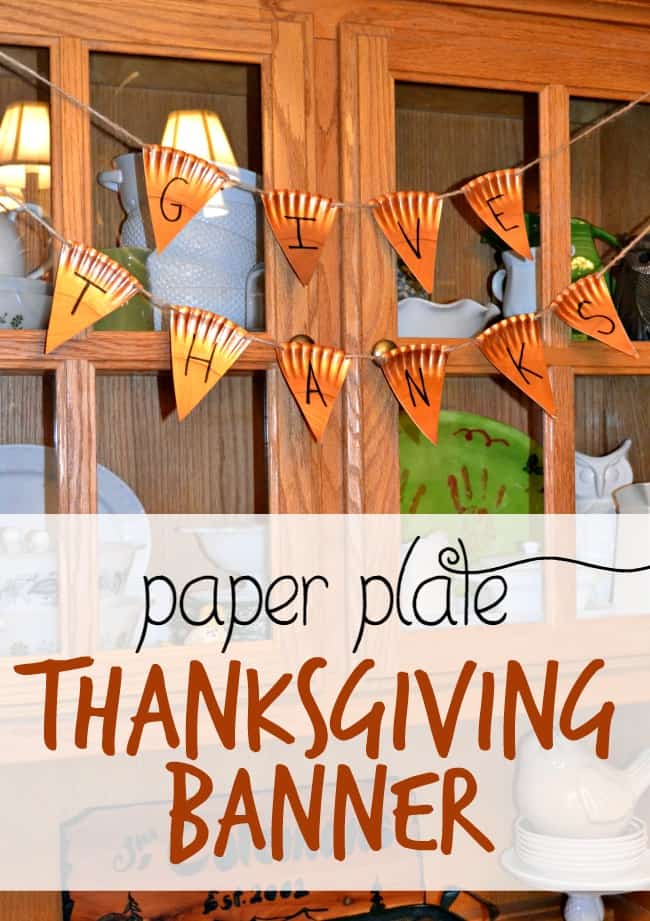
I thought creating a simple, easy, and inexpensive Thanksgiving banner would be a fun way to liven up my dining room.
Supplies you need to create this paper plate "Give Thanks" banner
- Craft Paint (I used copper.)
- 2 paper plates
- Sponge Brush
- Paint Marker
- Jute
- Scissors and Hole Punch
How to make a "Give Thanks" Paper Plate Thanksgiving Banner
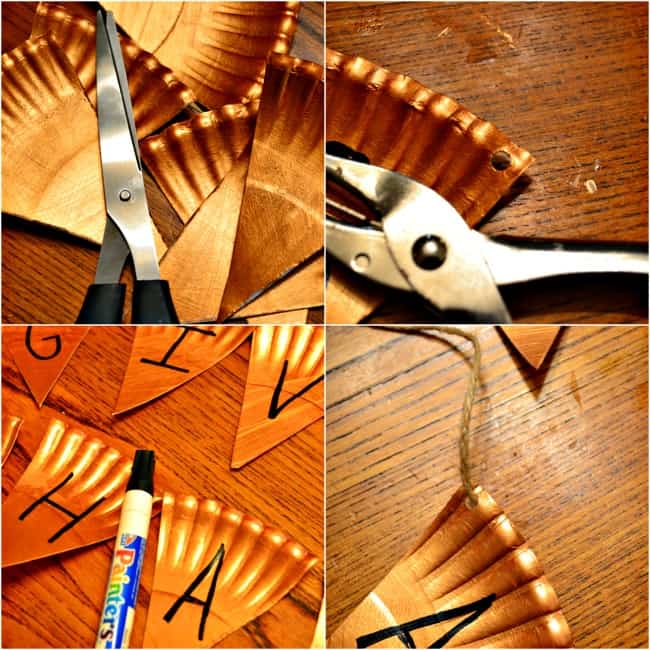
- Use your sponge brush and paint both paper plates with your desired color. I choose copper but you could pick out any color you like.
- Once the paper plates are fully dry cut them into 8 pieces each. You won't need all of the pieces from the 2nd paper plate but you need the 2nd to complete the words. Don't worry about the pieces being perfect, eyeball them.
- Punch 2 holes into each piece, one on each side.
- Using a paint marker write your words, one letter to each piece. You could also use a Sharpie, that would work just fine.
- Individually string "Give" and "Thanks" on separate jute strands. Before you cut the jute decide where you plan to hang your banner and then decide how much length you will need by measuring out your spot.
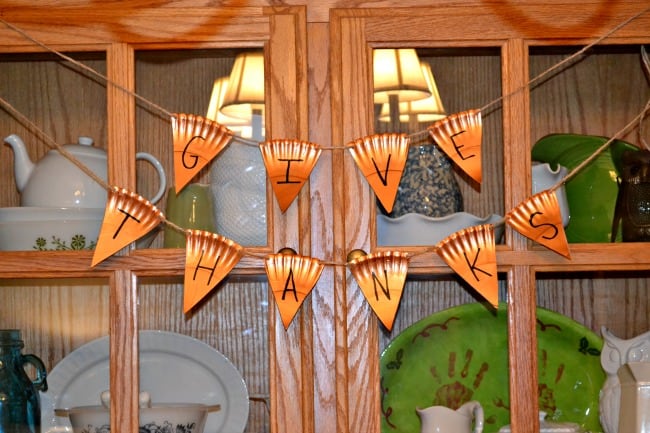
- Now that you have your words strung, hang your banner. You can then slide the pieces around until you like the spacing.

I love how this turned out, they even remind me of little slices of pie.
I didn't have to spend any money on it because I already had the supplies on hand but even if you do it's super inexpensive and a great project to have the kids help you with.
You can change the wording and use this concept for any holiday or celebration.
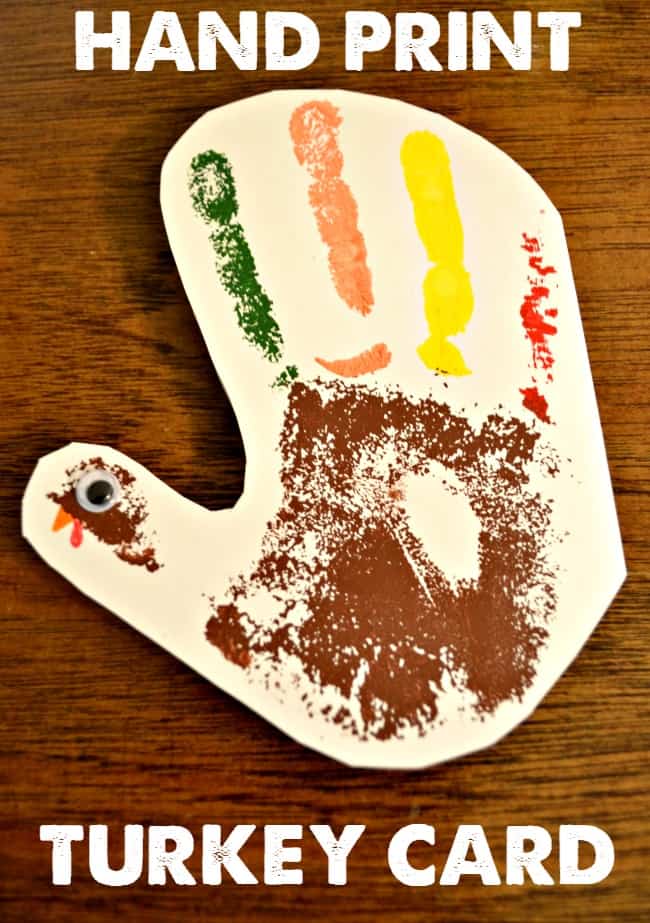
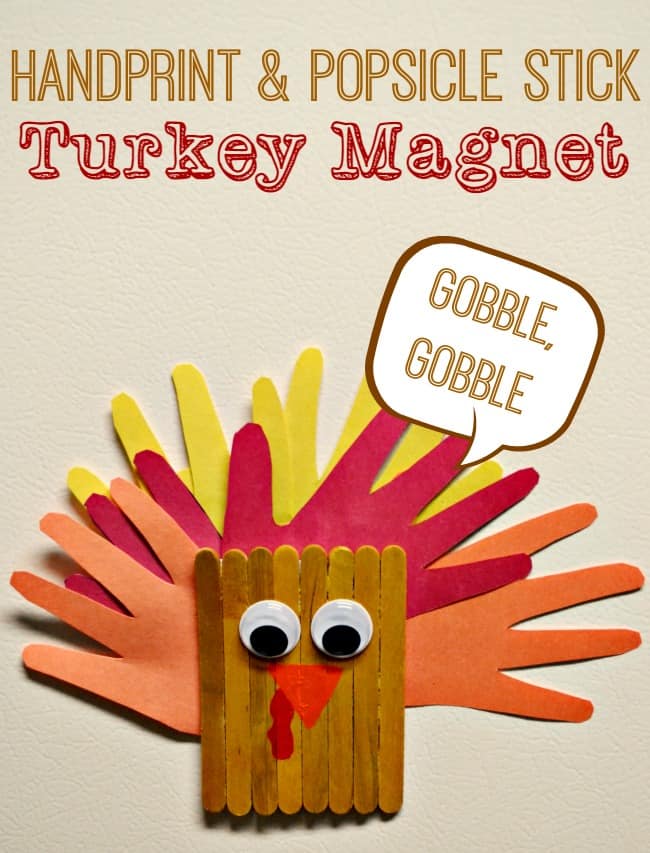
Looking for another Thanksgiving craft idea?



Lauren O says
Love the copper/metallic looking paint you chose. It almost does actually look like metal.