
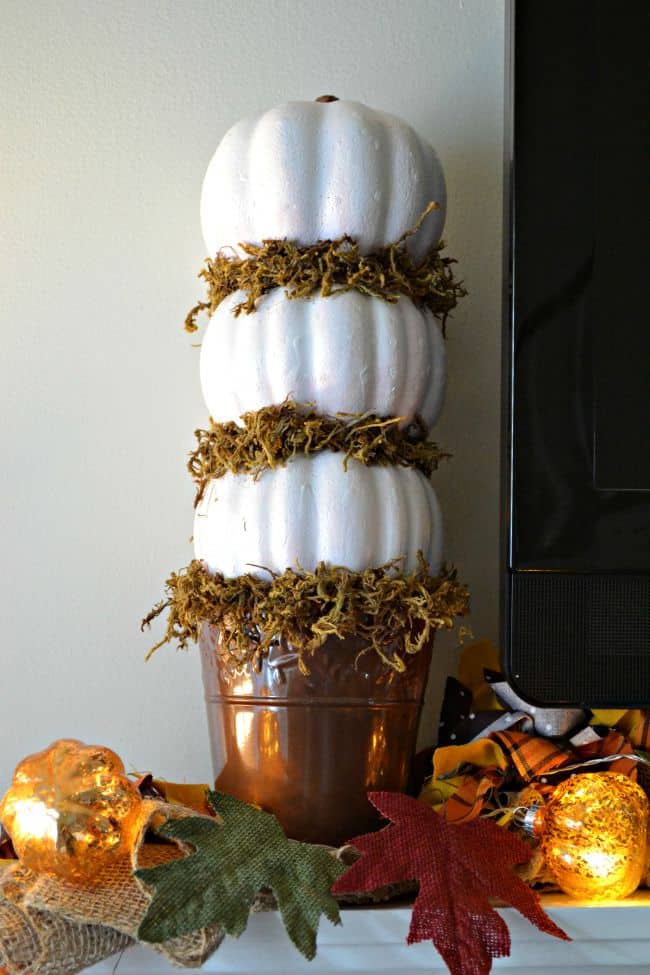
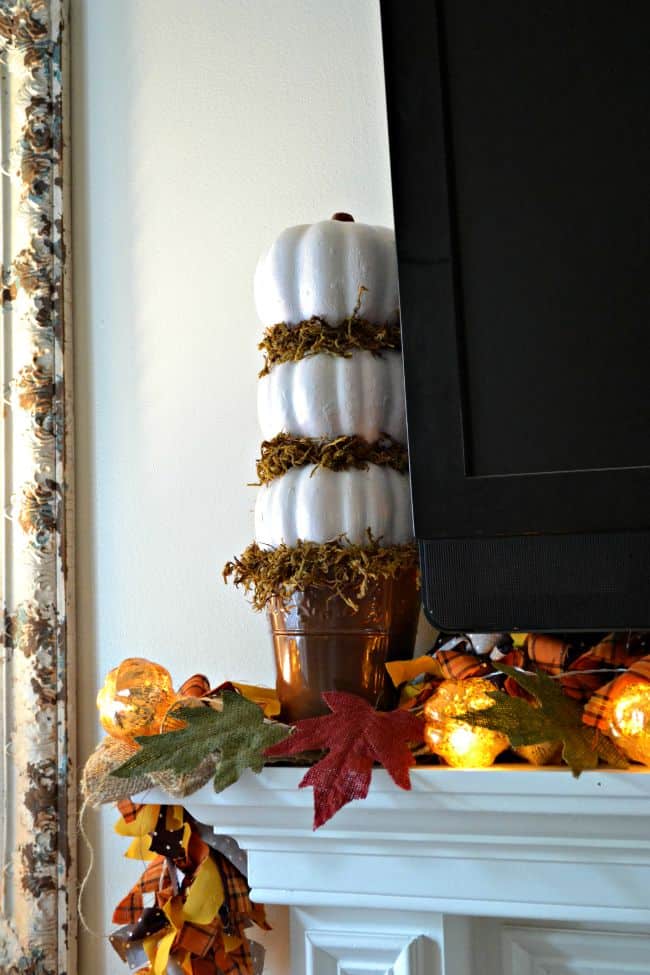
Behold the enchanting trio of pumpkin perfection! This 3 tiered pumpkin topiary is a whimsical masterpiece that combines the spirit of autumn with a dash of artistic flair.
This pumpkin stack creates a visually stunning tower of harvest magic.
Adorned with Spanish moss this topiary transforms any space into a pumpkin patch dreamscape.
All you need for this quick project is $5 - $10 in supplies at your local dollar tree. Yep, I got everything from the dollar tree.
What's in this post?
Step into the world of autumnal creativity with a crafting adventure that combines the charm of pumpkins and the elegance of topiaries.
In this blog post, we'll delve into the artistry of creating a three-tiered pumpkin topiary—a delightful project that not only captures the essence of fall but also serves as a unique centerpiece for your seasonal decor.
Get ready to embrace the spirit of harvest and let your crafting skills bloom as we embark on a journey to craft the perfect pumpkin topiary.
Why you'll love this post!
- Creative Inspiration: Dive into a world of imaginative crafting with this post, where the three-tiered pumpkin topiary becomes a canvas for your artistic expression. Discover unique ideas and design inspirations that will spark your creativity and add a personal touch to your fall decor.
- Step-by-Step Guidance: Whether you're a crafting novice or a seasoned DIY enthusiast, this post provides clear and detailed step-by-step instructions. Follow along with ease as we break down the process, ensuring that each tier of your pumpkin topiary is crafted with precision and care.
- Versatility for All Skill Levels: No need to worry about skill limitations! This post is crafted to cater to various skill levels that make the project accessible to everyone. Whether you're a beginner or an experienced crafter, you'll find joy in creating your own unique pumpkin masterpiece.
- Joyful Crafting Experience: Crafting is not just about the final product; it's about the joy of the journey. This post ensures that your crafting experience is filled with delight, making the process as enjoyable as the end result. Gather your materials, unleash your creativity, and relish the satisfaction of bringing a touch of seasonal magic into your home.
- Shareable Results: Imagine the delight of showcasing your handcrafted pumpkin topiary to friends and family.
Supplies to make this pumpkin stack!
- 3 small pumpkins
- small plant pot
- Spanish moss
- white and brown paint
- hot glue gun and glue sticks
How to make a 3 Tiered Pumpkin Topiary
- First, you will want to paint your pumpkins. You could use craft paint if you already have it on hand but spray painting them was much easier.
- Once your pumpkins are painted and dry you can move on to the next steps.
Add some Spanish moss around the rim of the small planter using your hot glue gun. - Now you can stack and glue all of your pumpkins.
Be sure to remove the stem from 2 of them but keep the stem on the pumpkin to use for the top.
I used the carvable foam pumpkins so popping the stem off was quick and easy. - Once your pumpkins are stacked and glued together you can add Spanish moss in between the layers to give it a finished look.
- Top the stem off by painting it brown or you could just leave it white as well.
Once you are finished you will need to clean it up a little, Spanish moss makes a MESS!


Leave a Reply