This basic sourdough bread recipe is a simple, no-knead recipe using a homemade starter and just a few additional ingredients.
You can make this deliciously crusty, fresh-baked loaf with very little effort involved. With this straight to the point guide and tips for troubleshooting, making this bread doesn't have to be hard.
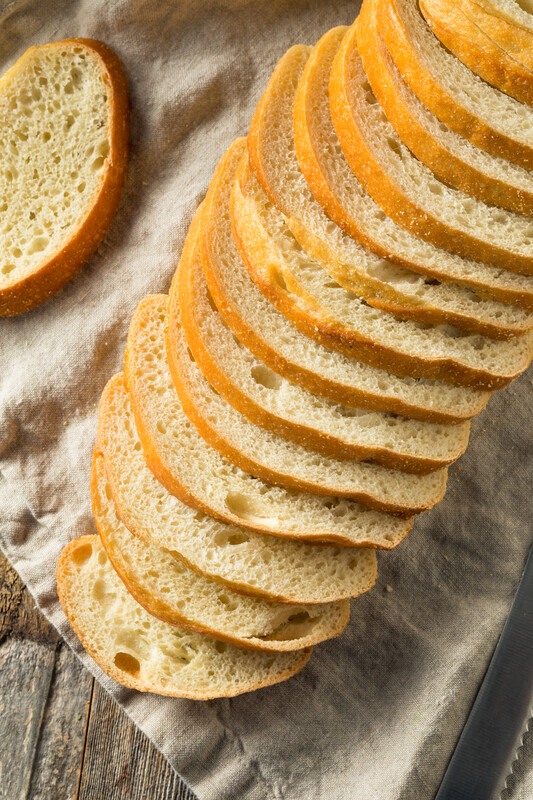
This recipe creates a sourdough loaf that is tender and chewy on the inside, but with the perfect crust on the outside. One that is just waiting to be slathered with your favorite jam or butter.
If you are brand new to making sourdough bread then you have come to the right place to get some good tips and tricks before getting started. Like I said previously, this doesn't have to be hard, nor does it have to be complicated.
The recipe below is one of the simplest sourdough bread recipes and is quite forgiving when you just want to practice some of your skills in bread making.
I know you are probably at this point, "just give me the recipe," but I highly recommended reading some of the information below before getting started. It will set you on the right track.
What is sourdough bread?
I know you probably already know since you were searching for the recipe and found one, but let us just assumed that for beginner's sake you don't.
The very basic gist of it is that sourdough bread is a naturally leavened bread made without commercial yeast. The sourdough starter (or wild yeast) is what makes the bread rise.
That means the only ingredients needed to make this yummy bread are water, flour, and salt.
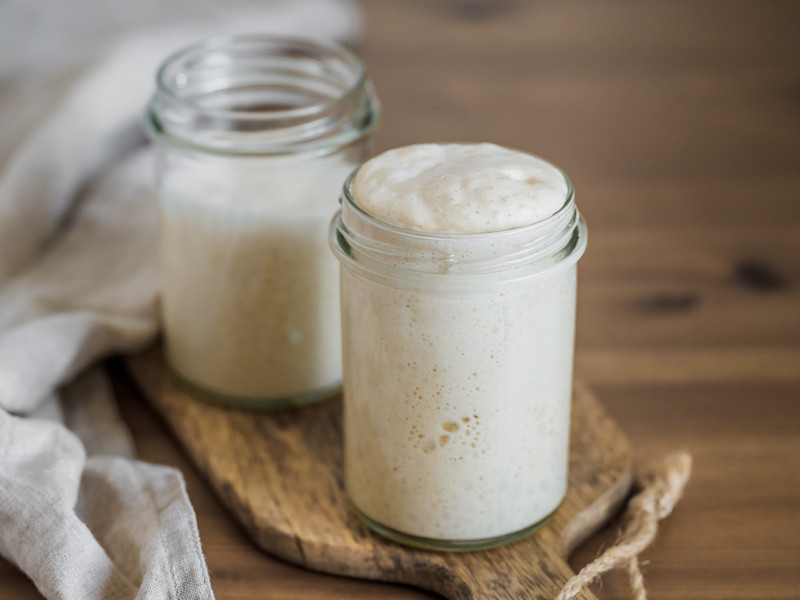
What is a sourdough starter?
How to make a sourdough starter!
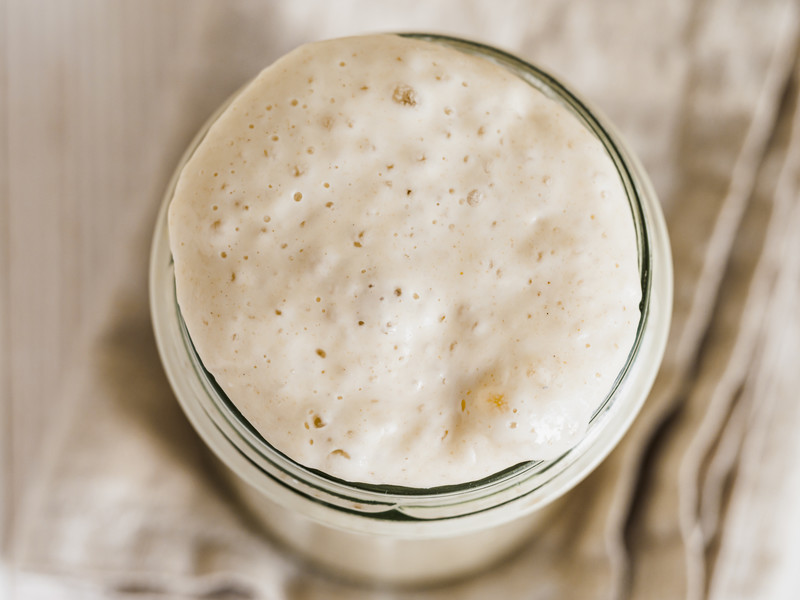
This basic sourdough bread recipe is made by mixing together your flour and water together in a jar to create what I mentioned above, the sourdough starter.
The process of creating a sourdough starter typically takes anywhere from 7 - 14 days, but once you have a healthy well-fed starter ready to go maintaining one to continue to make bread weekly or monthly is quite easy.
If you are wanting to make a loaf just a couple of times a month you can keep your starter in the fridge and feed it once a week. If you love a good loaf on a weekly basis, store your starter at room temperature and feed it at least once a day.
<<TIP>> Place a rubber band around your jar to mark the height of your starter. This will allow you to see when it has doubled the amount and ready to be used to make your bread.
Having a healthy or what others would call a "ripe" starter is what ensures that your sourdough bread will come out of the oven with a good rise and that delicious sourdough flavor.
If you are not elated at the idea of making your own sourdough starter from scratch, you can certainly purchase your own. One of the good things about purchasing a sourdough starter over making one is that you are almost guaranteed to have a strong starter from the start and this will allow you to get baking right away rather than a week or two from now.
You can find online sourdough starters here:
What are the ingredients in sourdough bread?
I highly recommend reading through the notes above and below prior to getting started!
- ⅓ cup active starter (90 grams)
- 4 cups bread flour (500 grams)
- 2 teaspoons fine sea salt (12 grams)
- 1 ½ cups warm filtered water (375 grams)
How do you make sourdough bread from scratch?
Step 1: Make the Dough
Note: If your starter hasn't been fed you will need to do this prior to step 1. Be sure to read the notes under what is a sourdough starter. Also, it is highly recommended you use a kitchen scale, especially if this is your first loaf. Be sure to zero out the weight of the bowl.
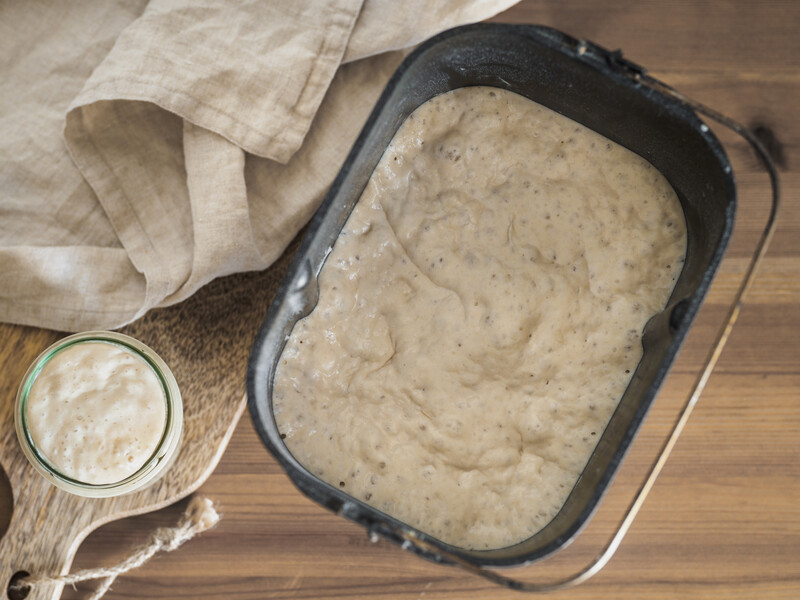
Whisk together the active starter and the warm water in a large bowl. Add in the bread flour and sea salt. Mix until combined to form a rough dough. Cover with a damp towel and let rest for 30 minutes to an hour.
Step 2: Stretch and Fold the Dough
After your 30-minute rest is up it is time for the stretch and fold portion of making your sourdough bread.
Grab a corner of the dough and pull it up and towards the center. Repeat the process 4 or 5 times and let the dough rest again for another 30 minutes. You will repeat this folding process 4 different times over the next 2 hours.
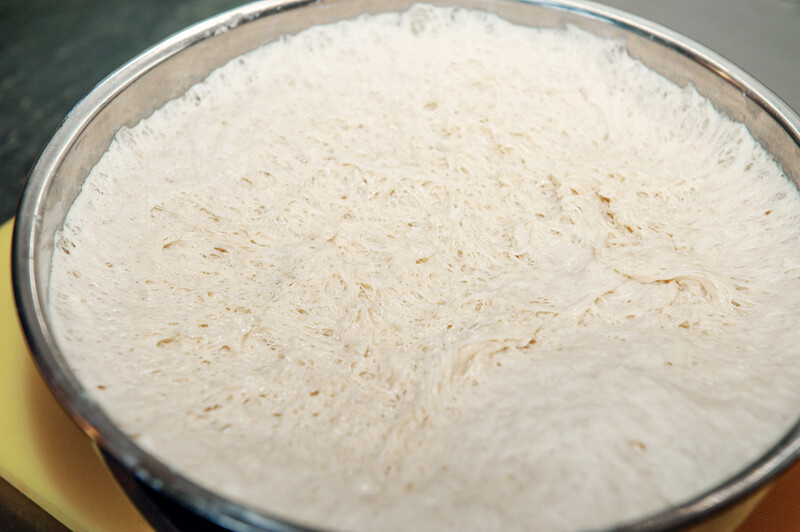
Allow the dough to continue to rest in a warm place, ideally somewhere 68-70 degrees. It is ready when it has doubled in size (if it doesn't fully double that is okay). This can take as little as 3 hours and up to 12 hours depending on your environment, starter, etc. On average it takes about 8 to 10.
Step 3: Cut and Shape the Dough
Create two work surfaces, one for cutting (lightly floured) and the other for shaping.
Remove the dough from the bowl and place it onto your floured cutting work surface. Once it has settled down to the surface cut the dough in half if you want to make two loaves of bread from your dough. If not you can leave it whole and move on to shaping.
Use a bench scraper to move your dough over to your shaping surface. Fold the dough toward the center, turn and continue folding the dough toward the center.
Flip the dough over and gently shape it into a ball using a turning circular motion.
Step 4: Let the Dough Rest Again
The dough needs to rise again but lucky for you not nearly as long as the previous time.
Place your dough in a bowl (covered with a damp cloth) to sit and rise for another 30 minutes to an hour in the fridge. Allowing the dough to sit in the refrigerator during the second rise will make the bread firm up and make it easier for the next step, which is scoring the dough. The dough will be ready when it just slightly begins to puff up.
Right before the dough is finished with the second rise preheat your oven to 450 degrees.
Step 5: Score the Dough
Line your Dutch oven with some parchment paper and place the dough inside.
Before your bread goes into the oven, score your dough about 2 inches in the center of the dough.
Step 6: Bake the Dough
Place your dough in the oven (center rack, lid on) and allow it to back for approximately 30 minutes.
After the 30 minutes have passed, reduce the temperature to 400 degrees, uncover the dutch oven and bake for additional 20 minutes or until your bread has a golden brown color.
Although it is tempted to want to taste your bread right out of the oven, allow it to cool on a wire rack for 1 hour before slicing. Cutting it too soon could risk you having a gummy inside.
How to Store Sourdough Bread:
This loaf will stay fresh for up to 3 days stored at room temperature in an airtight container. It can also be sliced and frozen.
Now that you have baked your first basic sourdough bread recipe plan on baking several more before you get that perfect bread loaf. It really is dependant on your environment, temperature, a healthy starter, and timing.
You will likely make mistakes on your first try, maybe even on your second or third but keep going, and eventually you will have the technique down.
A not so great bread still makes great croutons if nothing else. Be patient, keep trying and you WILL get the hang of it.
Can you freeze Sourdough Bread?
Yes, you will want to let the loaf cool completely. Slice your loaf into even slices and let them lay flat on a cookie sheet in the freezer for approximately 15 minutes. Take out the partially frozen slice and place them in a freezer bag. Remove the air from the bag and store it in the freezer for up to 3 months.
Troubleshooting tips for Making Sourdough Bread
- If your dough is runny or loose then you have probably over-proofed (let it rise too long) your dough. To adjust for this you will need to pay attention to the time it takes your dough to rise. If you live in a warm climate this would be the first thing I would look into adjusting.
- If your bread is dense and gummy then you likely have the opposite problem and that it didn't proof long enough initially or that your starter wasn't strong enough. If you are 100% certain it isn't a proofing problem then be sure to check the temperature of your oven and make sure it is holding correctly.
Even more bread recipes you might want to try out.
Want to print or save the instructions for making Sourdough Bread?
Basic Sourdough Bread Recipe
Ingredients
- ⅓ cup active starter 90 grams
- 4 cups bread flour 500 grams
- 2 teaspoons fine sea salt 12 grams
- 1 ½ cups warm filtered water 375 grams
Instructions
Step 1: Make the Dough
- Note: If your starter hasn't been fed you will need to do this prior to step 1. Be sure to read the notes under what is a sourdough starter. Also, it is highly recommended you use a kitchen scale, especially if this is your first loaf. Be sure to zero out the weight of the bowl.
- Whisk together the active starter and the warm water in a large bowl. Add in the bread flour and sea salt. Mix until combined to form a rough dough. Cover with a damp towel and let rest for 30 minutes to an hour.
Step 2: Stretch and Fold the Dough
- After your 30-minute rest is up it is time for the stretch and fold portion of making your sourdough bread.
- Grab a corner of the dough and pull it up and towards the center. Repeat the process 4 or 5 times and let the dough rest again for another 30 minutes. You will repeat this folding process 4 different times over the next 2 hours.
- Allow the dough to continue to rest in a warm place, ideally somewhere 68-70 degrees. It is ready when it has doubled in size (if it doesn't fully double that is okay). This can take as little as 3 hours and up to 12 hours depending on your environment, starter, etc. On average it takes about 8 to 10.
Step 3: Cut and Shape the Dough
- Create two work surfaces, one for cutting (lightly floured) and the other for shaping.
- Remove the dough from the bowl and place it onto your floured cutting work surface. Once it has settled down to the surface cut the dough in half if you want to make two loaves of bread from your dough. If not you can leave it whole and move on to shaping.
- Use a bench scraper to move your dough over to your shaping surface. Fold the dough toward the center, turn and continue folding the dough toward the center.
- Flip the dough over and gently shape it into a ball using a turning circular motion.
Step 4: Let the Dough Rest Again
- The dough needs to rise again but lucky for you not nearly as long as the previous time.
- Place your dough in a bowl (covered with a damp cloth) to sit and rise for another 30 minutes to an hour in the fridge. Allowing the dough to sit in the refrigerator during the second rise will make the bread firm up and make it easier for the next step, which is scoring the dough. The dough will be ready when it just slightly begins to puff up.
- Right before the dough is finished with the second rise preheat your oven to 450 degrees.
Step 5: Score the Dough
- Line your Dutch oven with some parchment paper and place the dough inside.
- Before your bread goes into the oven, score your dough about 2 inches in the center of the dough.
Step 6: Bake the Dough
- Place your dough in the oven (center rack, lid on) and allow it to back for approximately 30 minutes.
- After the 30 minutes have passed, reduce the temperature to 400 degrees, uncover the dutch oven and bake for additional 20 minutes or until your bread has a golden brown color.
- Although it is tempted to want to taste your bread right out of the oven, allow it to cool on a wire rack for 1 hour before slicing. Cutting it too soon could risk you having a gummy inside.




Leave a Reply