
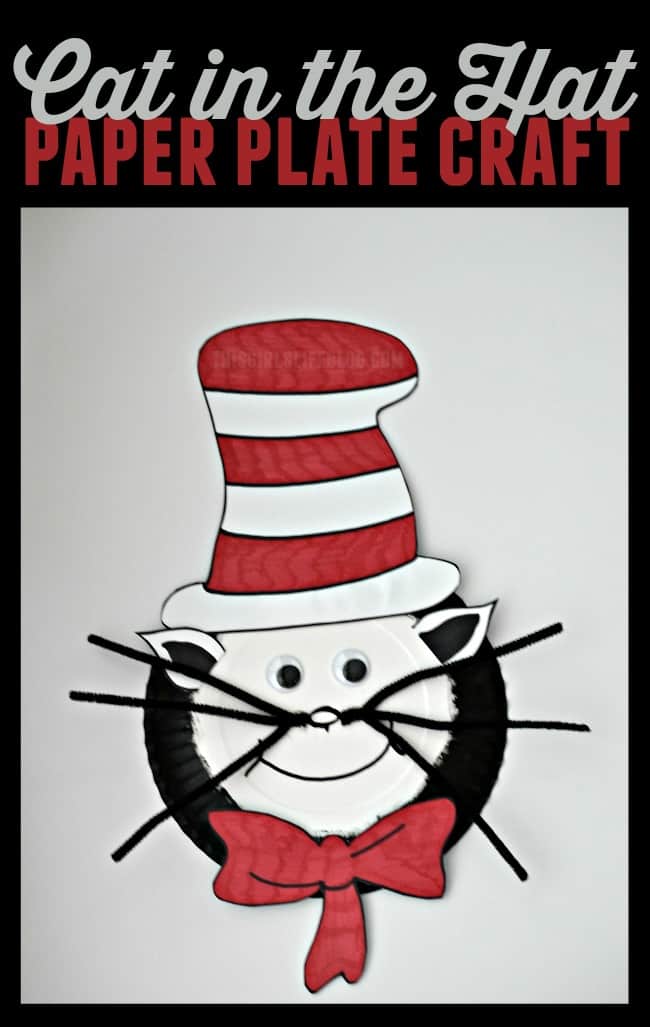
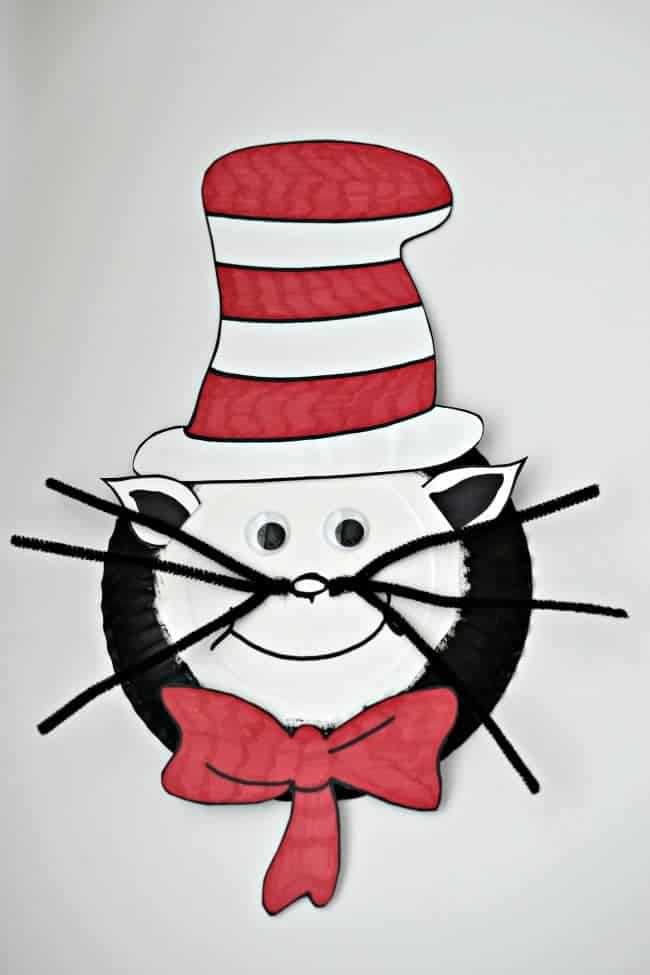
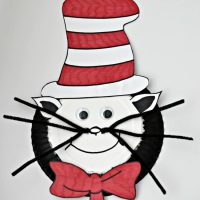
This Cat in the Hat paper plate craft is easy for little hands and a perfect way to celebrate Dr. Seuss Day.
Post contains affiliate links.
Of course, this cat in the hat craft goes right along with the classic book created by Dr. Seuss.
It would be a great book to add to your collection during this Read Across America time of year.
You can even add a stuffed cat and his iconic hat to go along with all the fun.
Supplies you will need to create your Cat in the hat paper plate craft:
- Paper Plate
- Black Paint
- Sharpie
- Red Marker / Sharpie / Paint (one or the other, not all 3)
- 2 Pieces of Stock Paper
- Wiggly Eyes
- 3 Black Pipe Cleaners
- Craft Glue
- Hot Glue / Hot Glue Gun
The super-easy directions:
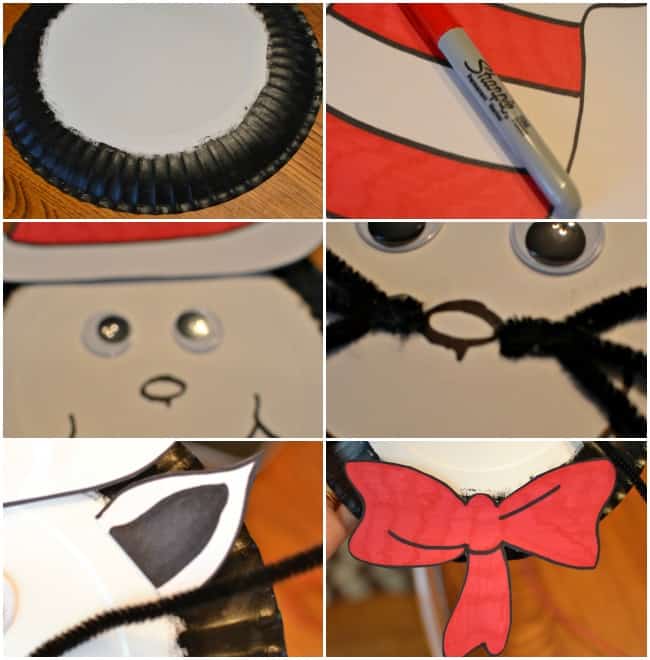
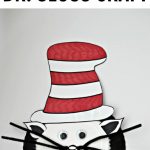
1. Flip a paper plate over and paint the edging of the paper plate with black craft paint.
We sponged the edges around the white so that it would look like fur, you know since he is a cat and all.
2. Use a sharpie and draw a hat onto a piece of stock paper.
Then draw the stripes and fill the red in with a marker, sharpie or paint.
Whatever you have on hand will be fine. We used a red sharpie.
3. Use craft glue and attach the hat and wiggly eyes (these are optional too, you can draw them on).
As well as go ahead and draw on his nose and mouth.
4. At this point, we attached the whiskers.
We used hot glue to do this because I find that pipe cleaners don't hold well with craft glue.
5. Now you can use the leftover stock paper and make some ears and attach them with craft glue.
6. The last step is optional.
You can use more stock paper and draw a tie or just leave it off altogether.
We always like to add that extra touch so we chose to give him a tie.
Here are even more awesome Cat in the Hat knows a lot about... books you might enjoy.
- The Cat in the Hat Knows a Lot About Camping!
- The Cat in the Hat Knows a Lot About Space!
- The Cat in the Hat Knows a Lot About Halloween!
- The Cat in the Hat Knows a Lot About Christmas
If you enjoyed this Cat in the Hat paper plate craft you might also like these other Dr. Seuss crafts and ideas.
- Green Eggs and Ham Paper Plate Craft
- Popsicle Stick Cat in the Hat Craft
- Fox in Socks Dr. Seuss Kid Crafts
- 20+ Dr. Seuss Crafts, Treats, and more!
- Dr, Seuss Quotes for Kids
- Even more Dr. Seuss Inspired Snacks and Crafts
- Back to School Printable
- How to Draw the Cat in the Hat
Want to print or save these supplies and instructions?
Leave a Reply