
Don't miss this tutorial on how to make DIY printed candles and make your own custom and personalized candle for any holiday.
A great and easy gift-giving idea as well! Think Mother's Day, Grandparents Day, etc.

Today's tissue paper craft will show you exactly how to print on candles with tissue paper.
It is an incredibly simple project that makes a great gift for the young to the old.
There are all sorts of ways to make it unique to your own style and home.
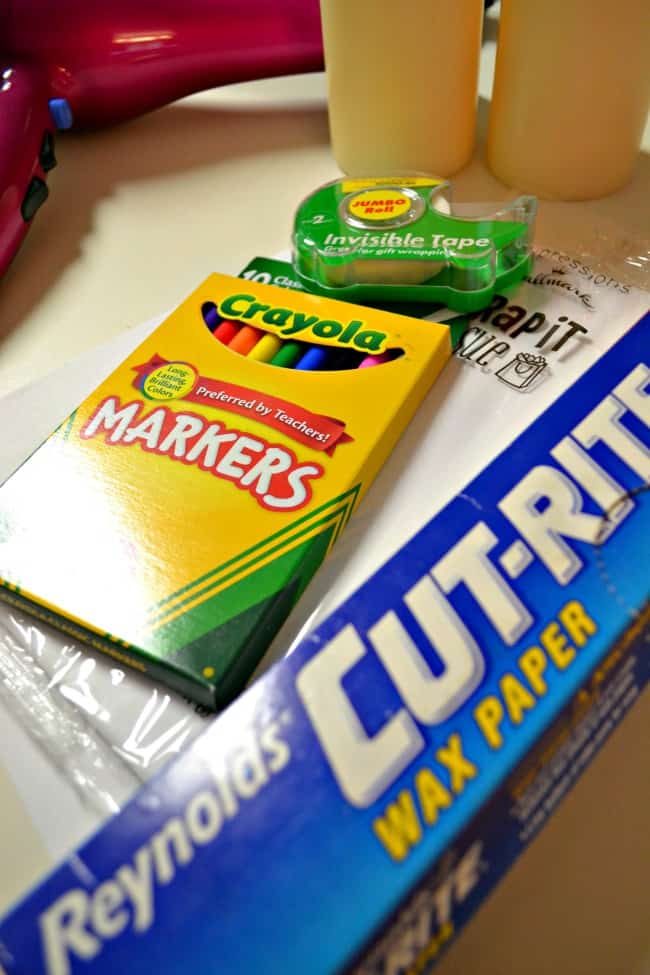
Supplies you will need:
- Tissue Wrap
- Copy Paper
- Wax Paper
- Tape
- Markers
- Scissors
- Candle(s)
- Blow Dryer
INSTRUCTIONS: HOW TO MAKE DIY PRINTED CANDLES
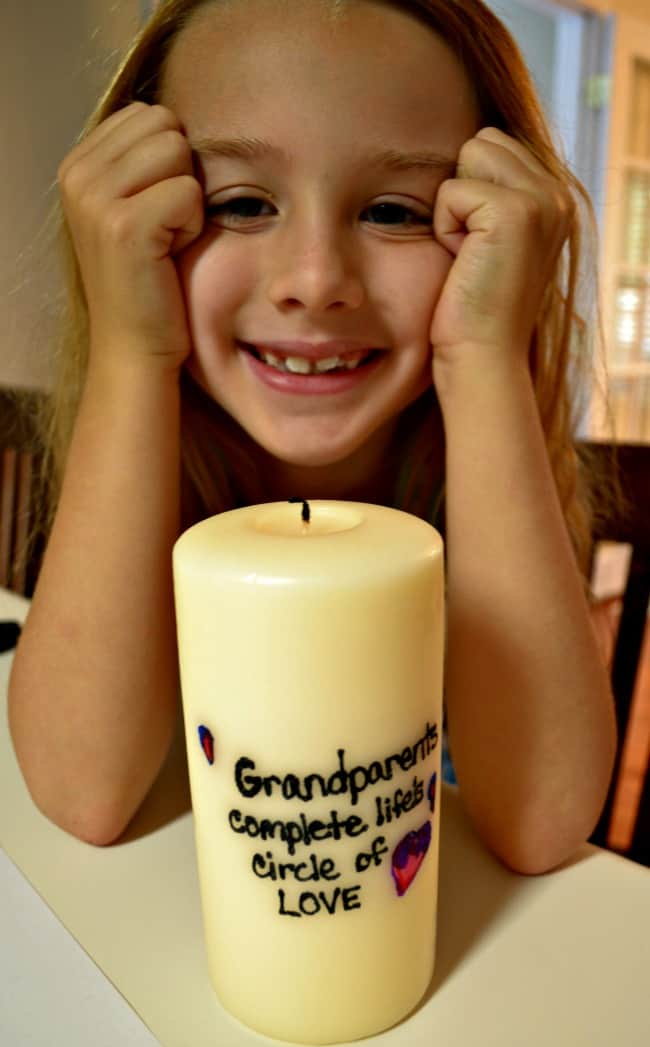
I'm sure you have seen the quote "Grandchildren complete life's circle of love" well my daughter decided she wanted her candle for her granny and papa to say "Grandparents complete life's circle of love."
It makes the perfect gift for Grandparents' day and it literally only takes a few minutes to complete this entire project.
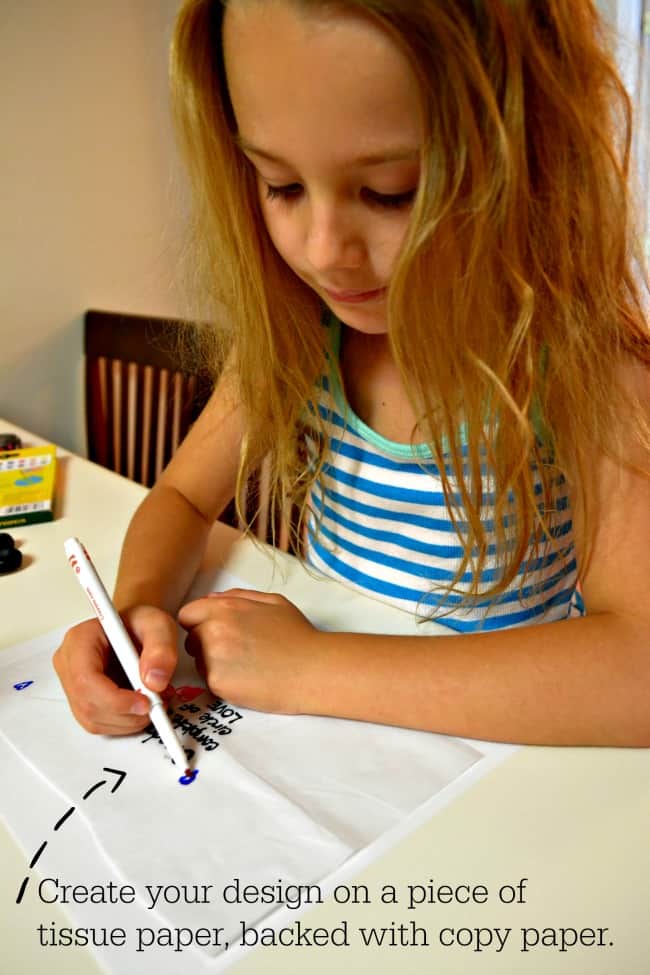
Once you have gathered all of your supplies together you will want to cut a piece of the tissue wrap and place it on top of the copy paper or you can use whatever you have handy to place under it.
A magazine or piece of cardboard work just as well. This just prevents the markers from bleeding through to your countertop or table.
Once you have that set up let your kiddos draw away. Just make sure they don't get too crazy as it needs to fit on the candle.
Another option is to print out a design onto tissue wrap. Yes, this works!
You can tape your tissue wrap onto your copy paper or you can just run it right through, which is how I have done it.
This gives you loads of options for printing on candles.
You can make a holiday one, a special birthday candle, or even how about printing a picture of your kids for a grandparent's gift. My mom would LOVE that.
Now that your design is finished you will want to complete the other steps.
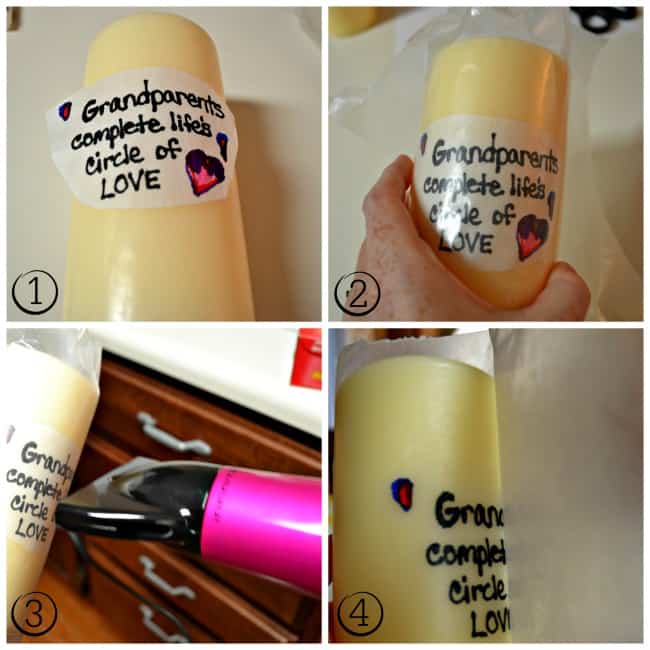
1. Cut around the tissue paper design and get rid of any excess.
2. Place a piece of wax paper over the top of the design to hold everything in place.
3. Use a blow dryer to melt the tissue paper into the wax candle.
As you move the blow dryer across the design it will begin to melt and disappear.
Once you can only see the design and not the paper it is ready.
A blow dryer with an extension works the best because it directs the heat where you need it.
The process may take longer than a regular one but it will work too, just be patient. On hot heat, it only takes a minute or two.
In this part, I would recommend the adult's handle because the heat can get hot on your fingers.
4. Once the tissue paper is completely gone gently pull off the wax paper and ta-da your design will transfer onto the candle.
How do you make custom candles?
There are so many awesome ways you could customize these candles.
If you know someone who loves animal print then how about a printed animal design. That would be fun!
Dog lovers might like their pups on a candle or how about one with your favorite sports team.
The sky really is the limit with what you can create using wax candles and some tissue paper.
How do you make candles with photos on them?
Another awesome idea for these printed candles is to make your own customized photo candles.
You can use this same tutorial for printing photos on candles.
If you enjoyed this how-to make DIY printed candles you might also like a few of these other craft ideas as well.
- Tissue Paper Peony Flower
- Wooden Bead Garlands
- Large Wooden Candleholder
- DIY Concrete Projects
- Sewing Gift Ideas
- Craft Kits for Adults
Want to print or save these instructions?

Benjamin says
I'm a little late in commenting on this. I am making these candles for restaurants and bars. I notice some of the designs have this bubbling in certain spots and will not stick to the candle. I have to go over the same spot over and over again with the hair dryer. How do you prevent bubbling? Is there a certain technique you use with the hair dryer to prevent this?
Melissa says
Benjamin,
I have never had an issue with bubbling. I do, however, cut off any excess tissue paper.
Melissa Estep says
How do you keep the ends from peeling up just started and made 3 I love it.
Melissa says
I try to cut off as much excess as possible, never had an issue with any ends peeling up. You may have to allow it to melt into the candle a little longer.
Vanessa says
Hi there - I’m struggling to find wax paper - will baking paper do the same thing ?
Melissa says
Vanessa, no I don't think so because the wax paper is made of wax and melts into the candle. You should be able to find wax at your local grocery store or on Amazon.
Tara says
Is there a type or brand of tissue paper that works best?
Melissa says
Tara, I just use regular tissue paper that you use to fill gift bags.
Jess says
So can I do any color candle with white tissue paper and the tissue paper not show as white? But as the color of the candle correct ?
Melissa says
Jess,
I haven't tried this technique with a darker candle, only white and cream. My guess is you would have a little shadowing. I would suggest using a matching colored tissue paper (or close to it) for best results.
Whitney says
Such a cute idea. . . Silly question but when burning the candle is there no problem when it gets to the ink part?
Also can you use sharpie markers?
Thank you!
Melissa Coleman says
Whitney,
Nope no problem, it just burns like usual and yes you can use sharpies. 🙂
Clare says
What if you printed out a photo into the tissue paper from the printer? Would that work, have you tried it out? Like a picture of your friends or family?
Melissa Coleman says
If you have a good printer I think you could definitely get it to work. I haven't tried it myself but I definitely think you could do it.
Emma says
Hi this is probably a silly question but I take it the candle will just burn the same on the area where you pit the design? It's such a great idea. Thanks.
Melissa Coleman says
Emma,
Yes, it will just melt the same. 🙂
Sheena says
Does the color of the candle and tissue paper make a difference
Melissa Coleman says
Sheena.... To be quite honest I have only done this with white tissue and on white or cream candles. I would probably say the color of the candle doesn't matter so much but the tissue probably needs to be white. The dye in others may not melt right into the candle. You could always give it a try though but I really don't know how it would come out.
Sheena says
I actually tried red on red on red because I was having difficulty with finding white or cream candles and it turned out pretty good.
Melissa Coleman says
Awesome, glad to hear that it turned out. 🙂
siscolvard says
What kind of printer did you use? My cannon will not let me use tissue. Can I use "ONION SKIN" paper-like they used to use in the office 50's-I think that may go through...Thanks so much
Melissa Coleman says
I used a HP diskjet printer. I have to attach the tissue to a regular piece of paper otherwise it would be to flimsy. I can't speak on the onion skin paper because I have no idea what that is or if it would work or not.
Charley says
Do you put the copy paper on with the tissue paper??? Or what is the point of the copy paper
Melissa Coleman says
Charley, the copy paper is just so when you are making your design on the tissue paper it won't go through and bleed onto your table/countertop. It has no other use.
Dianne says
Hi. I tried this but when I carefully pulled off the wax paper, the pattern and a lot of wax came off with it. Any suggestions for how to correct this?
Melissa Coleman says
Dianne,
Hmmm, I would probably say you either got it to hot and the wax paper melted into the candle or you didn't let it stay on long enough and correctly transfer. You also want to use swiping motions not just in one spot the entire time. I haven't had this happen to me so i'm not sure what the exact cause would have been. I would recommend just getting a cheap candle from the dollar store and trying again to get the hang of it. The wax paper is really only used for holding the tissue paper in place. You definitely don't want to melt the wax paper any. If your hair dryer is especially hot maybe try it on a lower setting.
Dianne says
Thanks Melissa. I think I will give it another try with a cheap candle. It's such a good idea and would make great gifts if I could perfect the technique. We'll see what happens.
Dianne says
Hi Melissa. I just wanted you to know I tried it again and was successful. I used a different hair dryer this time and was careful to apply the heat evenly. They turned out great! Thanks!
nirai says
Nice