
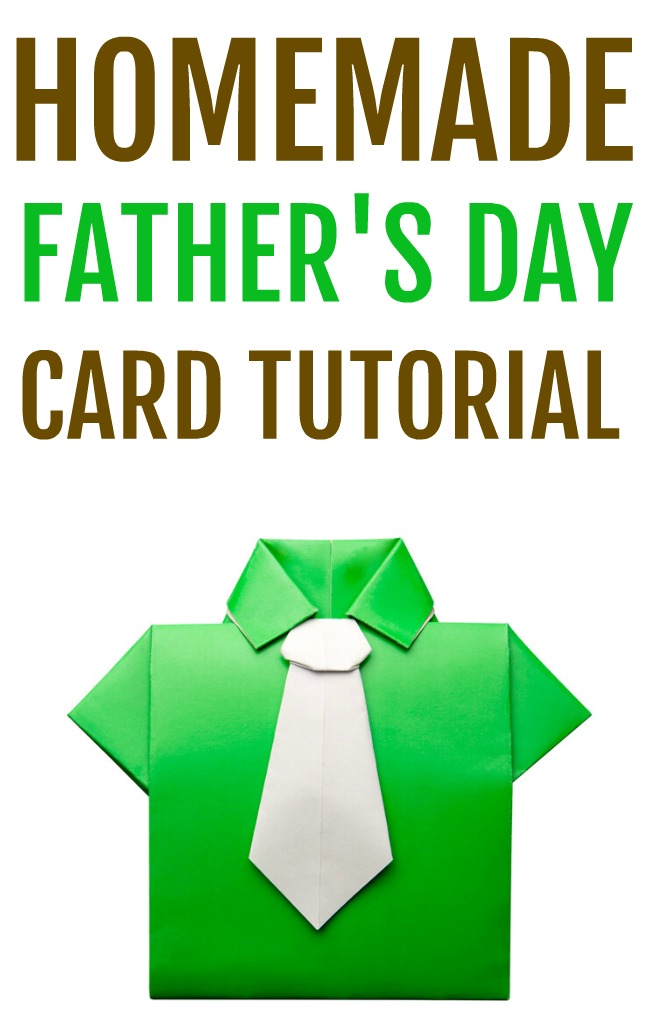
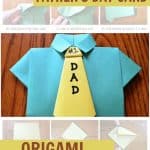
DIY Father's Day Shirt and Tie Card - There is no need to run to the store for a Father's Day card when you can gather the supplies for this quick, easy, and creative homemade card.
Plus, dads like the handmade cards just as much as mom, add in a little sweet note to create something special this holiday.
As I said, this DIY card is super easy and all you really need is two pieces of construction paper to create this fun art project by your toddlers, preschoolers, or any aged child to give to their dad this Father's Day.
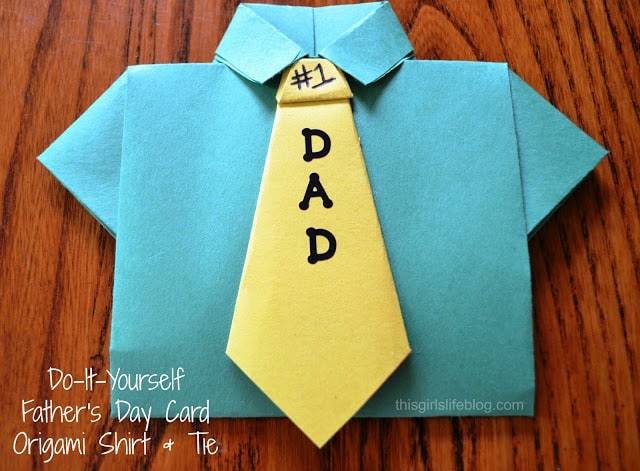
Simple and sweet, this Father's Day shirt and tie card are sure to make him smile.
Learn how to make this unique shaped t-shirt card for all the dads in your life with these step-by-step instructions.
How to make a Father's Day Shirt and Tie Card!!
What you will need!
- 2 pieces of Construction Paper. (Any color of your choosing.) .... yes that's it!
- Glue Stick
- Pen/Pencil
How to make an origami shirt
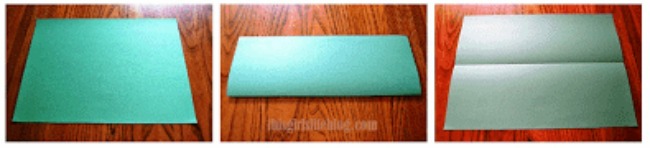
- First, you will want to start with an 8 x 11 piece of construction paper. You can pick any color that you would like for the shirt.
- Begin by folding in half, lengthwise.
- Unfold
- Fold each side into the center crease.
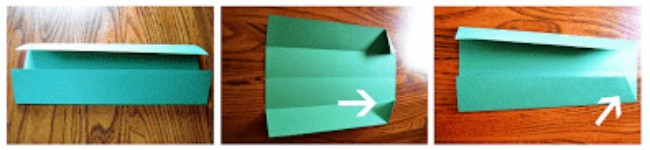
- Unfold and fold the tips of one side into the first crease.
- Fold back together on both sides, leaving the tip folded inside.
- Fold-down where the tips end.
- Fold along the back making sure you have a good crease.
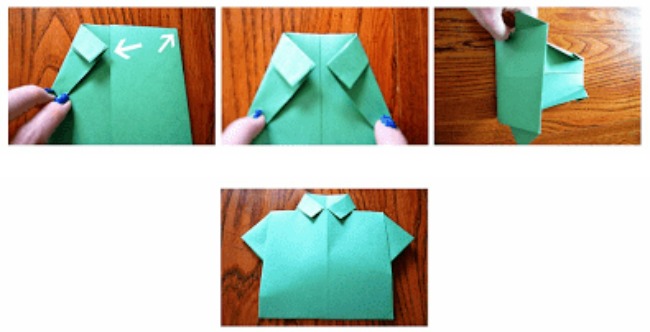
- Open back up and fold the tips piece back making another triangle. See the arrows in the picture for reference. You will do this for both tips.
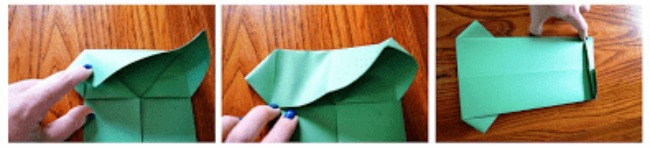
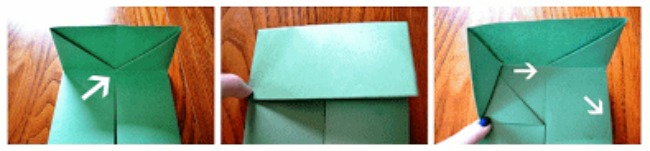
- Once you made the additional triangle pieces you are going to fold the top down to the other edge. Check the photos for reference if you are getting confused.
- Now you are ready to turn the piece over and fold the bottom up ¾ of an inch.
- Turn back over and fold up to the crease. See the photo for reference.
- Do the same on the other side.
- Now you will take the bottom of the shirt and fold it into the collar.
- Tuck the bottom into the collar and you are done with the shirt. Good Job!!
How to make an origami tie
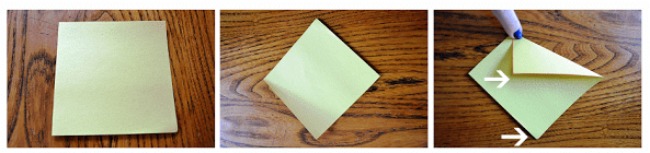
- Cut out a 4 x 4-inch piece of construction paper. Any color you choose, just something different from the shirt color would be best.
- Turn the square so that it looks like a diamond and fold the tip to the center and repeat on the opposite side. See photos for reference.
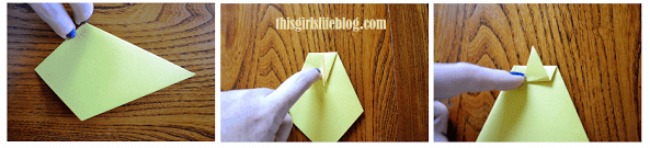
- Turn over, as you will see it looks like a kite.
- Fold the small tip about an inch down and then fold back up about halfway. See photos for reference.
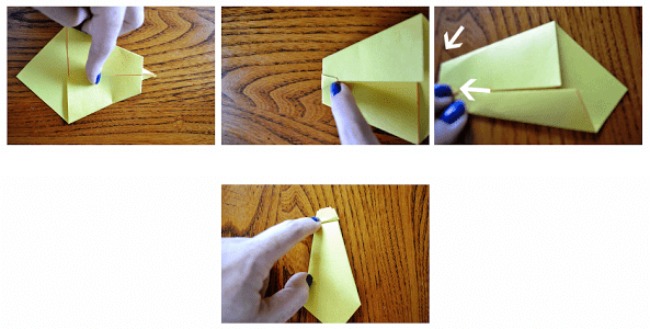
- Fold over again and there will be a little small tip point out, fold it over.
- Fold the side in towards the center crease and repeat on the other side.
- Fold back over and you are done. Now that your tie is finished you will want to glue it to the shirt so that it will stay on.
You can open up the shirt so that you don't glue it together completely. Once the tie is glued on you can write a little note on the inside and close it back up.
Although not necessary, my daughter added stickers to hers that spelled out dad and we just wrote #1 on it as well. You can embellish however you see fit.
Shop related products:


More Father's Day Posts you don't want to miss!
- Preschool Father’s Day Crafts
- Father’s Day Cards for Kids to Make
- Fatherhood, You Nailed It, Hand and Arm Craft
- Bowtie Cupcakes for Father's Day
- Best Dad Ever Paper Plate Craft
- Father's Day Gift Ideas
- Daddy, You are DINO-mite Card
Want to print these easy step-by-step instructions?

Deus says
Thankyou for this amazing tutorial, I just finished mine and it's fantastic! Better than expected, top quality.