
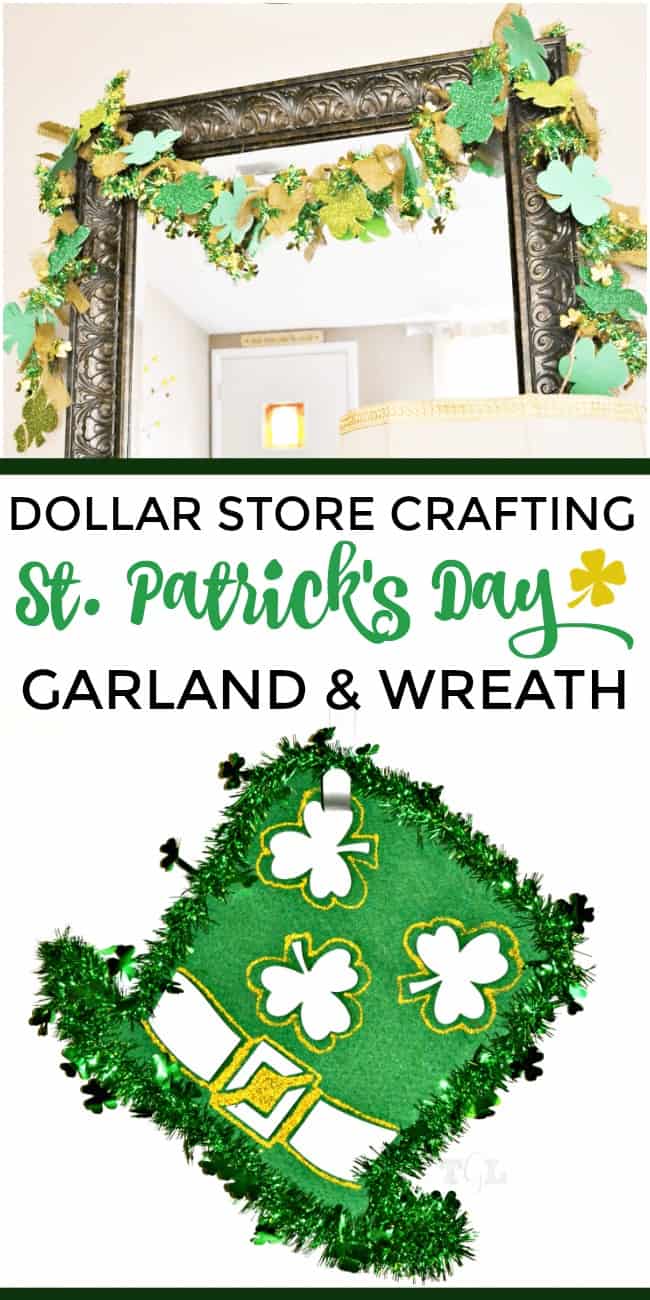
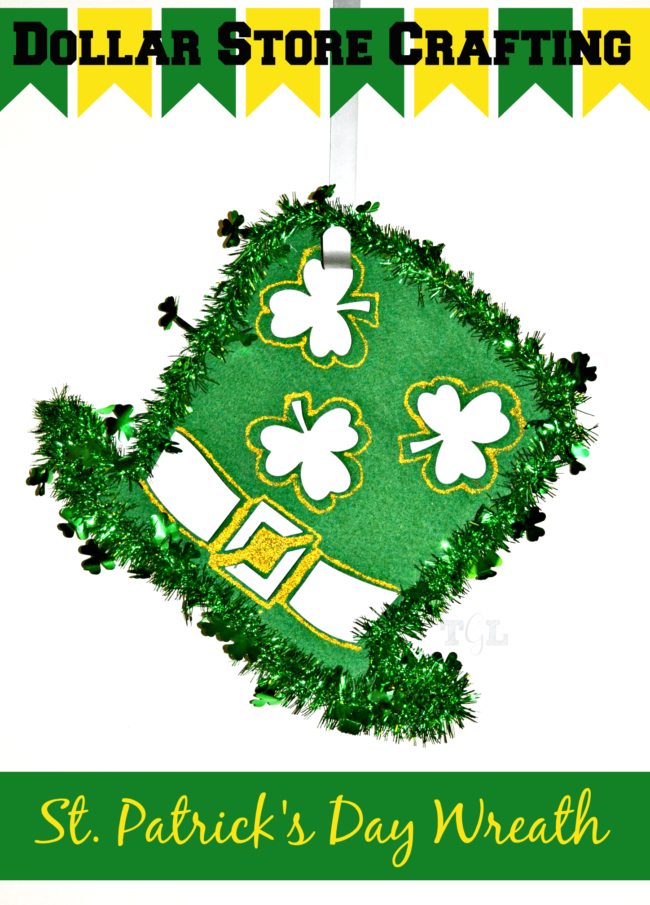
Create your own luck with these super cute St. Patrick's Day Garland and St. Patrick's Day Wreath crafts.
All of the materials are found at your local dollar store and are inexpensive and incredibly easy to make.
Post contains affiliate links.
One of my favorite places to get craft supplies is the dollar store. They have so many cute things.
We don't really do much decorating for St. Patrick's Day but I wanted to create a few touches of green around the house.
I made this garland and wreath for less than ten dollars. Not too bad!
St. Patrick's Day Garland Supplies:
All were purchased at my local Dollar Tree, minus the burlap but can be found online as well.
- 2 Tinsel Garlands
- 2 Packages of Foam Clovers
- ½ Yard Burlap Fabric
- Jute
- Hole Punch
- Scissors
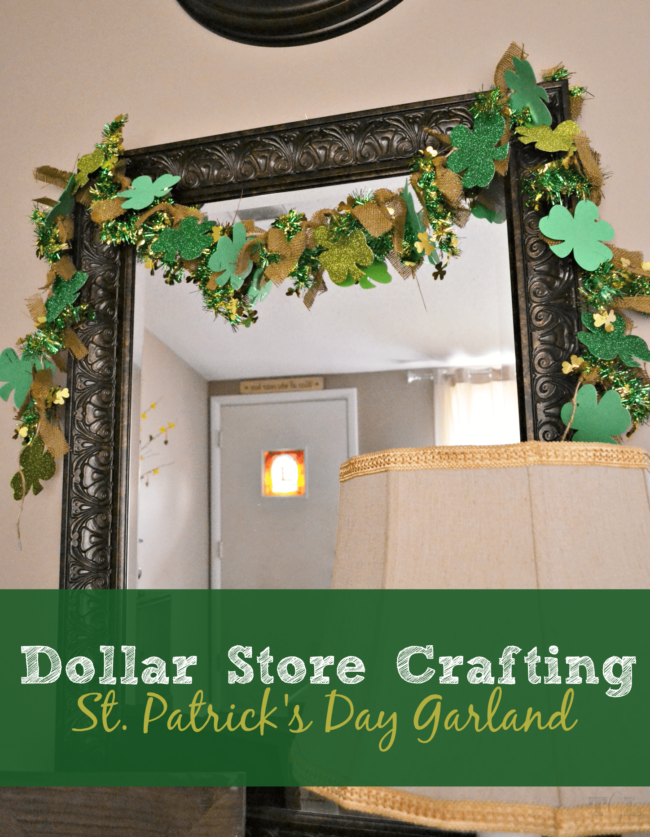
How to make a simple St. Patrick's Day Garland
Step 1: First, you want to start off by measuring out your jute. You can make your garland any size you like but these directions and supplies are for an 8-foot garland.
Measure out 8 feet of jute and cut to get you started.
Step 2: You will then want to punch holes into your foam clovers using your hole punch. These are fairly thin so I was able to punch about 3 at a time.
Now that you have your holes punched, cut up strips of 8-inch burlap and tinsel garland. If you want to do all of your cutting at one time, I used 30ish pieces of burlap and 15ish pieces of tinsel.
Step 3: Now you are ready to start assembling. Take your first clover and tie it onto one side.
Note: Wrapping a piece of tape around your jute makes it easy to thread without unraveling.
Step 4: After you have tied on your clover you can knot on a piece of burlap and a piece of tinsel.
I did clover, burlap, tinsel, burlap, and then repeated. I also used alternating clovers because some of the glitter ones were dark green and light green. My clover pattern was plain, dark glitter, plain, light glitter, plain, etc. We all learned patterns in Kindergarten right. I'm sure you got that handled. 🙂
Rinse and repeat until you get to the end. I tied the clovers on in each spot so they wouldn't move around but if you really wanted to you could tie them on just the ends so nothing would slip off.

Caution: After cutting the tinsel you need to be careful when knotting it. If you pull too hard you will pull the tinsel right off the wire. Yes, I'm speaking from experience.
Want to print or save the instructions for this St. Patrick's Day Garland?
St. Patrick's Day Wreath Supplies:
- St. Patrick's Day Hat
- 1 Tinsel Garland
- Glitter Glue
- Glue Gun/Glue
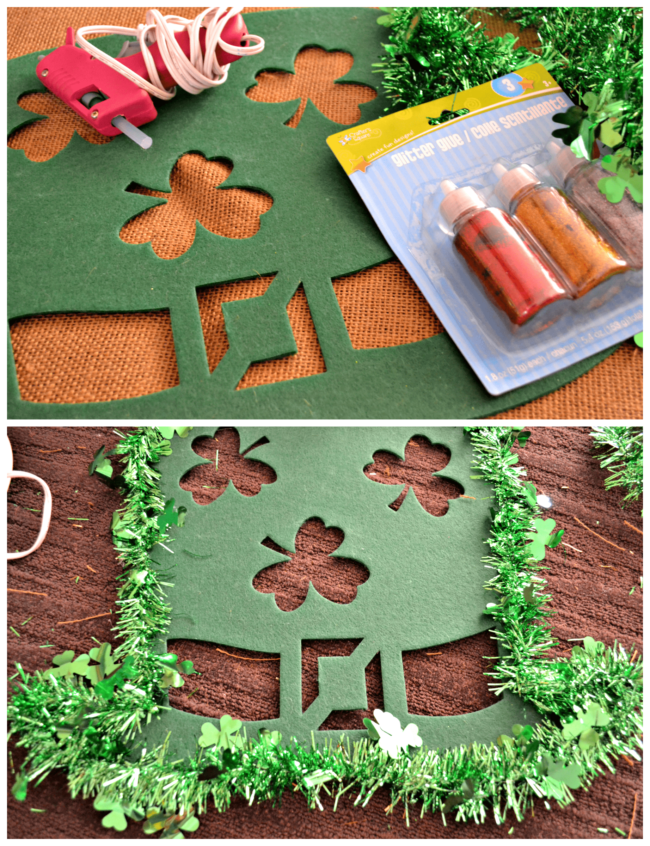
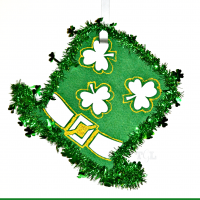
How to make a simple St. Patrick's Day Wreath
Step 1: This St. Patrick's Day wreath is so simple it took longer for the glue to dry than it did to put it together.
Take your tinsel and start hot gluing it around the edging of the hat.
Step 2: Now that you have that finished, take your gold glitter glue and outline the belt and clovers.
You can choose to do just the belt or just the clovers. You could even spell out words with it. Just make it your own.
Let the glitter glue dry well before hanging. We don't want any messy runny glue issues. I let my wreath dry overnight and it was perfect.
Want to save or print the instructions for this St. Patrick's Day Wreath?
The total cost of the St. Patrick's Day garland and St. Patrick's Day wreath for me was right around $7. I already had some burlap and jute on hand so if you have to purchase those extra supplies it will run you a little more. I still think you could easily get both of these projects under $15. Which is not too shabby for 2-holiday decor pieces.
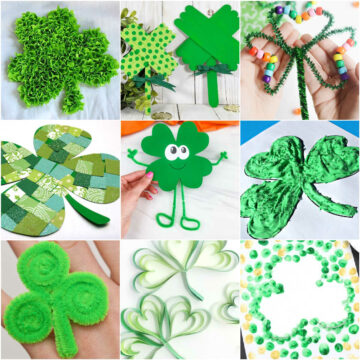
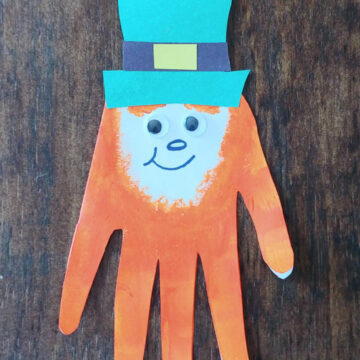
Even more St. Patrick's Day posts you don't want to miss!


Jamie Rippy (@MamaMommyMom) says
Dollar Tree is one of my favorite stores ever! I'm actually stopping in on my way home from work today to pick up some supplies for an office party next week.
I love the garland. You can do SO many things with the stuff you find at Dollar Tree, you just have to put some imagination behind it.
Deanna Ritz says
Cute Cute Cute!!! I'm going to have to make me one of these for the house. Love that you could get it all at the dollar store. 🙂
Melissa Coleman says
I know right? Love the dollar store! 🙂
Kendra says
This turned out awesome! There are so many great products at the dollar store.