
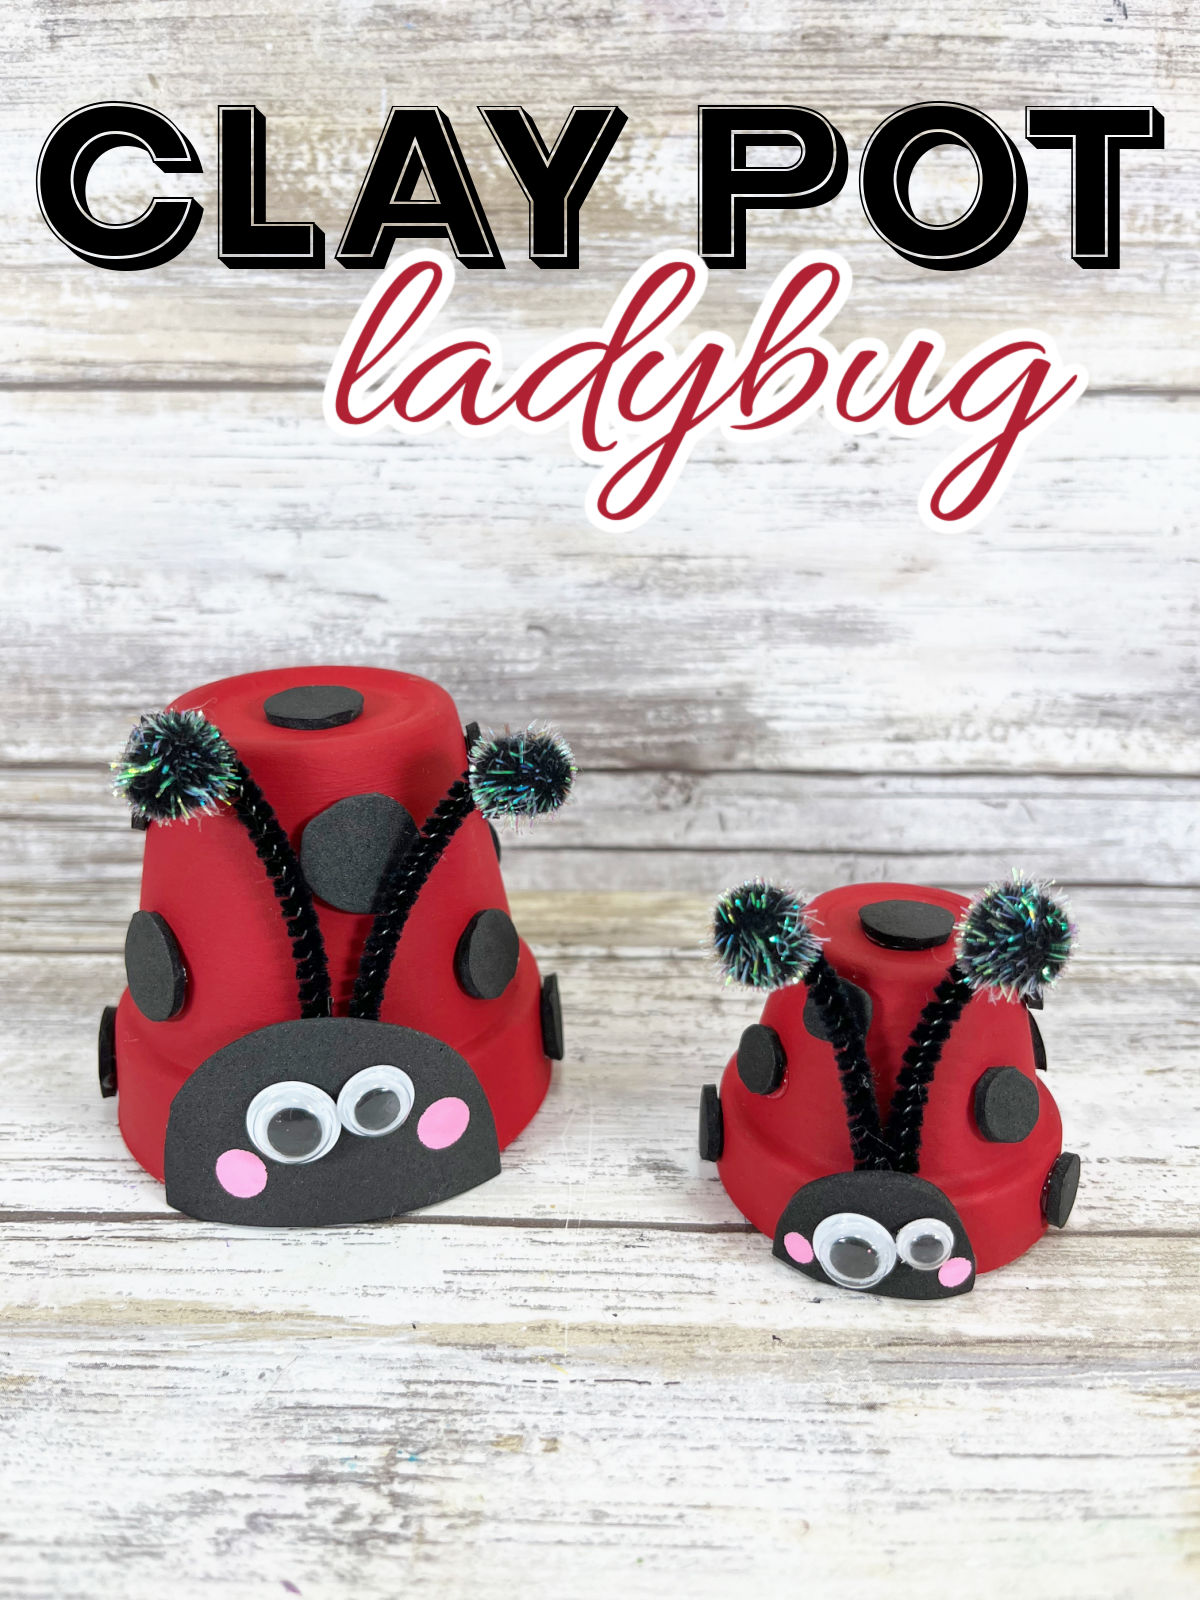
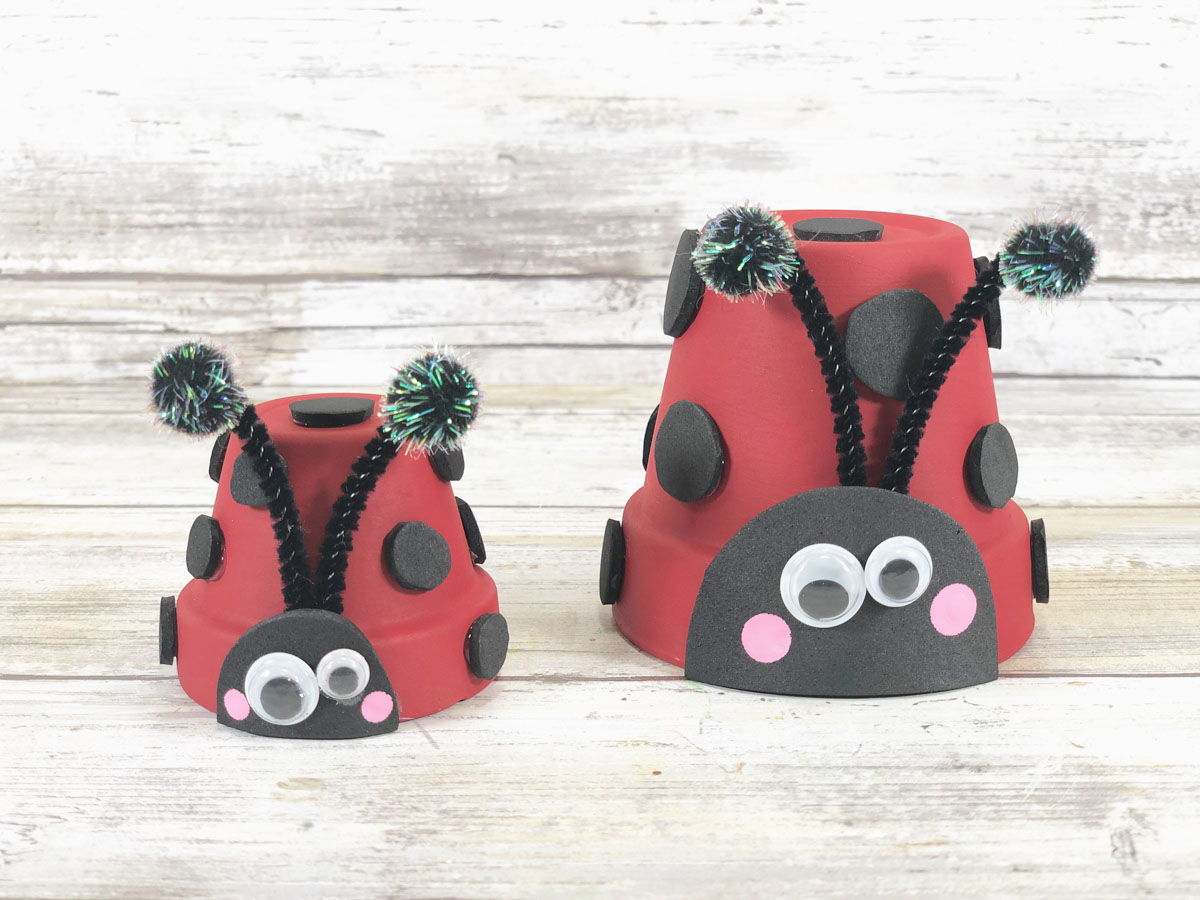
Get creative with this fun clay pot ladybug craft!
It's perfect for kids and adults alike and is sure to bring a smile to your face. Check out our tutorial now.
This craft is easy to make and can be customized in many different ways.
You could use different colors of paint to make ladybugs of different species or add glitter or other embellishments to give your ladybug a bit of sparkle.
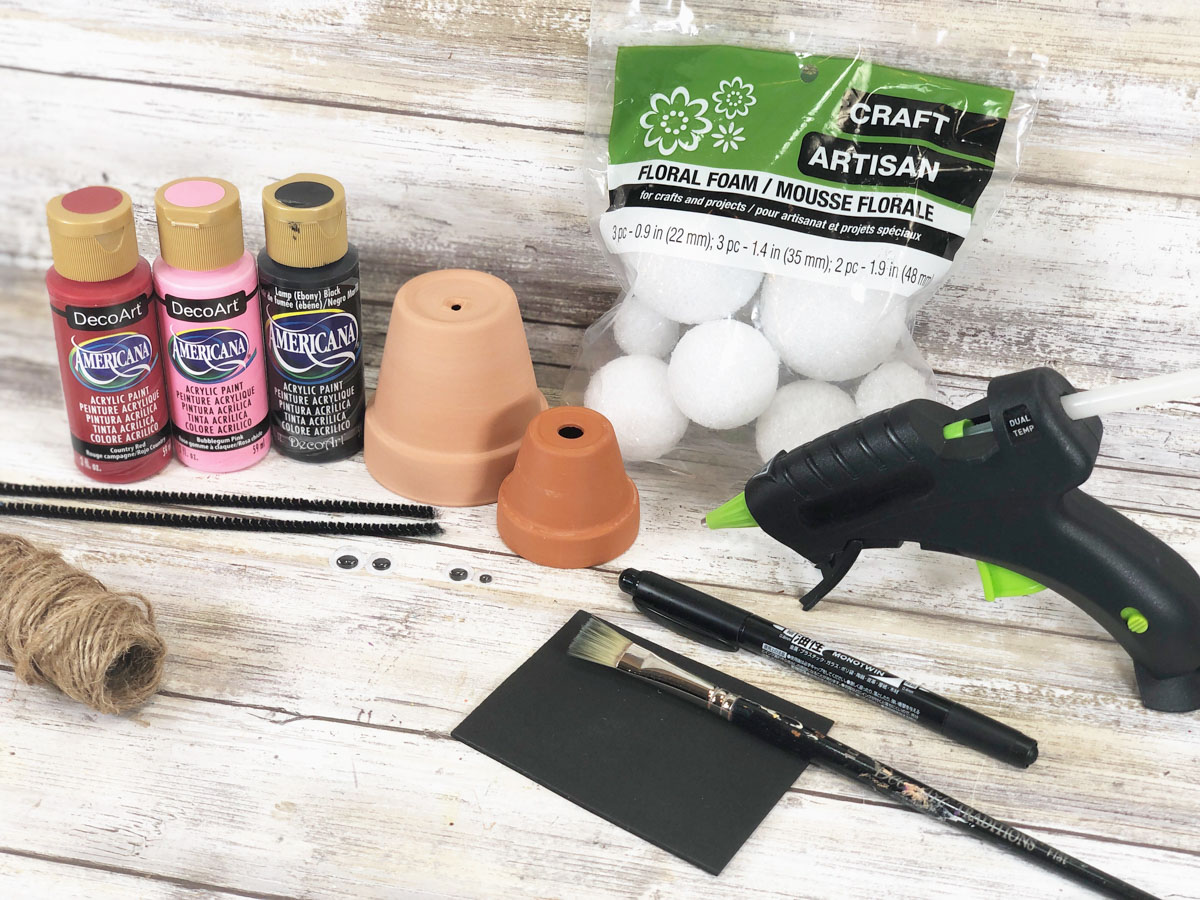
Materials you will need:
- Small Clay Pots – 2.5” and 1.5” in diameter
- Acrylic Craft Paint – Red, Pink
- Craft Foam, Black
- 4 Wiggle Eyes
- 4 Pom Poms, Black Tinsel
- Chenille Stem, Black
- Glue Gun and Glue Sticks
- Scissors
- Paintbrush
- Pencil with New Eraser
How to make a clay pot ladybug craft for kids!
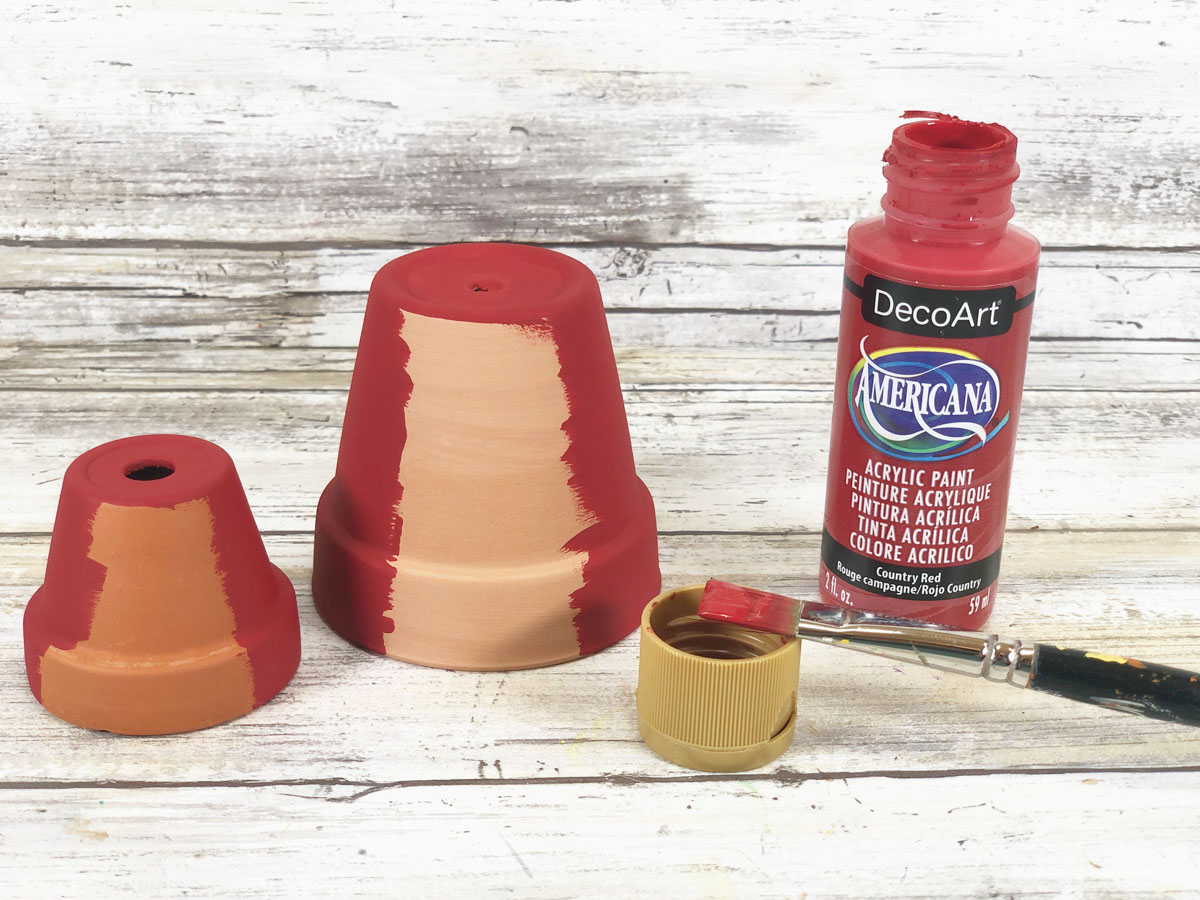
STEP ONE
Basecoat both clay pots with red acrylic craft paint. Let the paint dry and then apply a second coat, if necessary.
STEP TWO
Cut a larger and smaller half circle from black craft foam. Cut out 6-8 small circles from black craft foam for each Ladybug’s spots.

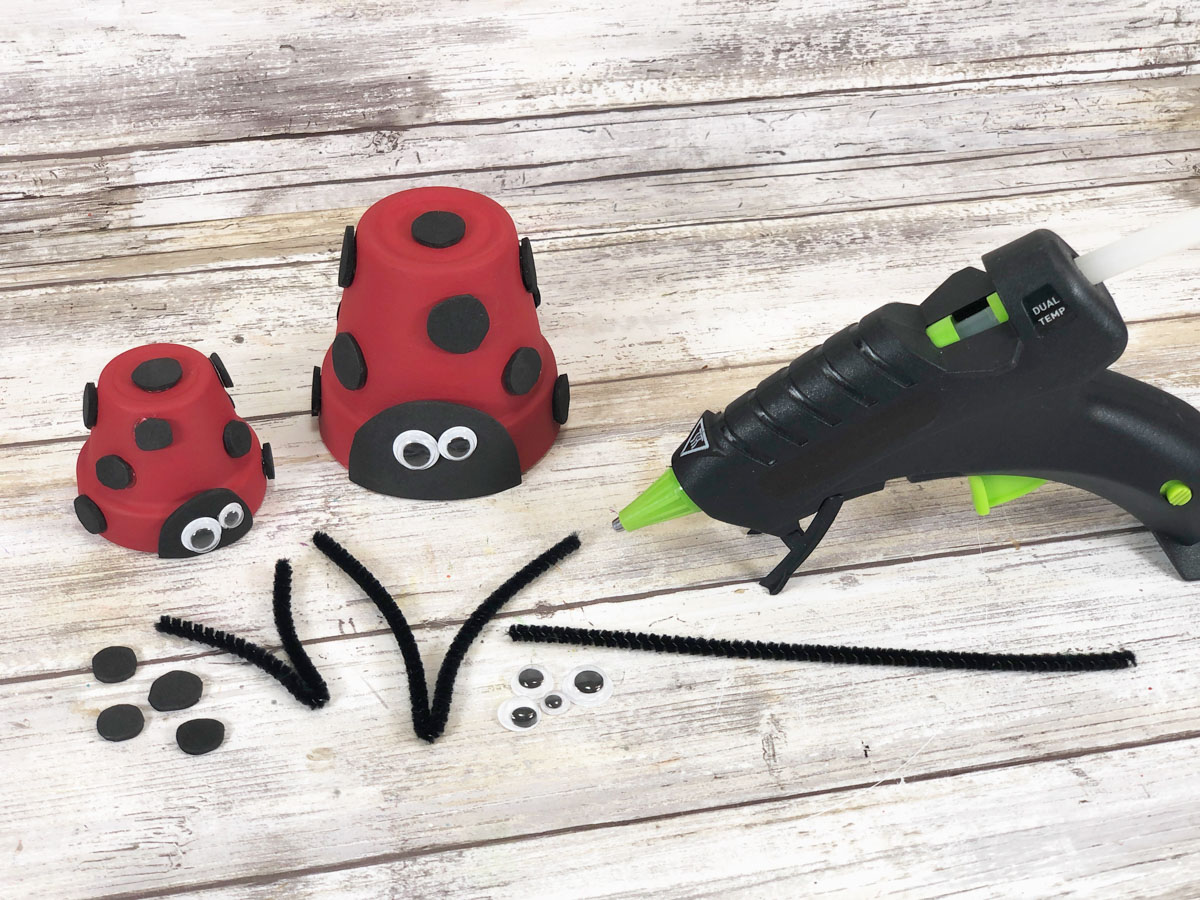
STEP THREE
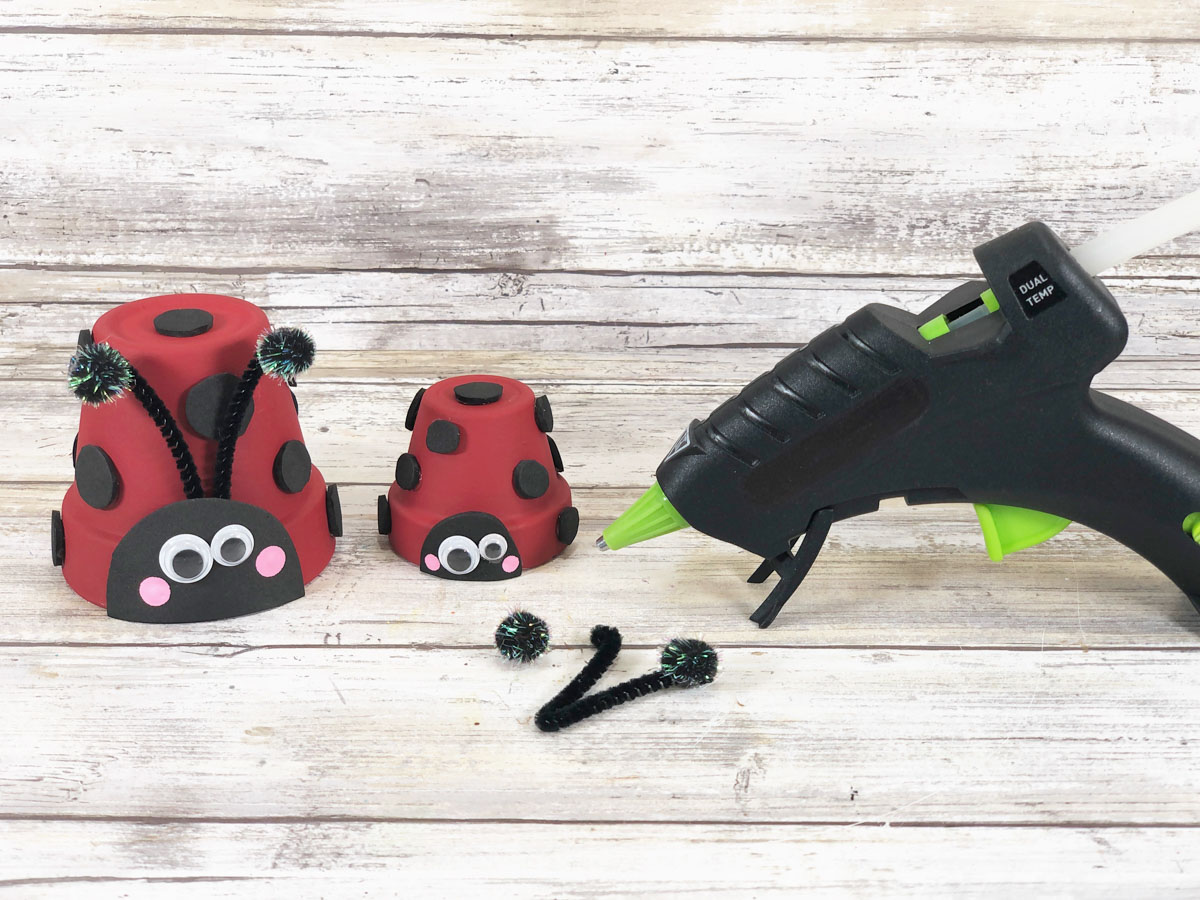
Cut a 12” chenille stem in half and fold both sections in half.
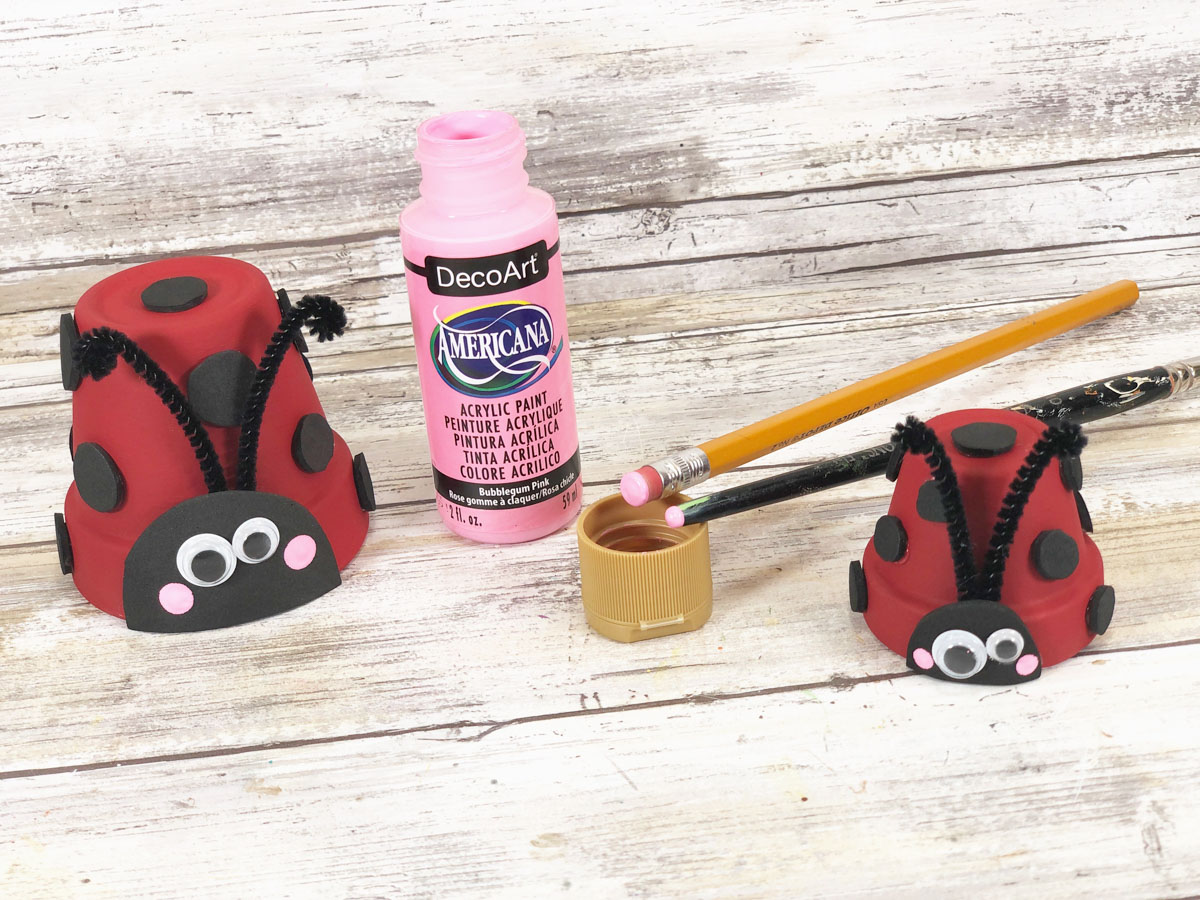
Attach two wiggle eyes to each Ladybug's head with a glue gun and glue sticks. You can use liquid craft glue for this project, but you must wait for it to dry.
Then glue the Mama and Baby Ladybug heads to the base of the clay pots.
Attach the spots with a glue gun and glue sticks.
STEP FOUR
Add polka dot cheeks by dipping a new pencil eraser into pink acrylic craft paint. Set aside to dry.
STEP FIVE
Attach a black tinsel pom pom to the cut end of both sets of antennae with a glue gun and glue sticks.
Glue the folded end to the back of the Mama and Baby Ladybug heads.
A great family fun craft activity to complete with the kiddos.
The perfect place card for a summer barbecue dinner, fun tag for a summer birthday present, or decoration to gift to a neighbor or co-worker!
Books we are currently loving!


Even more cute clay pot crafts!
Want to print or save the instructions for this Clay Pot Ladybug Craft?
Leave a Reply