
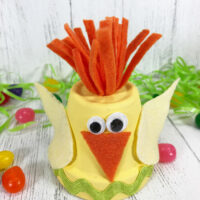
Delight the little ones with this fun and easy clay pot chick craft! Follow along to see how it's done.
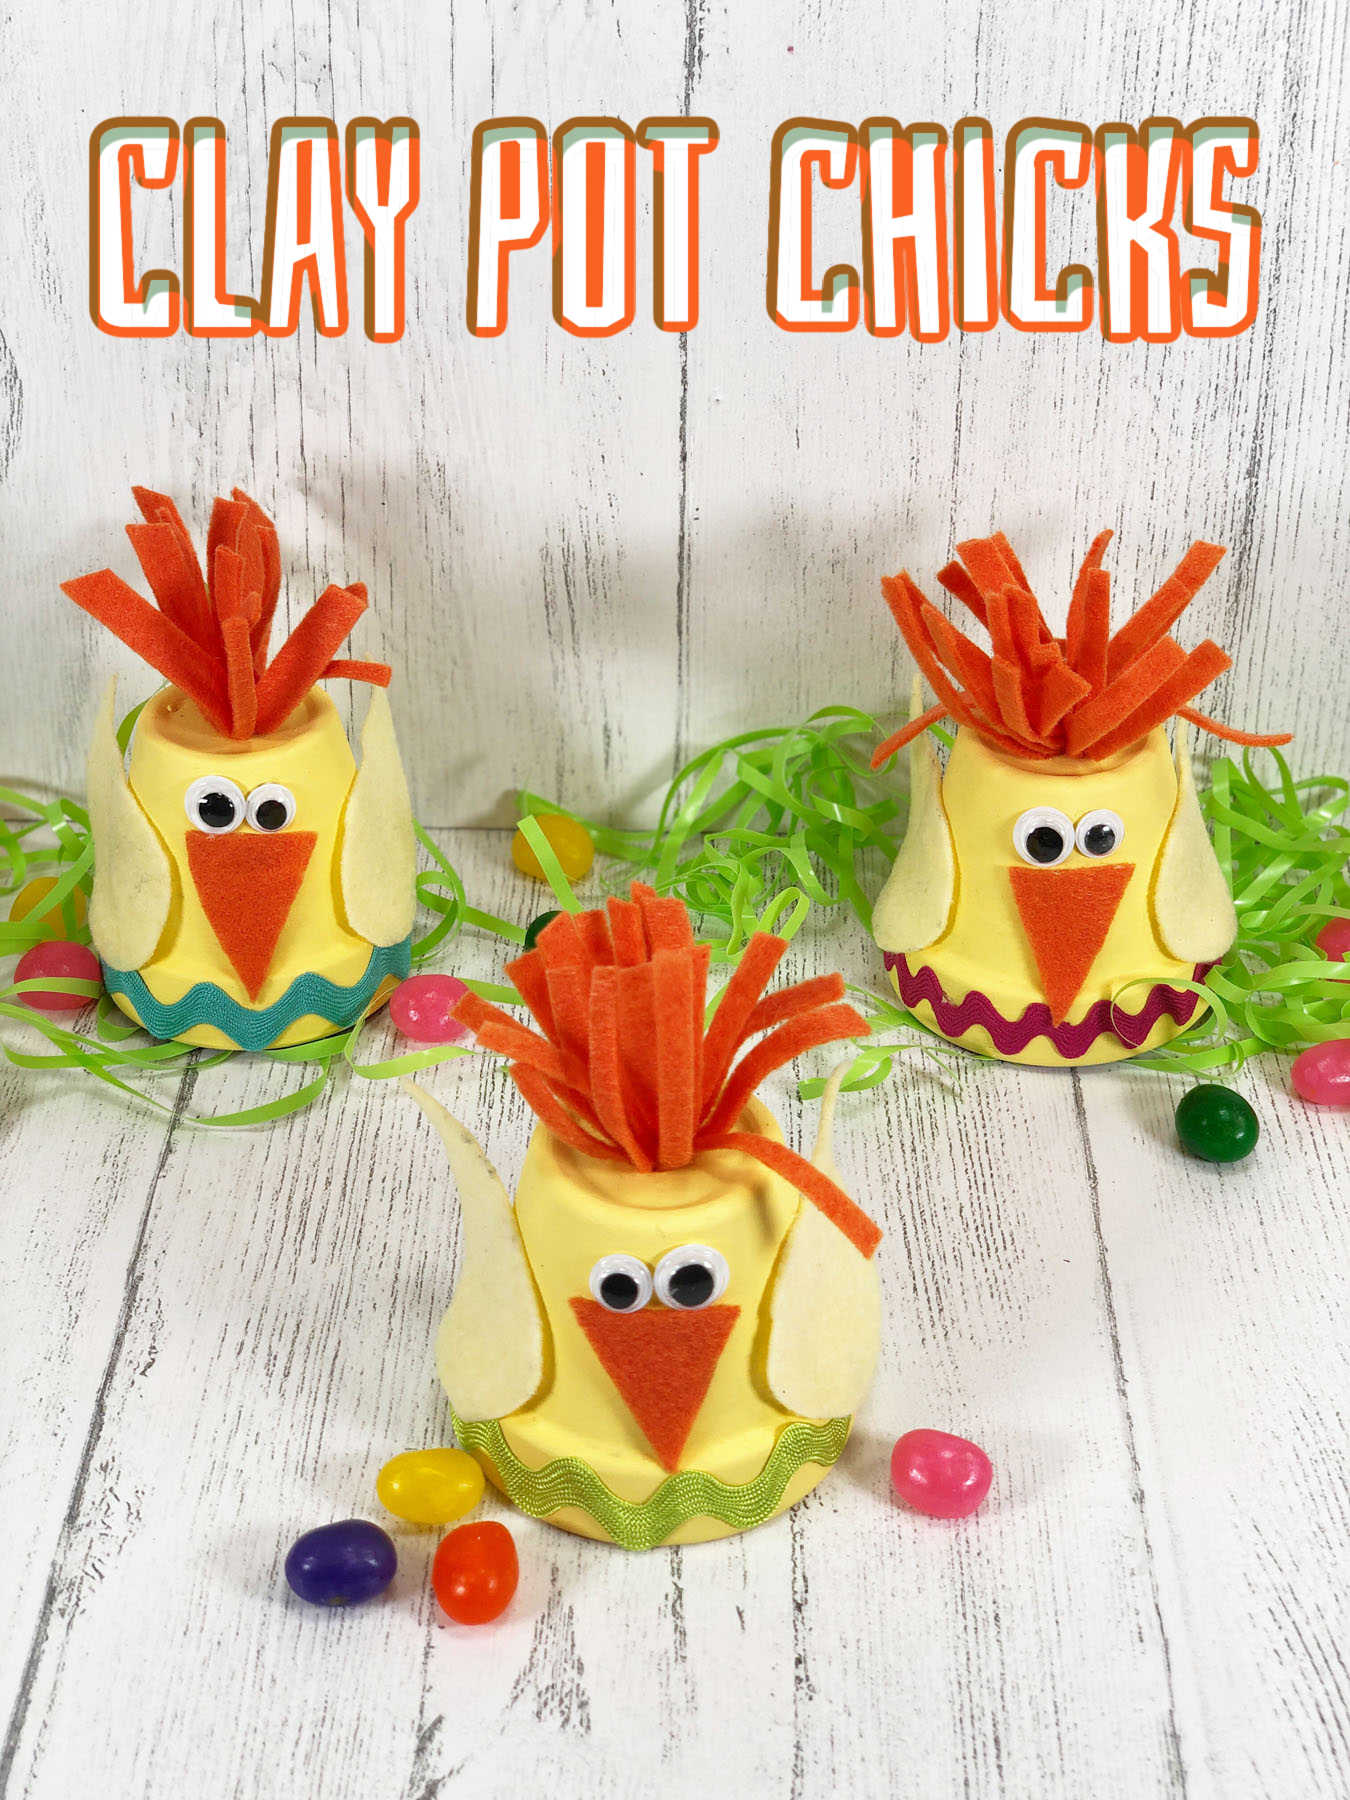
Make a fun springtime chick out of mini clay pots and paint with your kids!
This quick and easy craft is perfect for creative little hands, and they'll love the results.
Materials you will need!
- 3 mini clay flowerpots, 2”
- Felt Sheets – Yellow (1), Orange (1)
- Permanent Marker
- Rick Rack Trim – ½″ wide Pink, Green, Purple (or trim of choice)
- Acrylic Craft Paint – Light Yellow
- Scissors
- Paintbrush
- Wiggly Eyes
- Glue Gun and Glue Sticks
- Plain Paper
- Flowerpot Chick Trio Patterns

How to make a clay pot chick craft!
STEP ONE
Basecoat the three 2″ mini clay pots with light yellow acrylic craft paint and let dry. Apply a second coat if necessary.

If the hole in the flowerpot is small, make it larger by gently scraping it with the metal blade from a pair of scissors.

STEP TWO
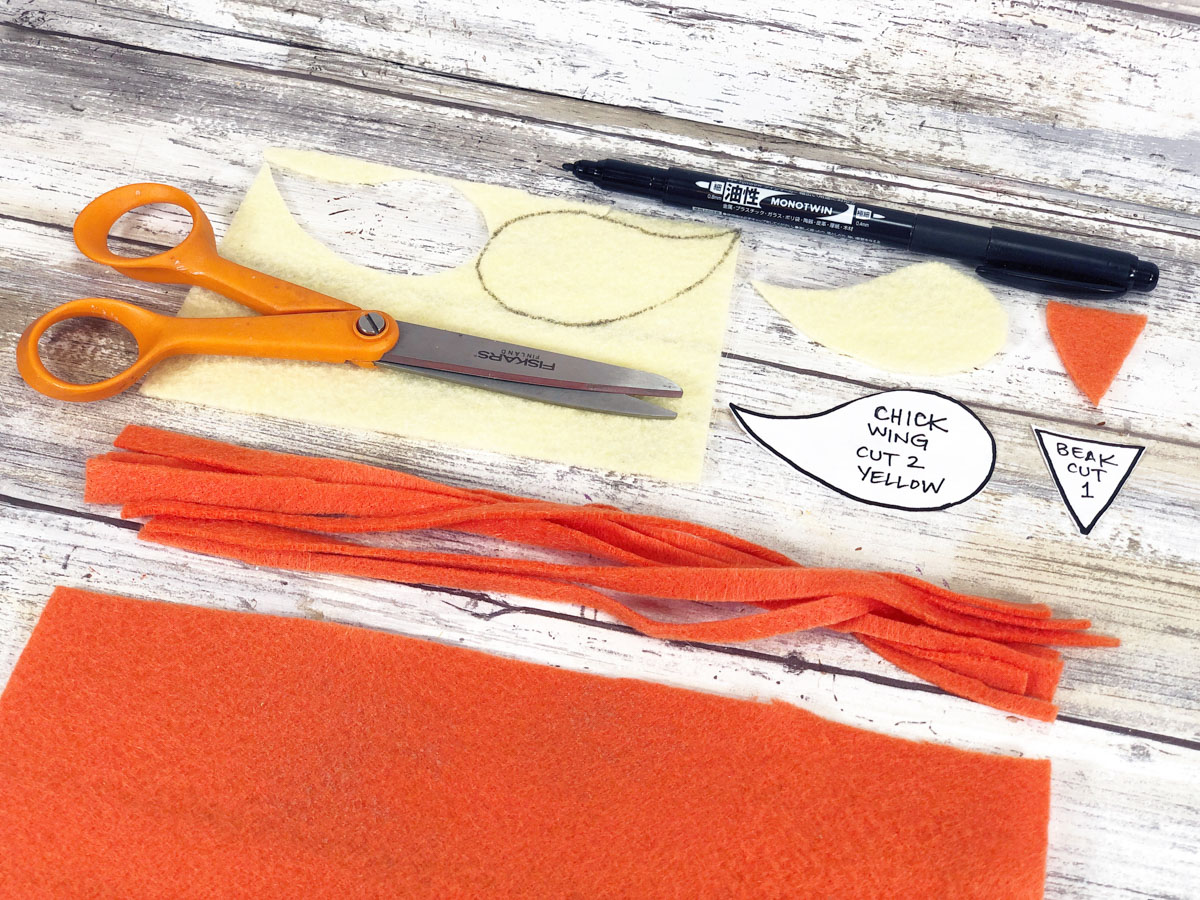
Download and print the patterns for the clay pot chick. Cut out the patterns to use as templates.
Using a permanent marker, trace six wings on the yellow felt, and then cut them out with scissors.
Trace and cut out three beak patterns from the orange felt.
Cut fifteen strips approximately ⅛″ by 9″ for the comb from orange felt.
TIP: Cut inside the traced line, so that your project looks neat and clean. You can also pin the paper patterns to the felt and cut them out with scissors.
STEP THREE
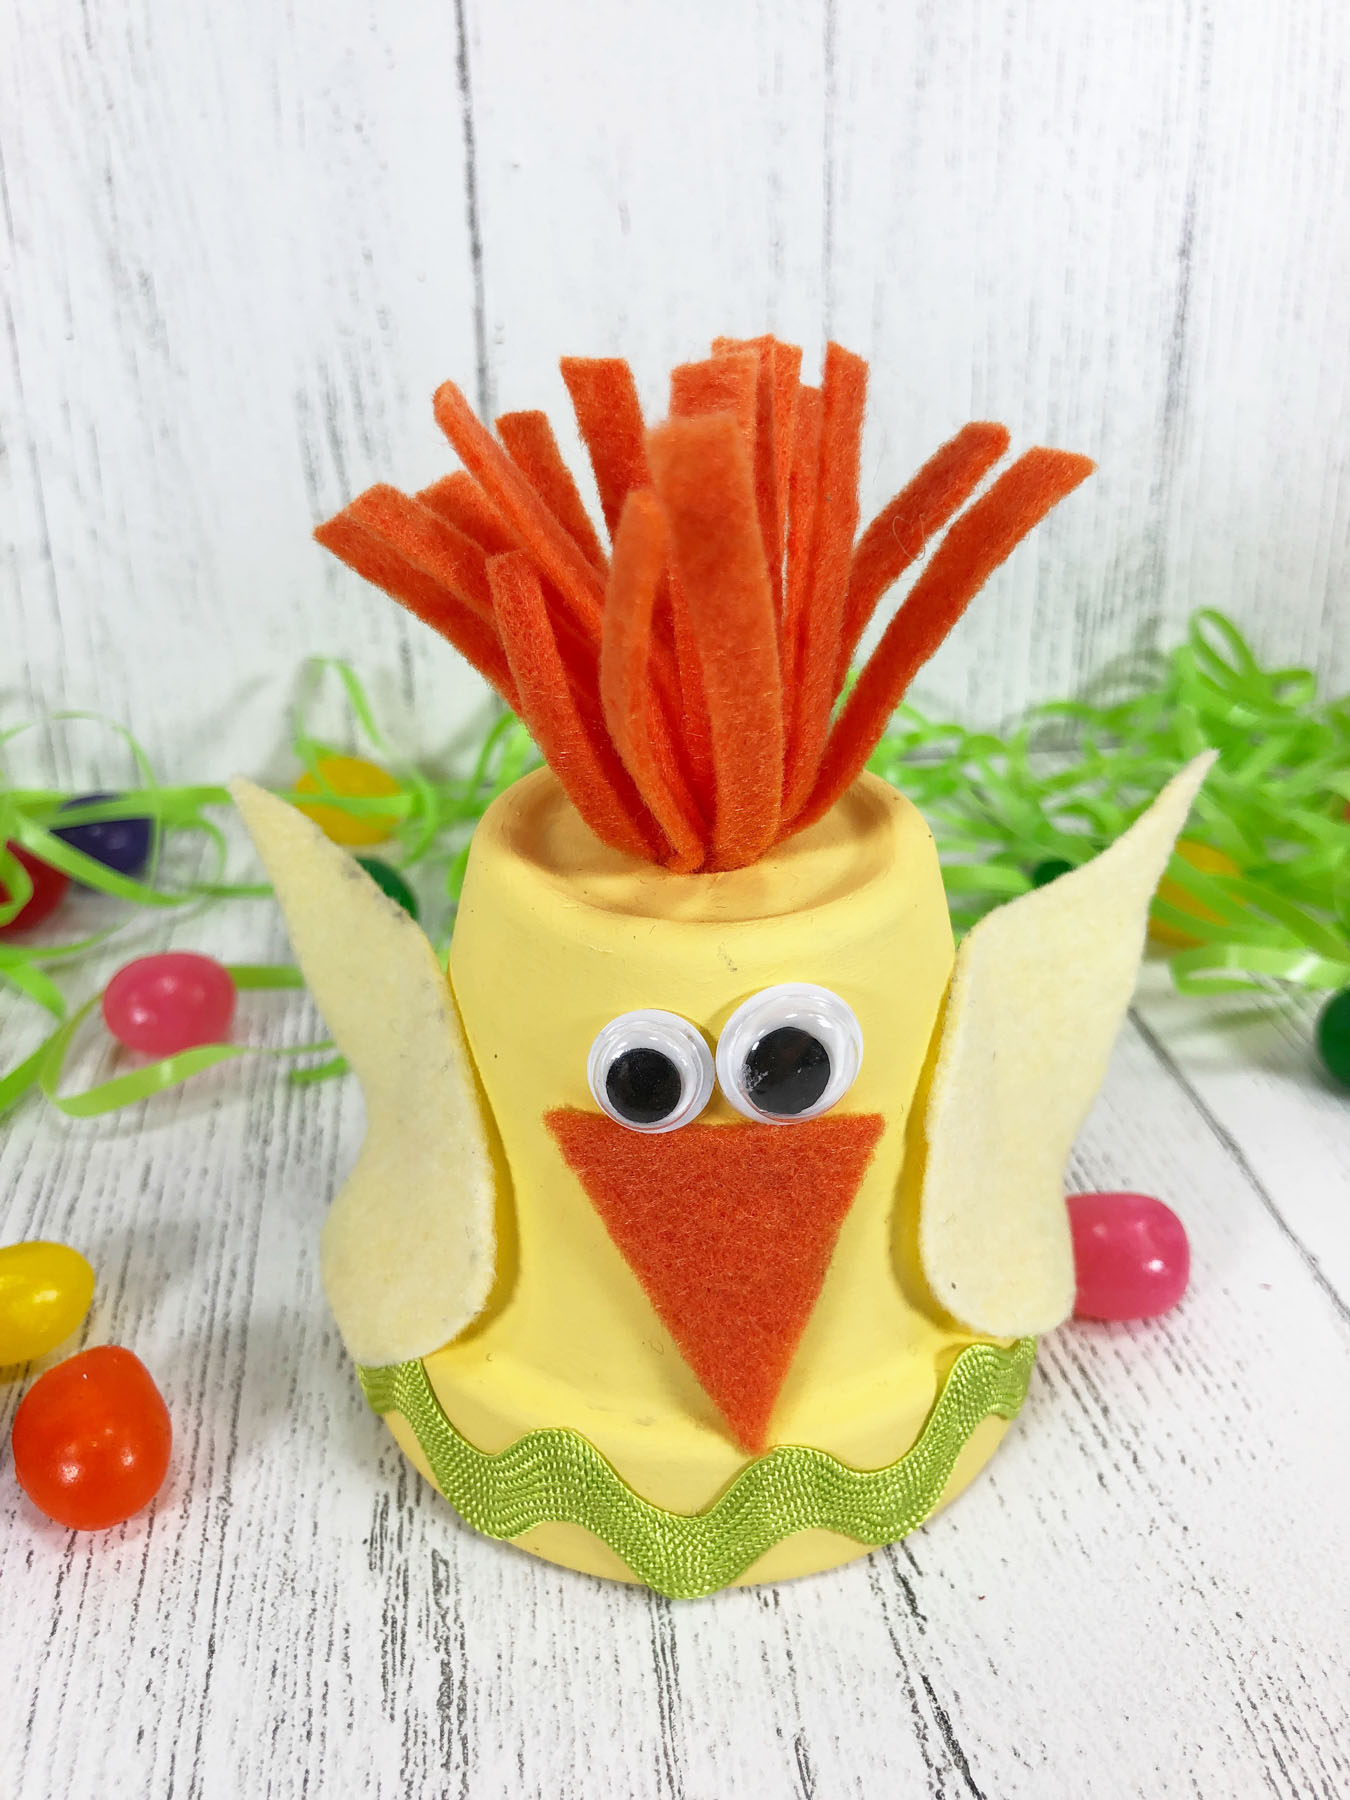
Adhere the wings to the right and left sides of each chick with a glue gun and glue sticks. You can use a hot glue gun if you prefer.
Attach the beaks and wiggle eyes to complete the chicks' faces.
Glue the rick rack trim to the base of the flowerpot, using the photo for placement. You can use liquid craft glue for this project, but you will have to wait for it to dry.

STEP FOUR
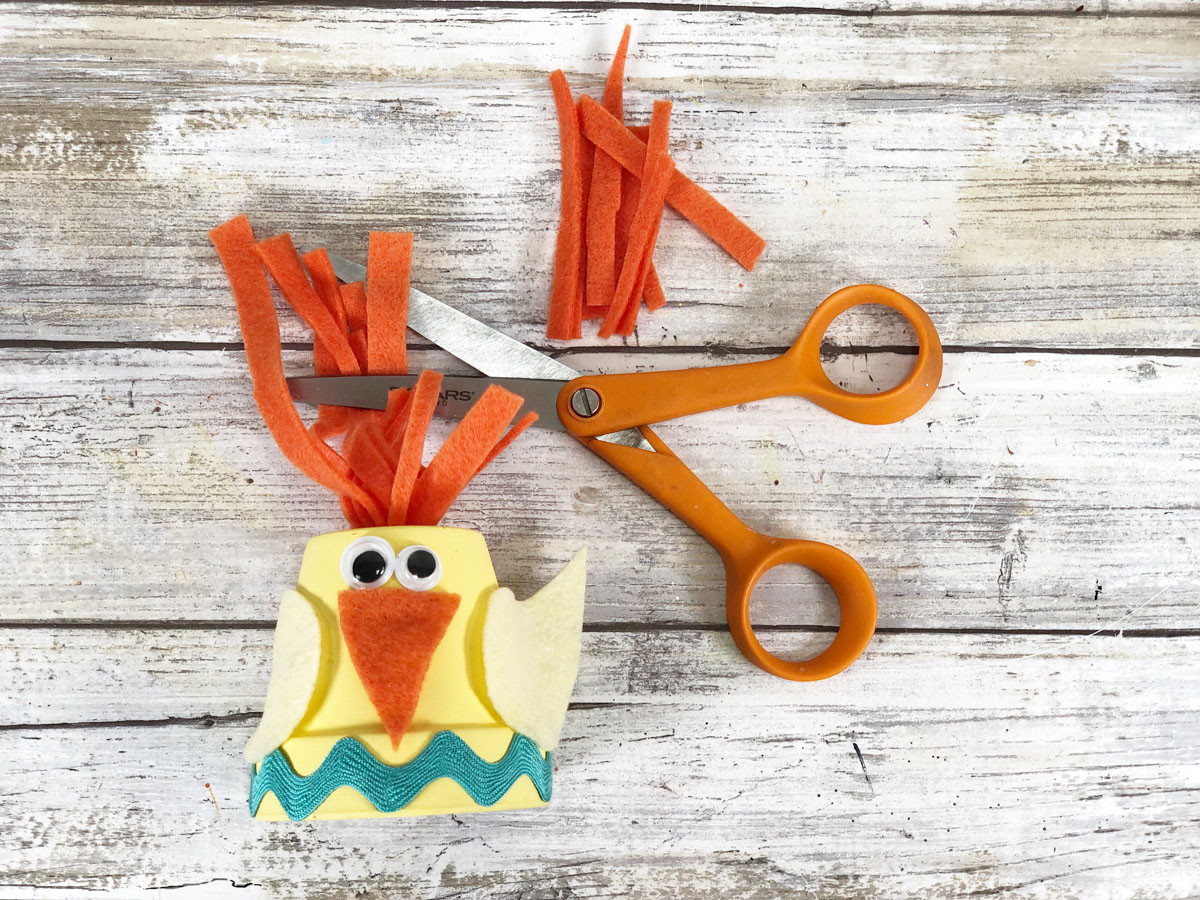
To create the chicks’ combs, gather five orange felt strips, twist them several times in the center, and fold them in half.
Secure the comb in the flowerpot drain hole with the glue gun and glue sticks.

STEP FIVE
To finish, trim the chicks’ combs with scissors, and fluff.
And here are the Chick Triplets ready for their close-up!
Make a set for a Teacher, Friend, or Neighbor, or use them as place cards for your family’s Easter dinner.
They are so quick and easy to make with the kiddos.
Want to print or save this Clay Pot Chick Craft?


Leave a Reply