Create this simple and inexpensive rustic wooden lantern that is perfect for a fun indoor or covered outdoor home decor piece.
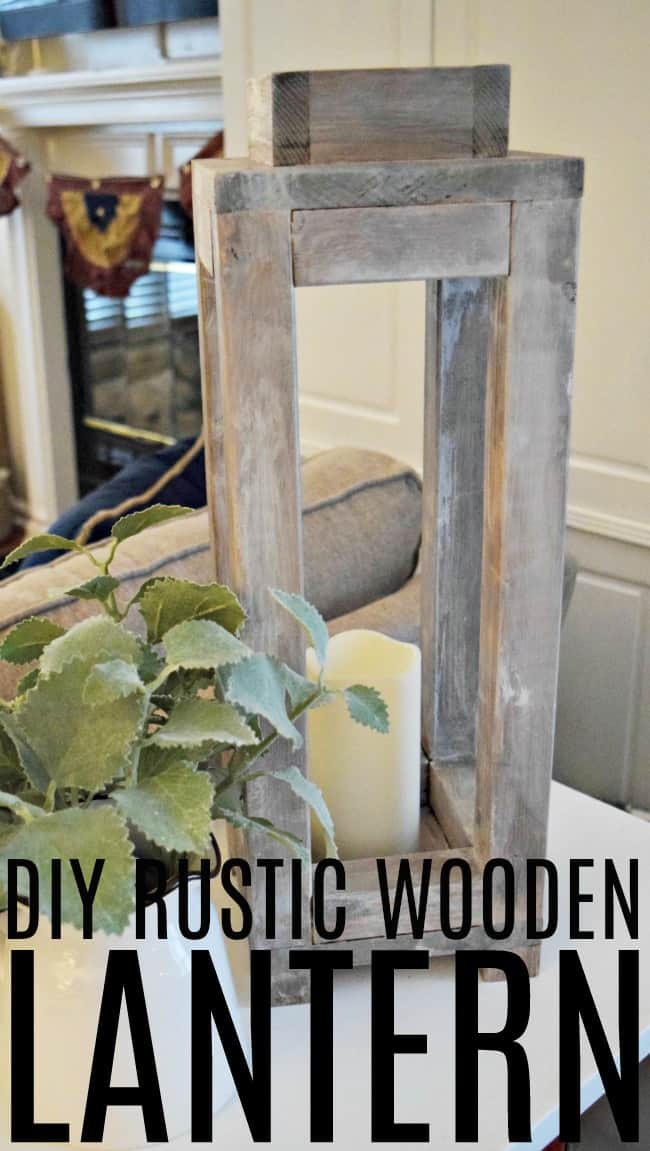
I have been looking, for the longest time, for something to put on my sofa table. I wanted to do lamps but I will be honest and say my husband, daughter, and dog rough house a little too much for me to think that was a safe idea.
So as to not have to yell, "don't knock over the lamps" every five seconds I resorted to something a little different. I decided to DIY this super cute rustic wooden lantern instead.
Not that I want it knocked over either, but not nearly as breakable.
Supplies you will need:
Cuts you will need to make:
Cut 4 - 1-inch pieces out of the 2x2 boards (feet)
Cut 8 - 4 ¼ inch pieces out of the 2x2 boards (sides)
Cut 2 - 4 ¾ inch pieces out of the 1x2 board (top crown)
Cut 2 - 3 ¼ inch pieces out of the 1x2 board (top crown)

Cut 2 - 7 ¼ inch pieces out of the 1x8 board. (top and bottom)
NOTE: I cut mine 7 ¼ because my actual 8-inch board is 7 ¼ inches.
Cutting them at this length made them square. Depending on your wood and how dry it may be the length could range from 7 - 7 ½ inches. Make your cut by how wide your 8-inch board is measured. You will want your top and bottom pieces square.
Cut 4 - 17-inch pieces out of the 2x2 boards. (legs)
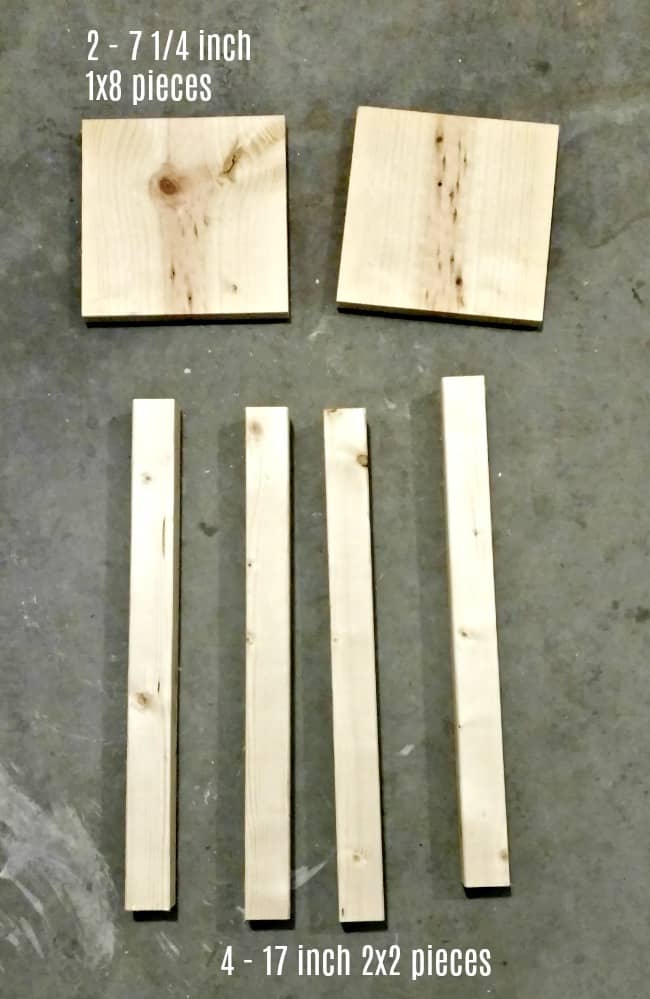
How do you make a rustic wooden lantern?
Measure in on one of the 1x8 cut board pieces a ½ inch from each side to mark your spot to drill and attach the feet and up into the legs.
Do these on all four sides. We used flat head screws and drilled them with a countersink bit so that the screw would sit flush when your lantern is placed on a table.
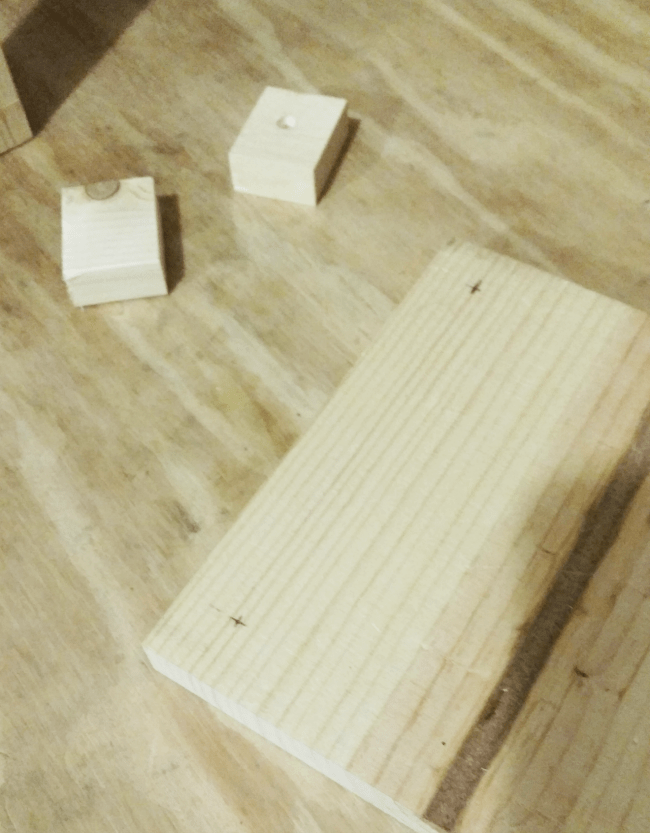
You can see in the picture below we drilled through the feet into the base and into each leg. Add glue to the feet and leg pieces for strength.
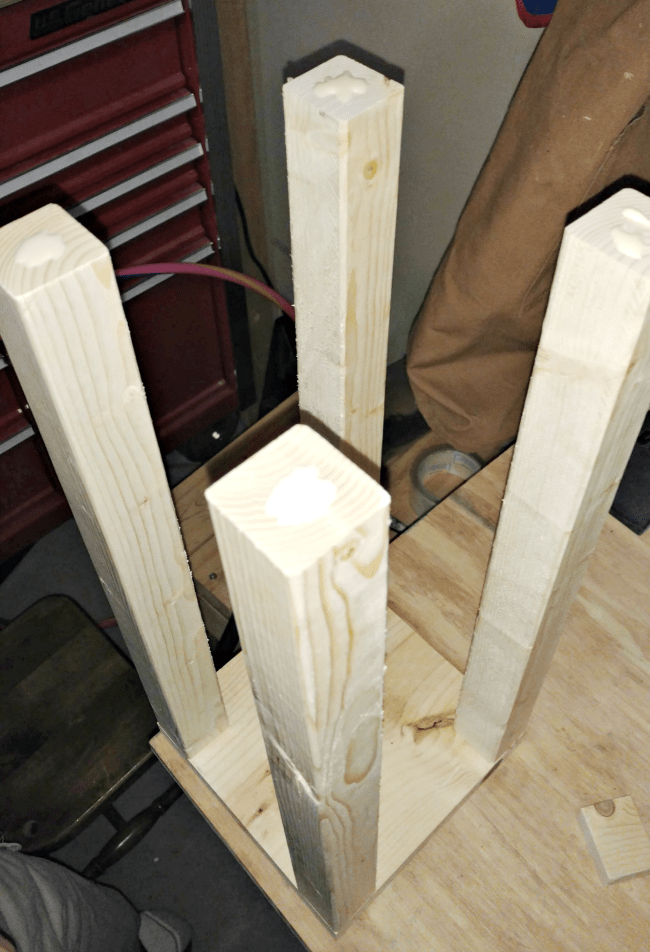
Now you are ready to attach the top. Add glue to the 4 legs and using the 2 ¼ inch screws attach the top board.
You can use smaller screws for this if you have them but no need to purchase extra as you will need the 2 ¼ inch for the bottom.
We again used the countersink drill bit so that the screw would sit flush.
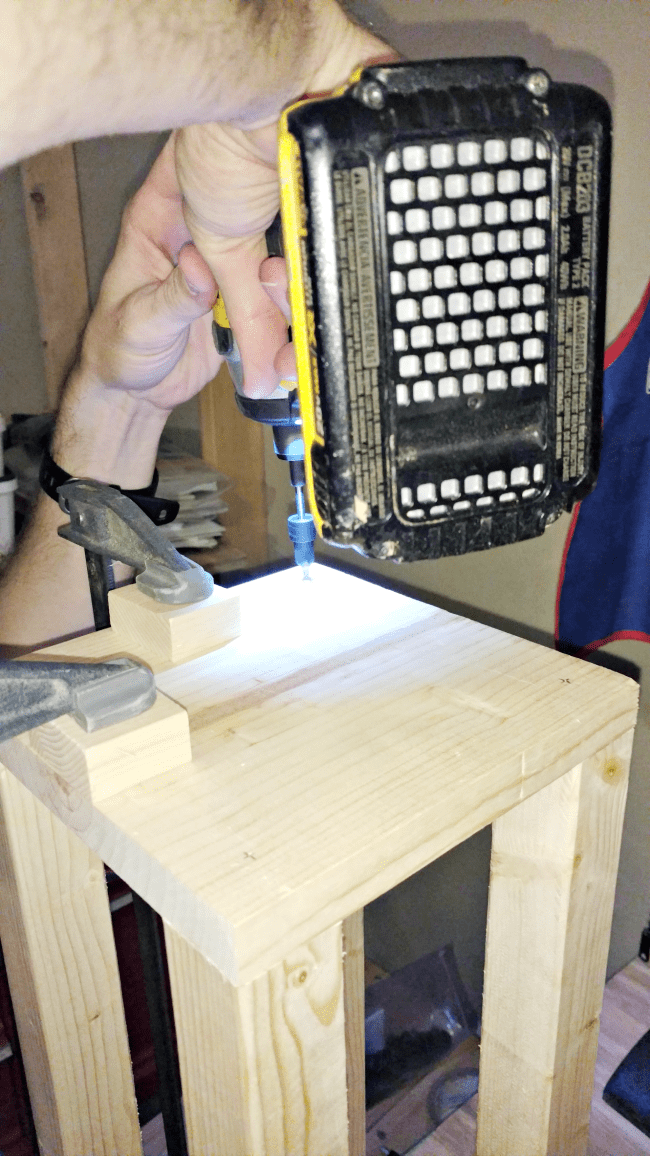
After the glue on these pieces set up, you are ready to work on the top crown piece.
We decided to only attach these with glue, but you could also pop a few brad nails into them as well.
NOTE: The smaller 3 ¼ inch pieces get sandwiched between the 4 ¾ inch pieces.
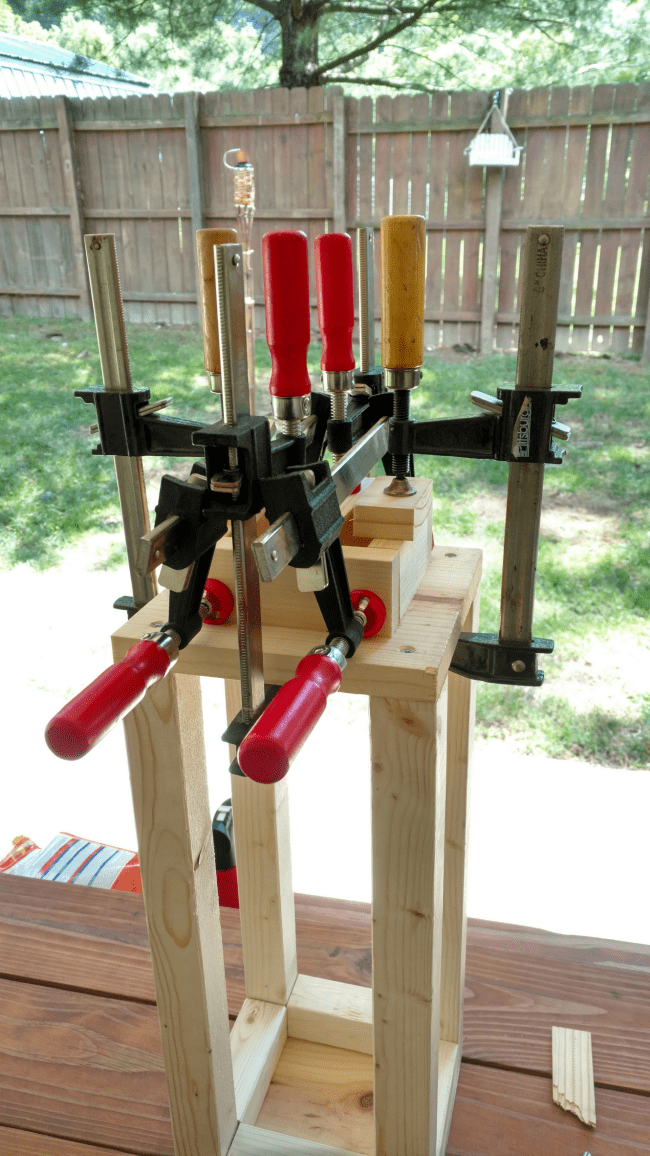
Once the glue for the crown piece is set we can get back to business.
You are ready to attach the bottom and top, sides. We again just used glue to attach these, but you could brad nail them as well.

Once these are added and dry your DIY wooden lantern is all done.
Well, sort of, if you want to stain it now is the time for that step. I have a great homemade stain if you want to check that out but this time we used Minwax English Chestnut with Minwax White Wash Pickling over top.


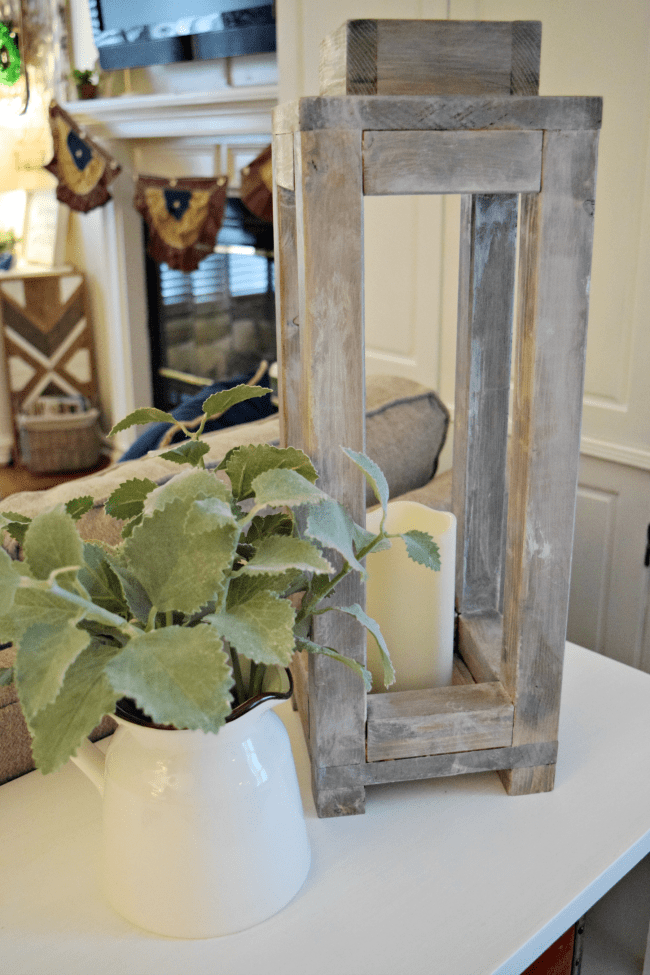
Be sure to pop into some of the other DIY wooden projects listed below. So many great ones!
- Simple DIY Shop Stool or Side Table
- DIY Large Candle Holder
- How to Make Wooden Bead Garlands
- DIY Bed Risers
- DIY Multipanel Mirror with Wooden Frame
- Decorative Wooden Ladder for Less than $10
- DIY Wooden Arrows
- Tilt Trash Can Cabinet Tutorial
Want to print or save the instructions for this rustic wooden lantern?


Alina says
This DIY rustic wooden lantern is awesome and it is an amazing tutorial.