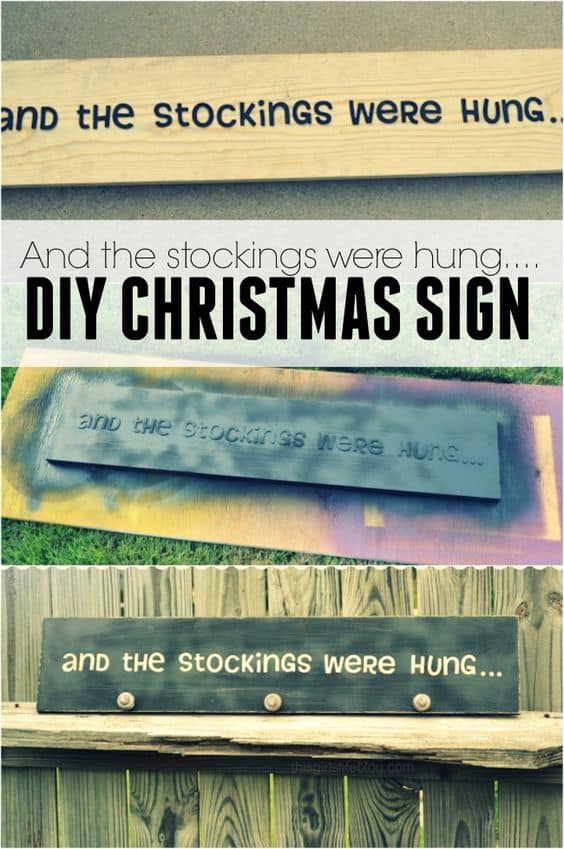
And the Stockings Were Hung by the chimney with care... This DIY Christmas sign is a great idea for those who don't have a fireplace to hang stockings.

I created this And the Stockings were hung... sign for those who don't have a traditional fireplace to hang them on.
We didn't have a fireplace in one of the homes we lived in (we are military and move often) so we needed a place to hang them up.
A sign like this was perfect and it only took a few simple supplies to make it happen.
Supplies you will need:
- a 1x8x6 piece of wood (cut down to 36")
**If you can find a 4' piece that would be less waste but don't buy premium since it will be painted.** - Lettered Thickers or Stickers
**You will need 2 packages to have enough n's most likely. There are 3 e's and 3 n's, most have enough e's but not enough n's but check beforehand. You could also use vinyl letters made for this or hand lettering if you would like. ** - Knobs
- Spray Paint
- Hot Glue
- Sandpaper (optional)
- Stain (optional)

How to make a and the stockings were hung Christmas sign.
First I cut my piece of wood down to 36 inches.
You can adjust the size of the board depending on how big or small you want your letters. If you have bigger letters you are going to need more length.
After I had my board cut I stained mine with Minwax Weathered Oak. This step is optional but I wanted my letters to have some definition other than plain wood.
You could also spray paint your whole board a color prior to placing the letters if you wanted them to be a specific color.
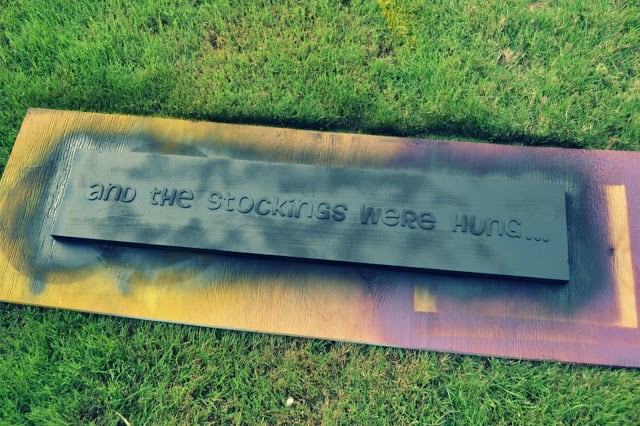
Once your board is dried, place the letters on and press firmly so they are stuck nice and good.
I used an extra piece of wood after they were all placed and held it on top for a bit to make sure no spray paint would try to leak through.
My recommendation would be to use thickers (thick stickers) if you can. They are so much easier to peel off afterward. Regular stickers and vinyl work too.

Now that you have the saying in place you will want to spray paint it with a nice even coat.
I used black spray paint, but of course, you could always use any color of your choosing.
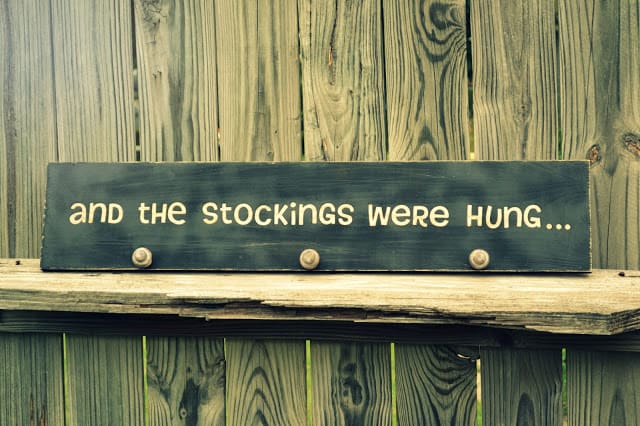
Once the paint is dry peel off your stickers and you have your sign.
I took a piece of sandpaper and roughed mine up around the edges a little. I like a little more rustic look but that is an optional step as well. This project is definitely customizable to your liking.

The last step is to place your knobs. You can have as many or as few as you need.
I choose to remove the screw from the knob and hot glue mine on but you can of course actually drill a hole and screw them on as well. My screws were too long without having to cut them so I went the easier route and hot glued them on.
If I was holding something other than stockings I might have gone the other route. I don't know how most people do but when we fill stockings we remove them from wherever they are placed and lay them in front of the tree.
If you want to fill the stocking and still have it hung up then I would definitely suggest attaching the knobs with screws.

I finished this project in one day, less than one day really so it qualifies for the super-easy category in my opinion.
If you don't have the power tools to trim the board down be sure to have it cut at your local store beforehand.
If you enjoyed this And the Stockings were hung Christmas sign you also might want to check out these other fun Christmas posts.
- Free Farmhouse Christmas Printables
- DIY: JOY Burlap Sign
- DIY Christmas Ornaments
- Christmas Lego Challenge for Kids
- Scrap Fabric Christmas Tree Ornament
- Christmas Non Edible Gifts in a Jar
- Christmas Stocking Craft
Want to print the instructions for this craft?


Amanda says
I love this! Regarding the re-use of stickers, I’m wondering if someone could use a stencil adhesive if they were using the “thickers”? I’m unsure as I’ve not tried them, but it crossed my mind. I wanted to thank you for this post and I can’t wait to try it out! 🙂
Melissa says
Amanda, That might possibly work to reuse the thickers but I think the biggest issue would be running into the paint bleeding if they didn't stick well enough.
E.padilla54@icloud.com says
What can you use on an outside sign so that the doesn't beat it up or fade?
Melissa says
Your best bet is to use exterior paint.
Cindy Alonso says
Where do you purchase the thickers?
Melissa Coleman says
Cindy, I got them at Hobby Lobby but you could probably find them at other craft stores or on Amazon as well.