
Get your kids in a festive mood this St. Patrick's Day with our Popsicle stick shamrock craft! A fun and easy way to get creative, it will leave you feeling lucky all day!
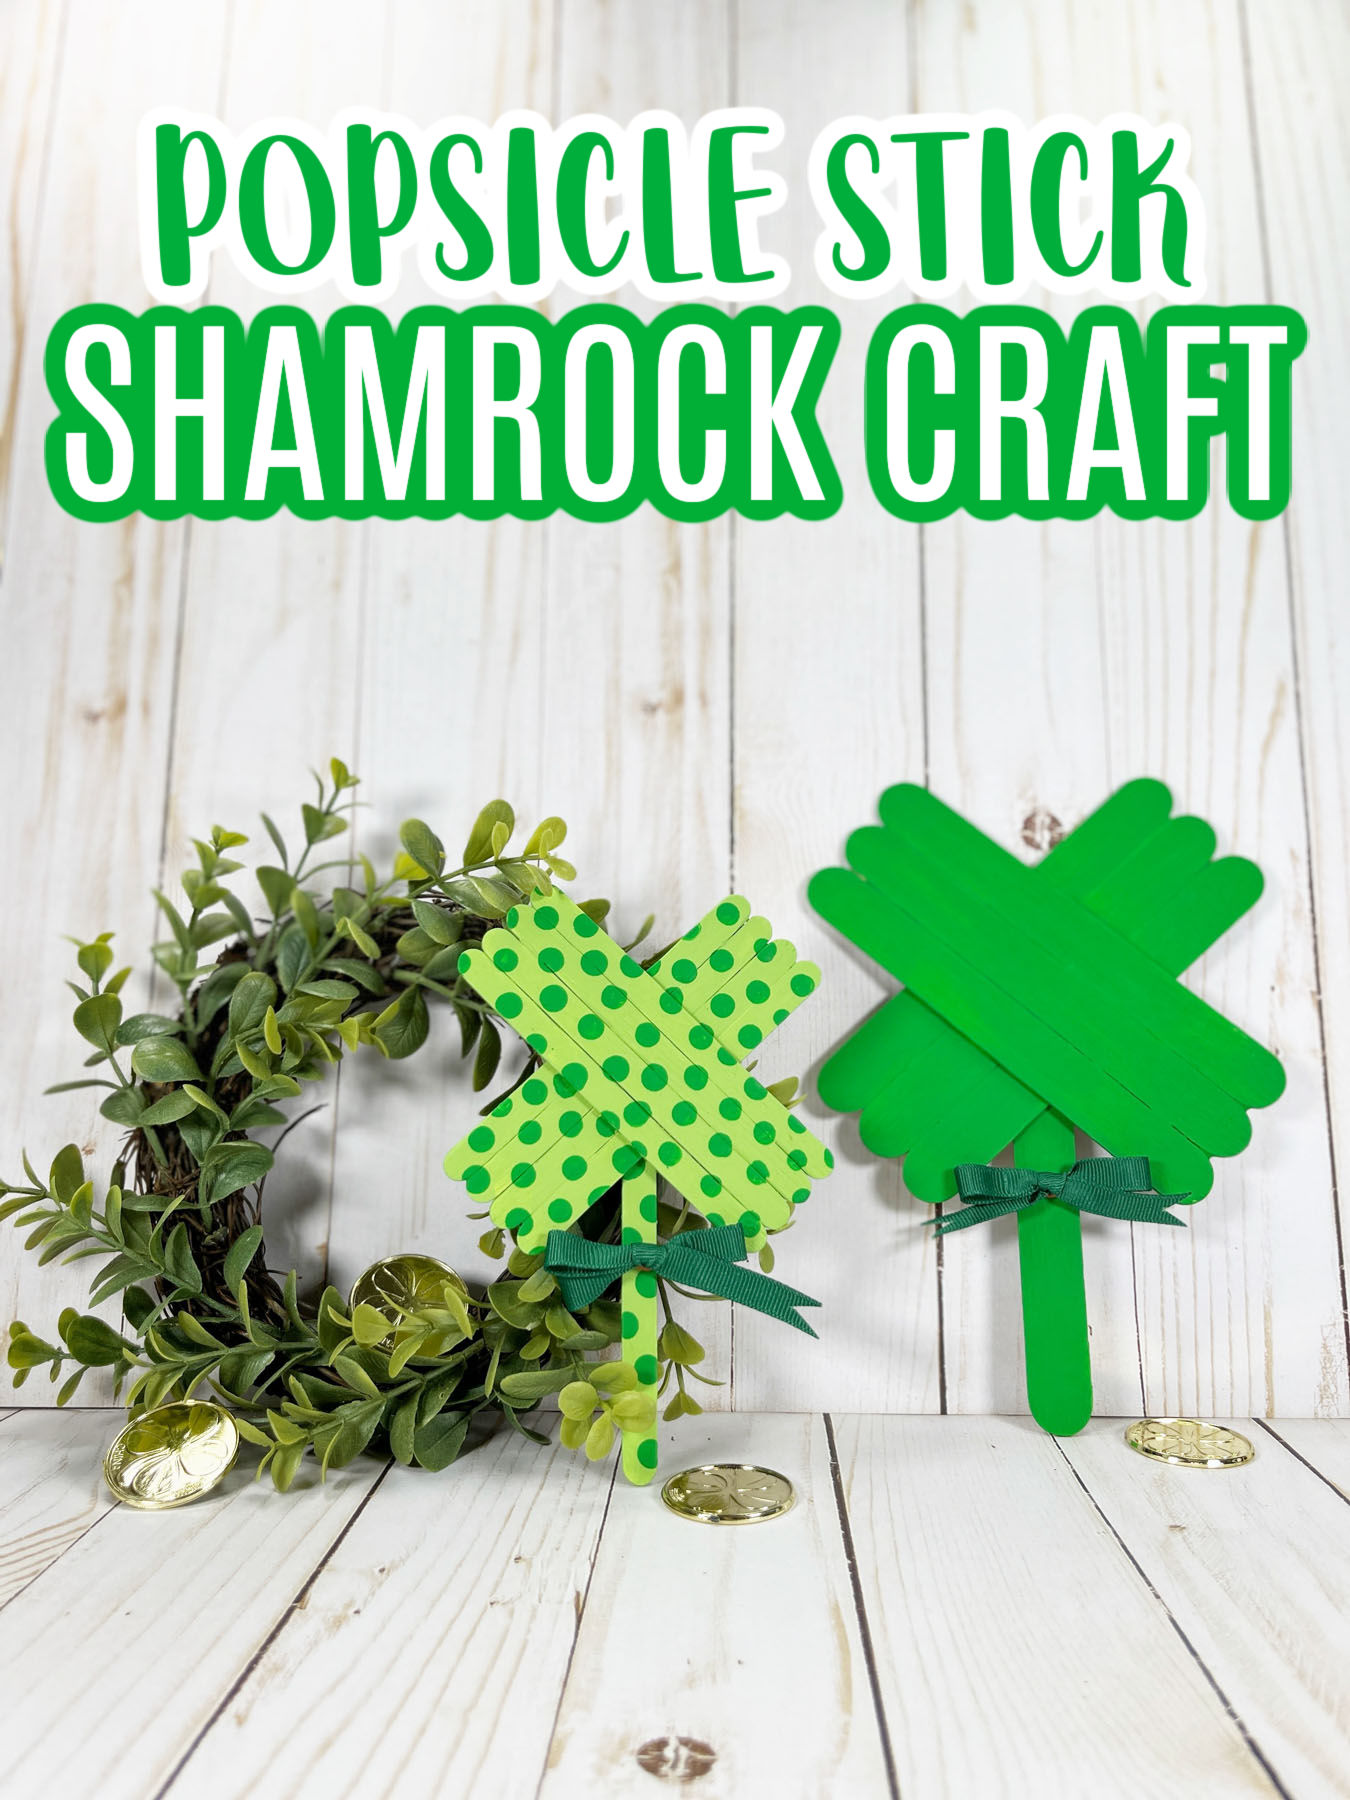
Celebrate the luck of the Irish with a special St. Patrick's Day craft that your little ones will love!
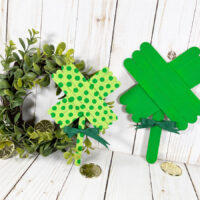
Our Popsicle stick shamrock craft is an easy and fun way to make festive decorations with your kids, sure to spread luck and joy in your home!
Note: This craft is actually popsicle stick four-leafed clovers if you want to get technical, as shamrocks are only 3 leafed. However, for the sake of how a lot of people search for this online, we have named it a shamrock.
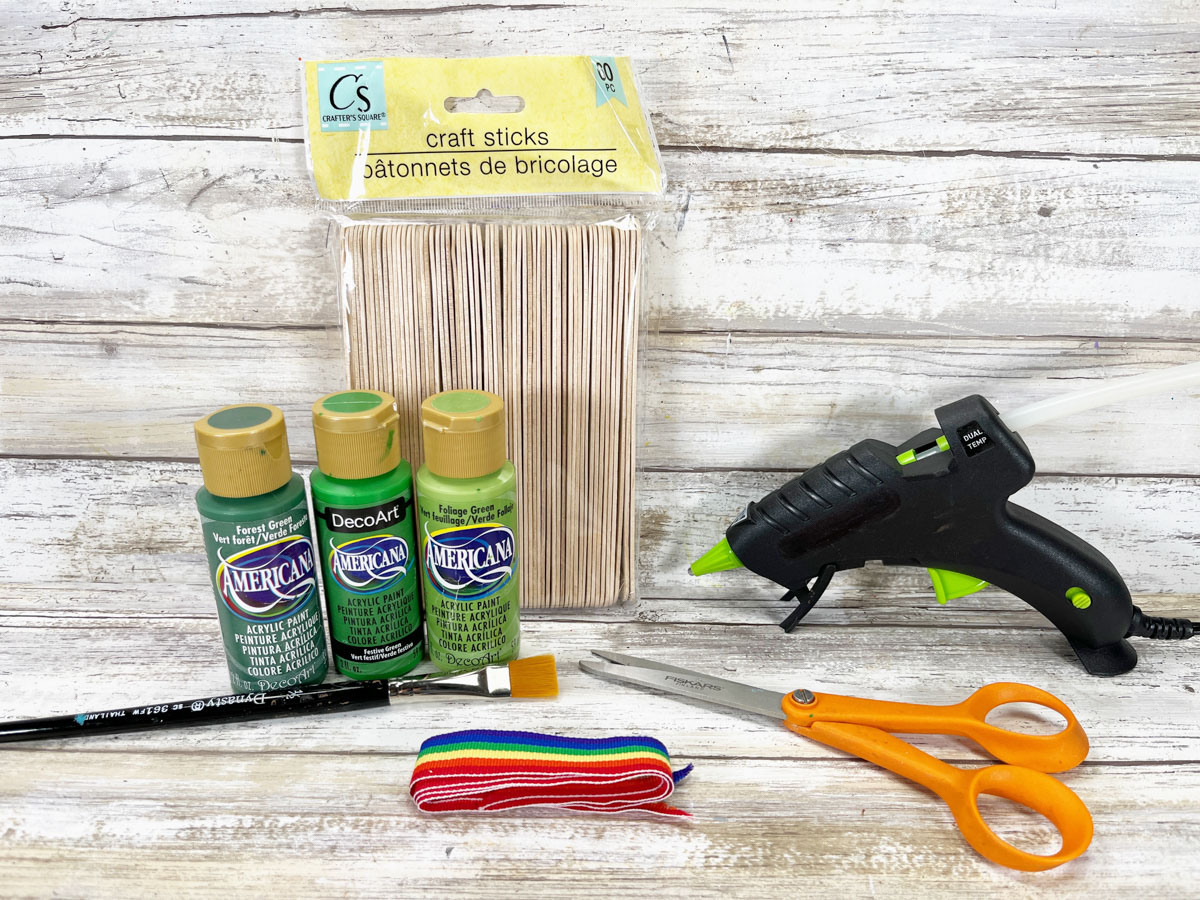
Gather the Materials.
To make your own Fortune-Favored Popsicle Stick Shamrock, you will need the following materials and craft supplies:
- Popsicle Sticks / Craft Sticks, Jumbo or Regular Sized
- Ribbon (optional) solid green or rainbow striped will work great for St. Patrick's Day
- Acrylic Craft Paint – Light Green, Medium Green, Dark Green
- Hot Glue Gun and Glue Sticks
- Paintbrush
- Pencil with a New Eraser
- Scissors
Once you have gathered all the supplies, you are ready to move on to the next step!
How to make a Popsicle Stick Shamrock Craft (Four Leaf Clover)
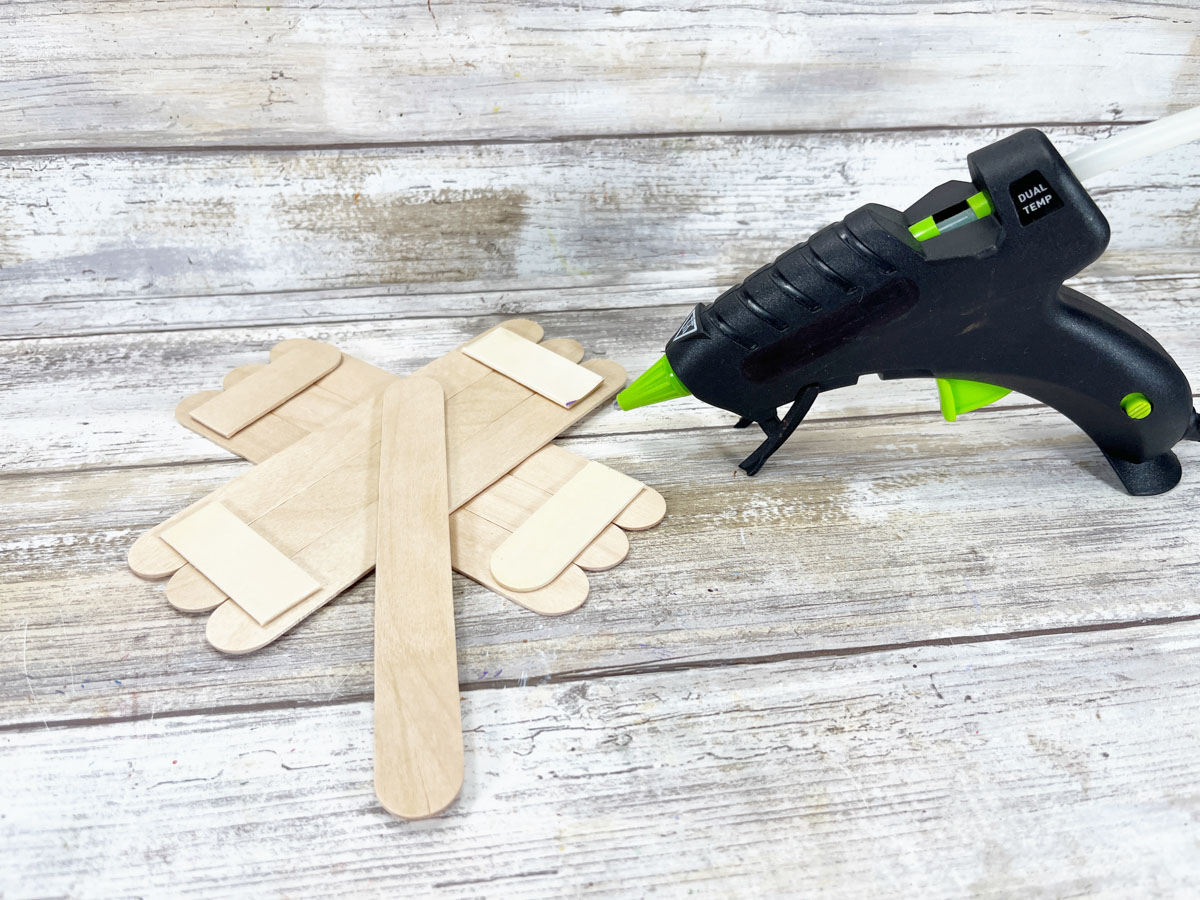
STEP ONE
To create the large shamrock, line up two sets of three jumbo craft sticks on your work surface.
Using scissors, trim additional jumbo craft sticks to the width of the shamrock pieces and attach them with a glue gun and glue sticks.
If you are using regular-sized craft sticks you will want to use 4 on each side.

STEP TWO
Glue the halves together in an “X” pattern. Glue one jumbo craft stick at the base as the stem.
If you are working with littles you can use liquid craft glue for this project, but you will have to wait for it to dry before painting.
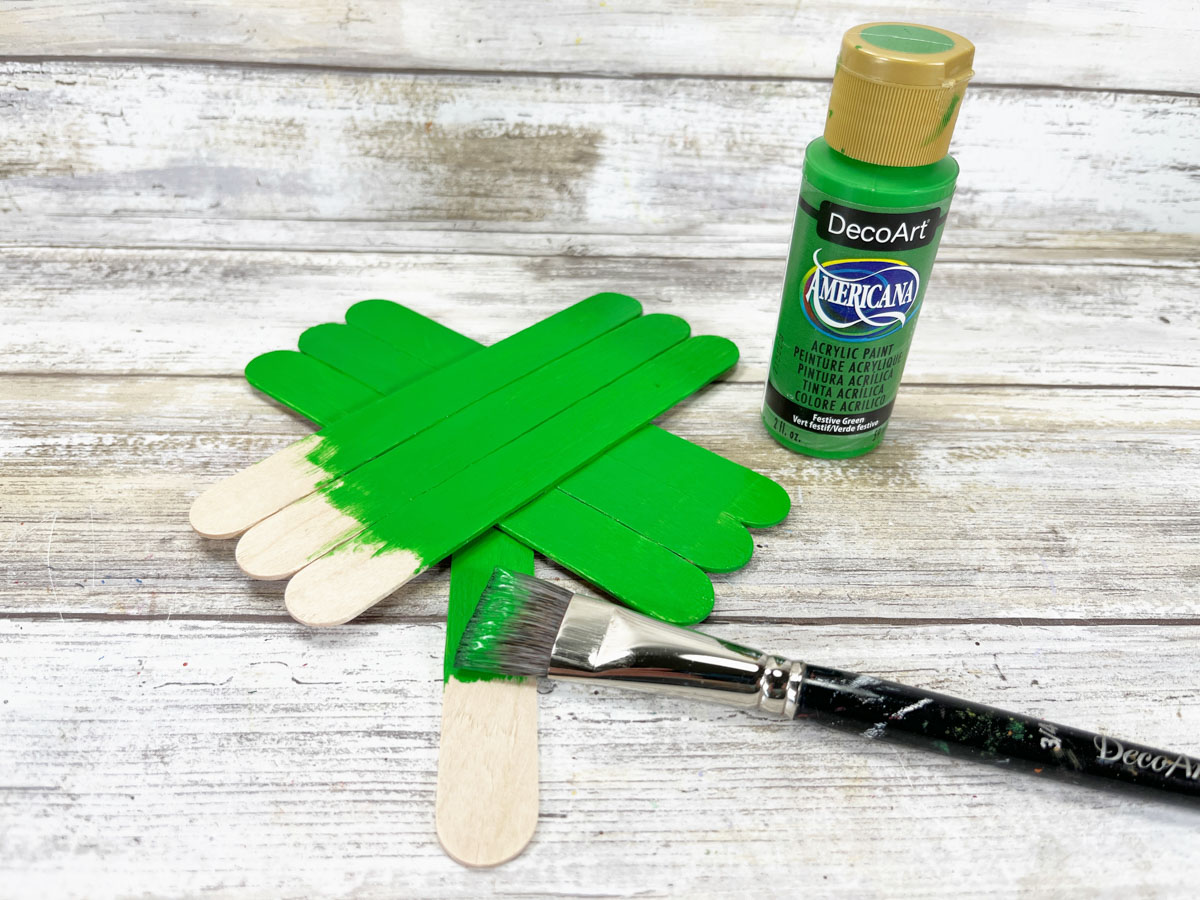
STEP THREE
Basecoat the front and sides of the craft stick shamrocks with a green color of your choice.
Whether you like light green, medium green, or dark green acrylic craft paint.
Let dry, and apply a second coat, if necessary.
Once your base coat paint has dried, you can add patterns to the shamrocks.
Create mini polka dots by dipping a new pencil eraser in acrylic craft paint and dotting it onto the shamrock. Create larger polka dots by dipping a sponge dauber in acrylic craft paint and dotting it onto the shamrock.
Mix and match the dots and colors for unique combinations.
STEP FOUR
This part is optional but to finish the craft stick shamrocks off you can tie a piece of ribbon into a bow and attach it to your four-leaf clover.
Trim the long ends by cutting out a triangular-shaped notch with scissors.
The notch gives the bow a finished look while also preventing the ribbon from fraying.
Attach the bows to either the center or the stem of the shamrock.

Congratulations, your shamrock is finished! If you want to display it, simply attach an extra piece of ribbon to hang it up on the wall or in the window.
Your masterpiece is now ready for everyone to admire and enjoy!
Create these bright and colorful Craft Stick Shamrocks with the kiddos to not only promote learning skills like their fine motor skills but also to spark conversations about St. Patrick’s Day traditions.
Great for kids of all ages!

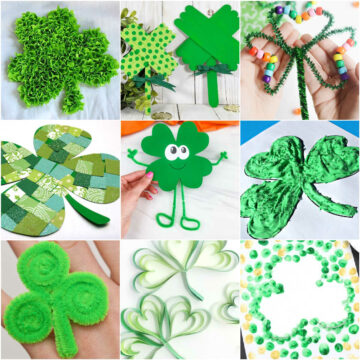
Even more St. Patrick's Day Crafts you don't want to miss!
- Popsicle Stick Rainbow and Pot of Gold Craft for Kids
- Easy St. Patrick’s Day Crafts for Preschoolers
- Leprechaun Crafts for Kids
- Popsicle Stick Leprechaun – Popsicle Stick Crafts for Kids
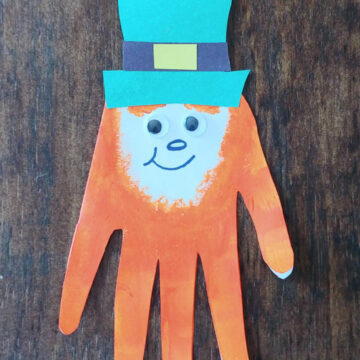
- Handprint Leprechaun Card
- St. Patrick’s Day Windsock Toilet Paper Roll Craft
- Potted Paper Shamrocks
Want to print or save this Shamrock Craft?


Leave a Reply